Prepared and tested with Xcode 8.3.3
In this tutorial we cover the following topics
- 1. General information
- 2. Alert as very basic text input modal dialog
- Step 1: create a new project
- Step 2: add a button to triger an alert dialog
- Step 3: add a code
- Step 4: run the application
- Step 5: add input text control / validation
- Step 6: run the application
- 3. Model modal dialog with
UIViewController- Step 1: create a new project
- Step 2: add a button to triger an modal dialog
- Step 3: add a new class
- Step 4: design modal dialog
- Step 5: add a segue
- Step 6: add an outlet related to modal dialog's text field
- Step 7: add a code
- Step 8: run the application
1. General information
When we want to make an application where some user input interaction is needed a modal dialogs seems to be quite natural. I made this for an Android and it is very easy to do this. Unfortuanately for an iOS it is a tricky thing. Generaly speaking, searching the web I have found two solutions:
- An alert can we used to get very basic text input modal dialog.
- We may use a
UIViewControllerto model modal dialog.
2. Alert as very basic text input modal dialog
- Step 1: create a new project
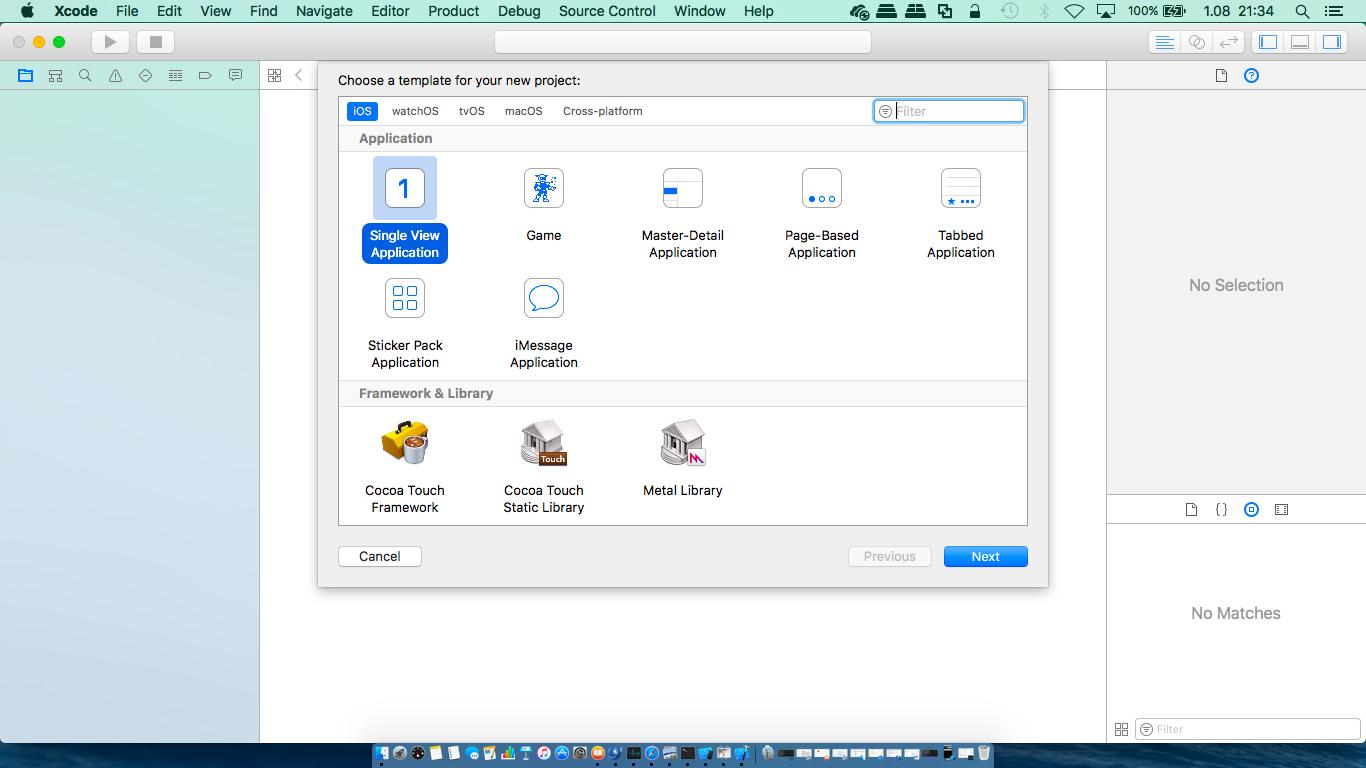
Create a new project- Select File | New | Project...
- Select Single View Application on the template selection sheet.
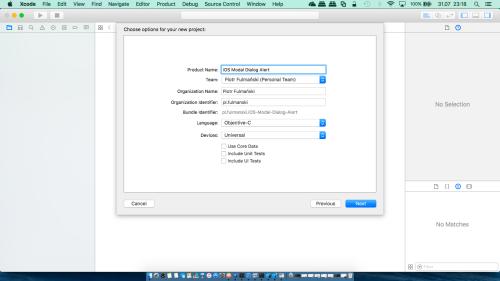
- As the product name enter
iOS Modal Dialog Alert - Set the Language to Objective-C, devices pop-up button to Universal and make sure the check box labeled Use Core Data is unchecked. You can also unchecked Include Unit Test as well as Include UI Test as we will not implement any tests.
- Step 2: add a button to triger an alert dialog
- Select
Main.storyboardto edit the storyboard. - Find in the object library a Button and drag it over to the View window.
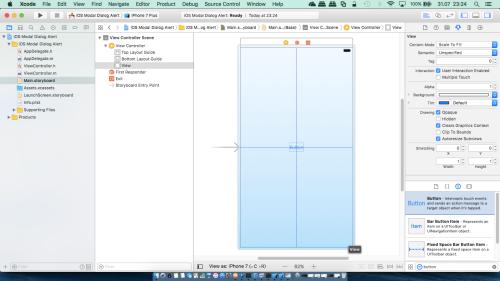
- Select the button either in the Document Inspector or directly in the visual editor area and bring up the Attribute Inspector (use shortcut: Alt + Command + 4).
- Change button's text to
Show Modal Dialog - Add all necessary constraints to make sure that the button is positioned and sized correctly.

- Ctrl-drag from the button to the
ViewController.mand add aButtonShowModalDialogPressaction


Action method name should start from small 'b' letter so the full name should bebuttonShowModalDialogPress. If you correct this, please make this change also in the following source code.
- Select
- Step 3: add a code
- Single-click
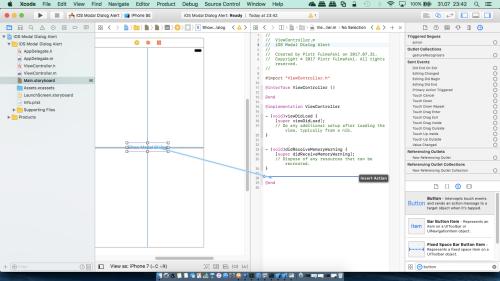
ViewController.mand add the following code
123456789101112131415161718192021222324252627282930313233343536373839404142- (IBAction)ButtonShowModalDialogPress:(UIButton *)sender {UIAlertController *alertController = [UIAlertControlleralertControllerWithTitle:@"Text Input Alert"message:@"Plain and secure text input"preferredStyle:UIAlertControllerStyleAlert];[alertController addTextFieldWithConfigurationHandler:^(UITextField *textField){textField.placeholder = @"Login";}];[alertController addTextFieldWithConfigurationHandler:^(UITextField *textField){textField.placeholder = @"Password";textField.secureTextEntry = YES;}];UIAlertAction *actionCancel = [UIAlertActionactionWithTitle:@"Cancel"style:UIAlertActionStyleCancelhandler:nil];UIAlertAction *actionOK = [UIAlertActionactionWithTitle:@"OK"style:UIAlertActionStyleDefaulthandler:^(UIAlertAction *action){UITextField *login = alertController.textFields.firstObject;UITextField *password = alertController.textFields.lastObject;[self processInput:[login text] second:[password text]];}];[alertController addAction:actionCancel];[alertController addAction:actionOK];[self presentViewController:alertController animated:YES completion:nil];}- (void) processInput:(NSString *) first second:(NSString *) second {NSLog(@"Login: %@\nPassword: %@", first, second);}
- Single-click
- Step 4: run the application
Now we can test our application with testLogin as a login and testPassword as a password.
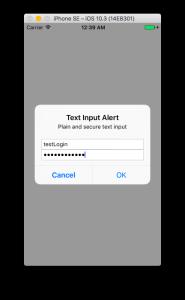
2017-08-01 00:38:32.058 iOS Modal Dialog Alert[1944:396765] Login: testLogin

Password: testPassword
- Step 5: add input text control / validation
If we want to control/validate input text, for example to enable OK button only if certain criteria for the input text are fulfilled, the following code shoud be changed (ButtonShowModalDialogPressmethod) and added (alertTextFieldEditingChangemethod) to theViewController.mfile
1234567891011121314151617181920212223242526- (IBAction)ButtonShowModalDialogPress:(UIButton *)sender {[...][alertController addTextFieldWithConfigurationHandler:^(UITextField *textField){textField.placeholder = @"Login";[textField addTarget:selfaction:@selector(alertTextFieldEditingChange:)forControlEvents:UIControlEventEditingChanged];}];[...]}- (void)alertTextFieldEditingChange:(UITextField *) sender {UIAlertController *alertController = (UIAlertController *)self.presentedViewController;if (alertController){UITextField *login = alertController.textFields.firstObject;UITextField *password = alertController.textFields.lastObject;[self processInput:[login text] second:[password text]];}} - Step 6: run the application
Now we can test our application with testLogin as a login and testPassword as a password.
2017-08-01 00:58:53.169 iOS Modal Dialog Alert[1986:436204] Login: t

Password:

2017-08-01 00:58:54.544 iOS Modal Dialog Alert[1986:436204] Login: te

Password:

2017-08-01 00:58:54.857 iOS Modal Dialog Alert[1986:436204] Login: tes

Password:

2017-08-01 00:58:55.642 iOS Modal Dialog Alert[1986:436204] Login: test

Password:

2017-08-01 00:59:01.997 iOS Modal Dialog Alert[1986:436204] Login: testL

Password:

2017-08-01 00:59:02.864 iOS Modal Dialog Alert[1986:436204] Login: testLo

Password:

2017-08-01 00:59:03.069 iOS Modal Dialog Alert[1986:436204] Login: testLog

Password:

2017-08-01 00:59:03.295 iOS Modal Dialog Alert[1986:436204] Login: testLogi

Password:

2017-08-01 00:59:03.515 iOS Modal Dialog Alert[1986:436204] Login: testLogin

Password:

2017-08-01 00:59:44.773 iOS Modal Dialog Alert[1986:436204] Login: testLogin

Password: testPassword


3. Model modal dialog with
UIViewController- Step 1: create a new project
Create a new project- Select File | New | Project...
- Select Single View Application on the template selection sheet.

- As the product name enter
iOS Modal Dialog UIViewController - Set the Language to Objective-C, devices pop-up button to Universal and make sure the check box labeled Use Core Data is unchecked. You can also unchecked Include Unit Test as well as Include UI Test as we will not implement any tests.

- Step 2: add a button to triger an modal dialog
- Select
Main.storyboardto edit the storyboard. - Find in the object library a Button and drag it over to the View window.
- Select the button either in the Document Inspector or directly in the visual editor area and bring up the Attribute Inspector (use shortcut: Alt + Command + 4).
- Change button's text to
Show Modal Dialog - Add all necessary constraints to make sure that the button is positioned and sized correctly.

- Select
- Step 3: add a new class
- In the Project Navigator click on iOS Modal Dialog UIViewController folder, press right mouse button and select New File ...
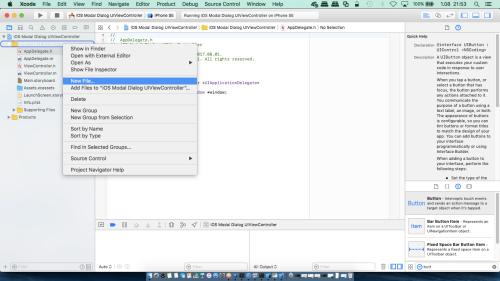
- Add a new Cocoa Touch Class file to the project.
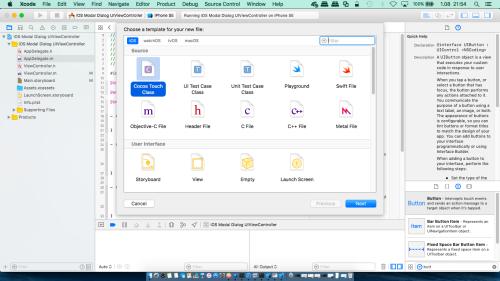
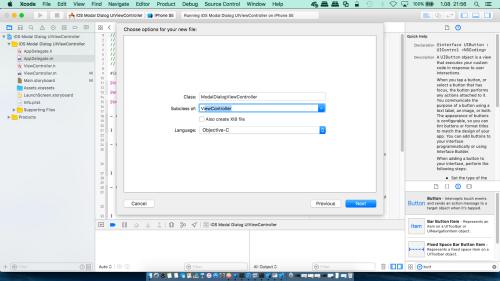
Call itModalDialogViewControllerand make it a subclass ofUIViewController.
- In the Project Navigator click on iOS Modal Dialog UIViewController folder, press right mouse button and select New File ...
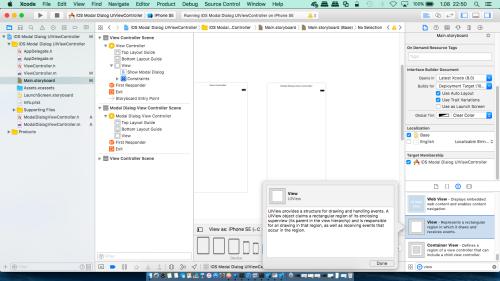
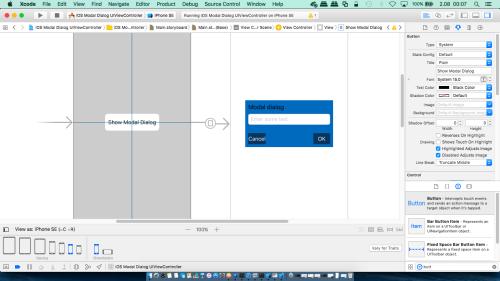
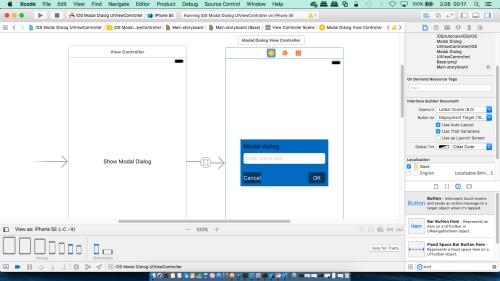
- Step 4: design modal dialog
- Open the storyboard and drag a new UIViewController into the canvas. Change its class to
ModalDialogViewController.
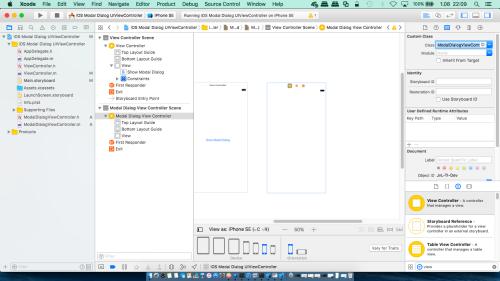
This view is not used as our popup. A new smaller view will be added soon and this smaller one will be our popup. - Set the background color of this view as clear.
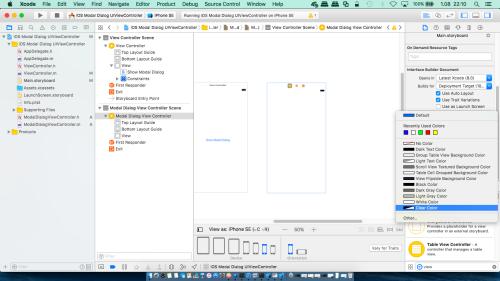
You can also try other options, for example: set the background color to black and 50% opaque. Fell free to make your experiments. - Drag a new View into the view controller
- For this view:
- In the Identity Inspector change the label of the view to
Modal View
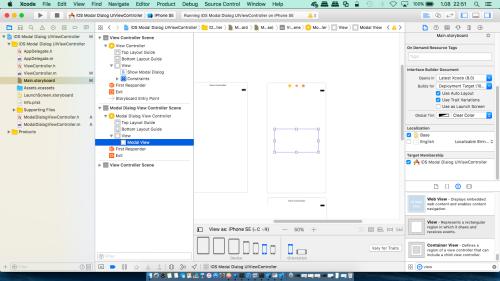
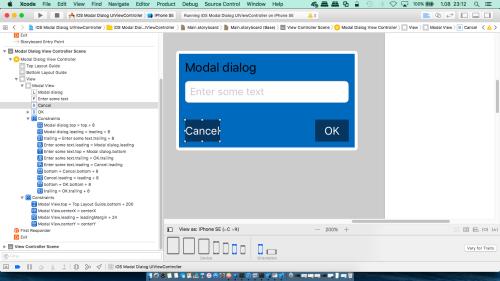
- Add one label, one text field and two buttons. Set all the constraints which are required and add/change other attributes (for example colors, font family).
- In the Identity Inspector change the label of the view to
- Ctrl-drag from the Cancel button to the
ModalDialogViewController.mand add abuttonModalDialogCancelPressaction (as we did it before for Show Modal Dialog button). - Ctrl-drag from the OK button to the
ModalDialogViewController.mand add abuttonModalDialogOKPressaction.
- Open the storyboard and drag a new UIViewController into the canvas. Change its class to
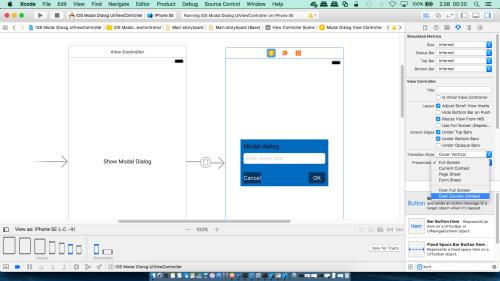
- Step 5: add a segue
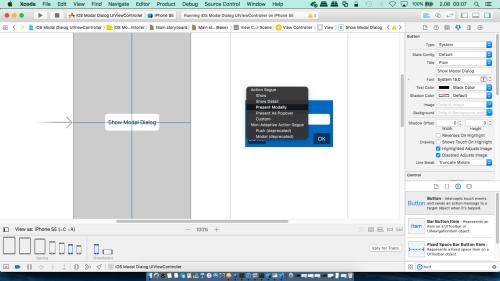
- To create a segue to the modal dialog Ctrl-drag from the body of the button
Show Modal Dialogto the body of the modal view controller and choose a Present Modally segue.
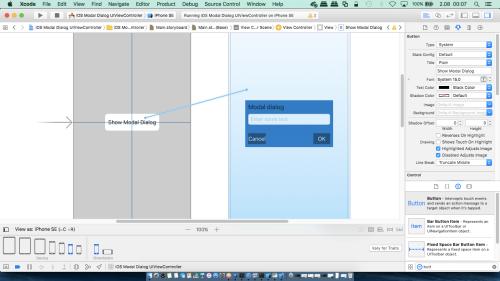
- Select the segue and change Presentation to Over Current Context
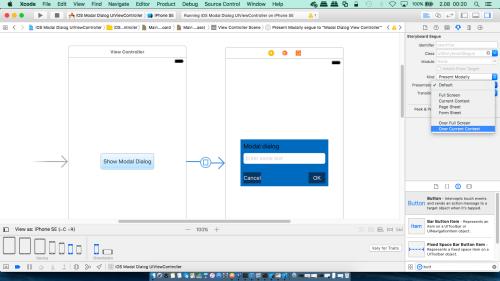
Other option to do this: select the Modal Dialog View Controller
and in Attributes Inspector, under View Controller section, set Presentation to Over Current Context
- To create a segue to the modal dialog Ctrl-drag from the body of the button
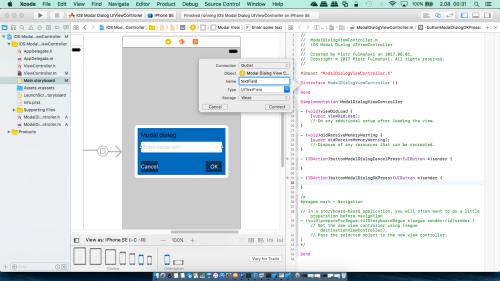
- Step 6: add an outlet related to modal dialog's text field
To add an outled Ctrl-drag from text field to the interface part ofModalDialogViewController.mfile
and name ittextField
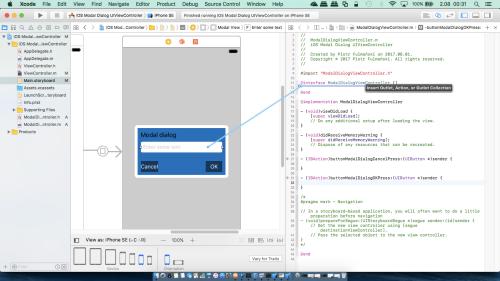
- Step 7: add a code
- Single-click
ModalDialogViewController.mand add the following code
123456789- (IBAction)buttonModalDialogCancelPress:(UIButton *)sender {[self dismissViewControllerAnimated:true completion:nil];}- (IBAction)buttonModalDialogOKPress:(UIButton *)sender {NSLog(@"%@", [self.textField text]);[self dismissViewControllerAnimated:true completion:nil];}
- Single-click
- Step 8: run the application
Now we can test our application with Test string text as an content of a text field

2017-08-02 00:45:11.973 iOS Modal Dialog UIViewController[2622:884293] Test string