
As we wrote in Introduction Objective-C classes, as in other object-oriented programming language, provide the blueprint for creating objects.
Objective-C separates class's description from its internals details. Description is about the public properties and methods of a class and is known as interface. Details defines the code that actually makes properties and methods work and are known as implementation.
In this tutorial we cover the following topics
- Experiment 1: how to start
- Excercise 1
- Experiment 2: properties
- Excercise 2
- Experiment 3: global variables
- Experiment 4: constructor methods
- Experiment 5: class methods and variables
- Experiment 6: class-level initialization method
- Excercise 3
- Create a new project class_001 as we did in Introduction. You should see autogenerated main.m file with the following content
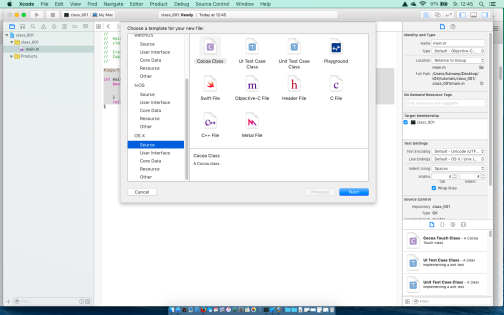
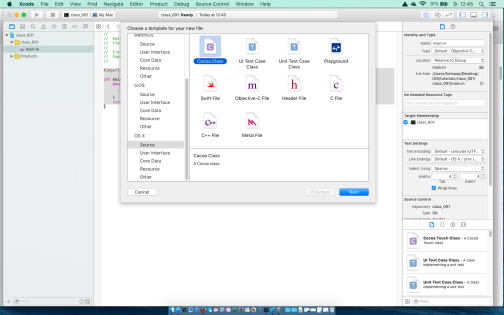
123456789#import <Foundation/Foundation.h>int main(int argc, const char * argv[]) {@autoreleasepool {// insert code here...NSLog(@"Hello, World!");}return 0;} - Select File | New | New... to create a new class Foo with the following steps
- Select File | New | New... from main menu

- Select type of a new file
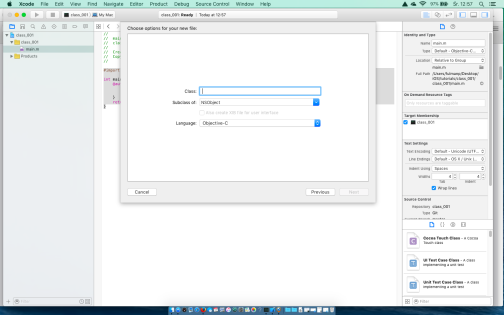
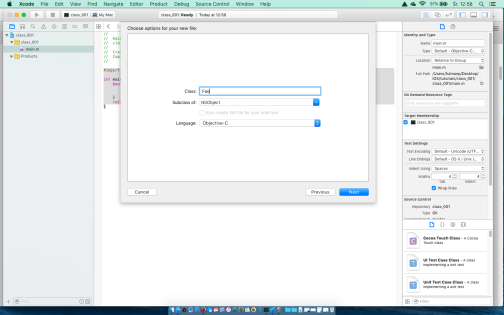
- Add the name for the class
- Select destination folder

- Enjoy the result
- Select File | New | New... from main menu
- Practise simple project's files navigation
- Find some files related with curently edited file.

- Change the file curently beeing edited.
-
- Open Assistant editor to edit more than one file at once.

- Again find some related files.

-
- Open more edit panels.

-
- Find some files related with curently edited file.
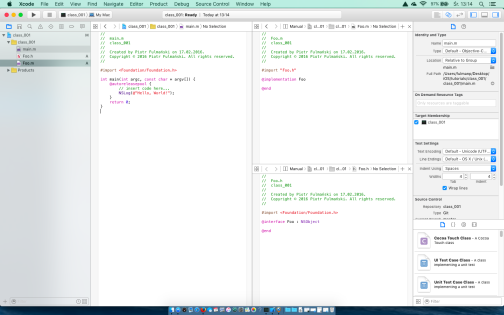
- At the end of the previous step you should be able to see all three files: main.m -- main project file, Foo.m -- implementation of Foo class and Foo.h -- definition of Foo class
12345#import <Foundation/Foundation.h>@interface Foo : NSObject@end12345#import "Foo.h"@implementation Foo@end
As we can see an interface is created with the
@interfacedirective, after which come the class and the superclass name, separated by a colon. It is possible to define protected variables inside of the curly braces just after superclass name, but it is not recommended.123456@interface Foo : NSObject{// It's not recommended but you can// put here an instance variables}@endSimple explanation for this is that instance variables are often treated as implementation details and therefore should be stored in the .m file instead of the interface.
The
@implementationdirective is similar to@interface, except we don’t need to include the super class. - Add some variables to the class and create a class instace.
1234567@implementation Foo{int instanceVariablePrivate;}int instanceVariablePublic;@end123456789#import <Foundation/Foundation.h>#import "Foo.h"int main(int argc, const char * argv[]) {@autoreleasepool {Foo *foo = [[Foo alloc] init];}return 0;}
Next in main.m try to get an access to one of the variables either by
12Foo *foo = [[Foo alloc] init];NSLog(@"%d", foo.instanceVariablePrivate);or
12Foo *foo = [[Foo alloc] init];NSLog(@"%d", foo.instanceVariablePublic);You cen even try -> operator like
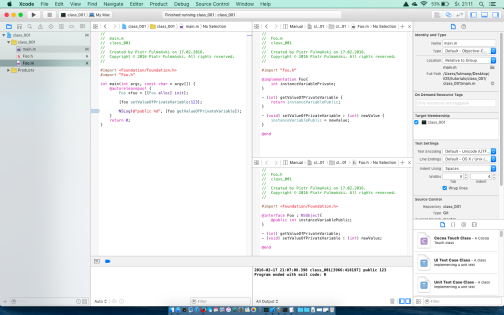
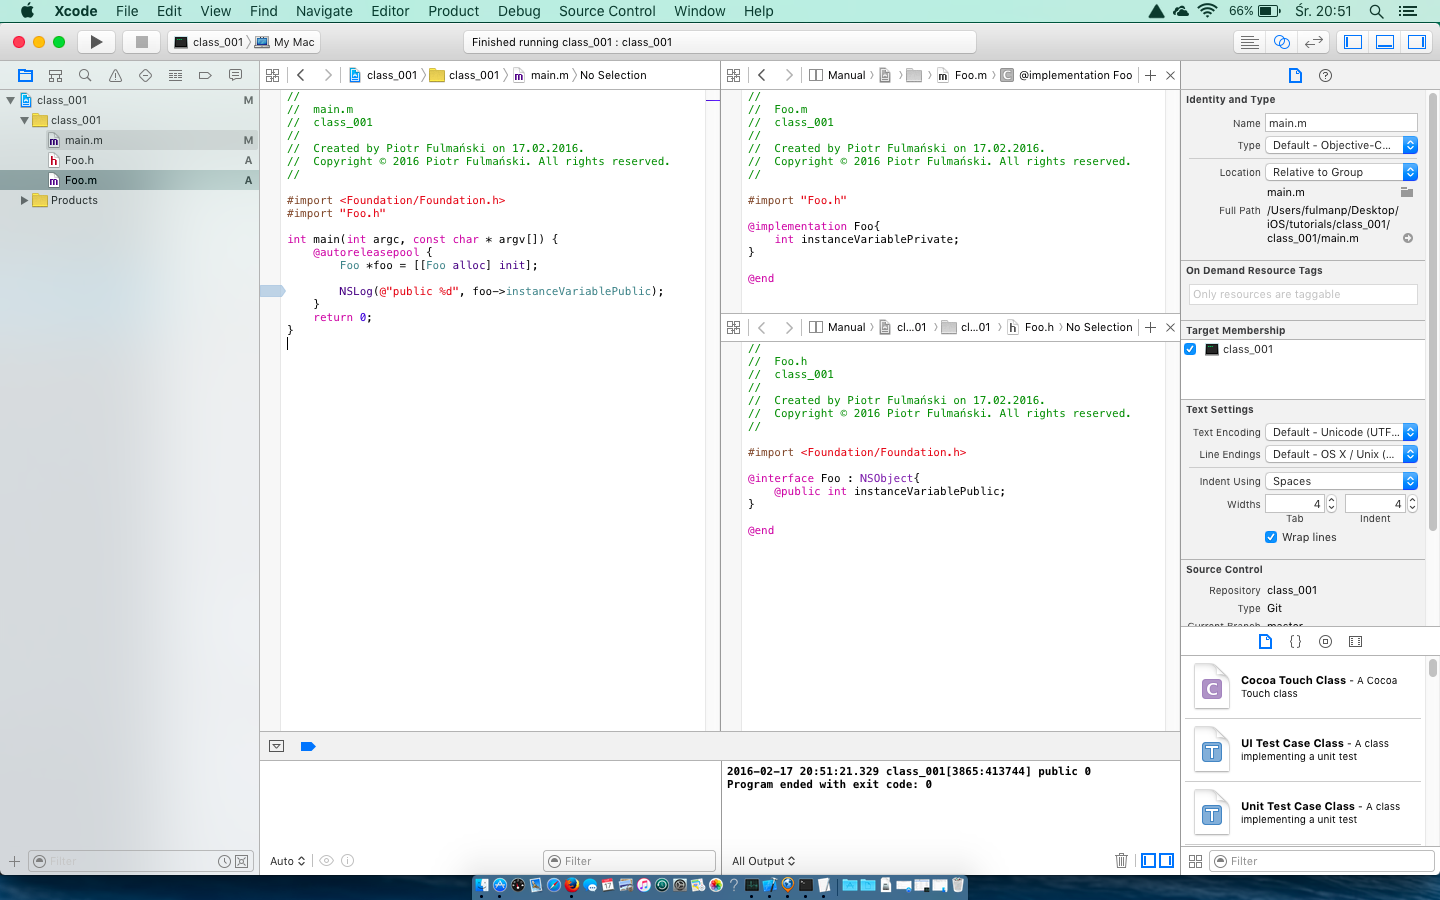
1NSLog(@"%d", foo->instanceVariablePublic);All options without success as you can compare with the following screen

We are not surprised that there is no access to private variables. The question is: Is it possible to have a public variables in Objective-C? Well, yes it is, but it is strongly not recommended. You can do this with@publickeyword but you shouldn't. Instead properties should be used. Just to satisfy ones curiosity, please take a look into the following example but try not to use this approach.12345@interface Foo : NSObject{@public int instanceVariablePublic;}@end12345678int main(int argc, const char * argv[]) {@autoreleasepool {Foo *foo = [[Foo alloc] init];NSLog(@"public %d", foo->instanceVariablePublic);}return 0;}
Let's focus now on private variables. To get an access to them we need some methods -- this would be a topic of the next step.
The conclusions from above are as follows
- You can simply create private variables (instance variables).
- There is no access to private variables other than with the help of methodhs from the class.
- You can not simply create public variable. You can do this with use
@publickeyword but it is strongly not recommended.
- Simple methods.
12345678910#import <Foundation/Foundation.h>@interface Foo : NSObject{}- (int) getValueOfPrivateVariable;- (void) setValueOfPrivateVariable : (int) newValue;@end
123456789101112131415#import "Foo.h"@implementation Foo{int instanceVariablePrivate;}- (int) getValueOfPrivateVariable {return instanceVariablePrivate;}- (void) setValueOfPrivateVariable : (int) newValue {instanceVariablePrivate = newValue;}@end
12345678910111213#import <Foundation/Foundation.h>#import "Foo.h"int main(int argc, const char * argv[]) {@autoreleasepool {Foo *foo = [[Foo alloc] init];[foo setValueOfPrivateVariable:123];NSLog(@"public %d", [foo getValueOfPrivateVariable]);}return 0;}
and test if it works (should work)
Now there is a time for an explanations.
- Methods naming conventions.
Objective-C methods are designed to protect from any ambiguities. As a result, method names are terrible verbose, but undeniably descriptive. You can follow this pattern with the following rules for naming Objective-C methods:
- Don’t abbreviate anything.
- Explicitly state parameter names in the method itself.
- Be descriptive.
- Methods declaration.
Lines started from sequence of the pattern
- (return_type) method_namedeclares (in .h file) a method calledmethod_namewhich returns value of typereturn_typeGeneral method declaration pattern takes a form
1- (return_type) method_namefor method which takes no parameters, and the form
123- (return_type) method_name:(argument_1_type)argument_1_namelabel_for_argument_2:(argument_2_type)argument_2_namelabel_for_argument_3:(argument_3_type)argument_3_namefor method which takes one or more parameters (three in this case). The minus sign prepended to the method marks it as an instance method (opposed to a class method marked with plus sign -- see next section tutu).
- Calling methods.
To invoke a method we place the object and the desired method in square brackets, separated by a space. Arguments are separated from the method name using a colon:
12[foo getValueOfPrivateVariable][foo setValueOfPrivateVariable:123]If there is more than one parameter, it comes after the initial argument, following the same pattern. Each parameter is paired with a label, separated from other arguments by a space, and set off by a colon:
1[object method_name: argument_1_value label_for_argument_2:argument_2_value label_for_argument_3:argument_3_value]It’s a lot easier to see the purpose behind the above naming conventions when you approach it from an invocation perspective. They make method calls read more like a human language than a computer one. For example, compare the following method call from Simula-style languages to Objective-C’s version:
- Nested method calls
Nesting method calls is a common pattern in moder programming languages (Java) or libraries (jQuery). It’s a natural way to pass the result of one call to another. An example of this is a two-step proces of instantiation an object
1Foo *foo = [[Foo alloc] init];First, the
[Foo alloc]method is called, then theinitmethod is invoked on its return value. - Method overloading
Objective-C does not support method overloading, so we have to use different method names. The reason for this is that in a dynamically typed language, type information is very often not known until runtime. At runtime, all objects are statically typed asidin Objective-C. Additionally, a core idea in dynamically typed object oriented languages is that we should not care what type an object is as long as it responds to the messages we want to send.Luckily there is hope to solve this problem. Remember that the method name includes the method signature keywords (the parameter names that come before the ":"s), so the following are two different methods, even though they both begin with
saveToFile:12-(void) saveToFile:(NSString *)path valueInt:(int)anInt;-(void) saveToFile:(NSString *)path valueString:(NSString *)aString;(the names of the two methods are
saveToFile:valueInt:andsaveToFile:valueString:). - Private mehods
The simplest method to get private methods is to add them to the implementation but not the interface. Actuall private methods we can get with extensions: see Classes, part 2: Extensions
- Methods naming conventions.


Add minimum three more instance variables. Add minimum three diferent methods (with differnt number of arguments) to operate on these variables and use them.
In object-oriented world, an object’s properties let other objects inspect or change this object state. Sometimes, when we are extremely lazy, we do this with public variables. In a well-designed object-oriented code, it shouldn't happen. It shouldn't be possible to directly access the internal state of an object. Instead, accessor methods (so called getters and setters) are used as an abstraction for interacting with the object’s internal data.
The goal of the @property directive is to make it easy to create and configure properties by automatically generating these accessor methods. What is more important, properties behaves like public instance variables.
- Change our code to have a form presented in the following snippets
12345678#import <Foundation/Foundation.h>@interface Foo : NSObject{}@property int x;@end
1234567]#import "Foo.h"@implementation Foo{}@end
123456789101112131415#import <Foundation/Foundation.h>#import "Foo.h"int main(int argc, const char * argv[]) {@autoreleasepool {Foo *foo = [[Foo alloc] init];foo.x = 123;NSLog(@"public %d", foo.x);[foo setX:456];NSLog(@"public %d", [foo x]);}return 0;}
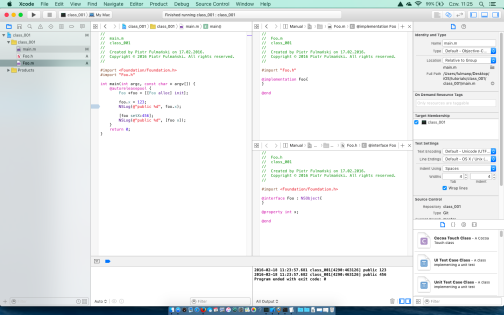
and run it
Lines
12foo.x = 123;NSLog(@"public %d", foo.x);are clear for us and shouldn't surprise us. We use well known dot notation to get an access to a public member of the class (or it looks like we exactly do this what is the same thing from our point of view).
On the other side, lines
12[foo setX:456];NSLog(@"public %d", [foo x]);looks strange. There is a call to undefined method
setXas well asxand what is more surprising, both calls works. The answer is very simple. The compiler generates a getter and a setter for thexproperty. The default naming convention is to use the property name as the getter, prefix it withsetfor the setter, and prefix it with an underscore for the instance variable.Say it again: under the hood the compiler (or preprocessor?) generates for us the following changes for every property declared with the
@propertydirective:- Introduce instance variable using the property name and underscore prefix as its name. In our case this would be
123@interface Foo : NSObject{int _x;} - Generates getter using the property name as its name. In our case this would be
123- (int)x {return _x;} - Generates setter using the property name and
setprefix as its name. In our case this would be
123- (int)setX:(int)x {_x = x;}
After declaring the property with the
@propertydirective, we can call these methods as if they were included in our class’s interface and implementation files. Properties accessed with dot notation are translated to the above accessor methods behind the scenes, so for example1foo.x = 123;code actually calls
1[foo setX:456]; - Introduce instance variable using the property name and underscore prefix as its name. In our case this would be
- The
getter=andsetter=attributes.If we don’t like
@property’s default naming conventions, we can change the getter/setter method names with thegetter=andsetter=attributes. Test the followig code.12345678#import <Foundation/Foundation.h>@interface Foo : NSObject{}@property (getter=myGet, setter=mySet:)int x;@end123456#import "Foo.h"@implementation Foo{}@end123456789101112#import <Foundation/Foundation.h>#import "Foo.h"int main(int argc, const char * argv[]) {@autoreleasepool {Foo *foo = [[Foo alloc] init];[foo mySet:456];NSLog(@"public %d", [foo myGet]);}return 0;}
- We defer explanation of other attributes like
nonatomic,strong,weakandcopyto the next tutorials. You can find some information here


The readonly attribute is an easy way to make a property read only. Write a code to test and show how it works.
If we declare a variable inside the
@implementation section (but outside curly brackets), we are actually creating a global variable, visible everywhere (in every method in our application).
Member variables can only be declared in the @interface section. They are only accessible in the class itself.
In case you are not familiar with extern please read Understanding “extern” keyword in C tutorial.
|
1 2 3 4 5 6 7 8 9 10 |
#import <Foundation/Foundation.h> @interface Foo1 : NSObject - (void) setValueOfVariablePrivate : (int) newValue; - (void) setValueOfVariableGlobal : (int) newValue; - (int) getValueOfVariablePrivate ; - (int) getValueOfVariableGlobal ; @end |
|
1 2 3 4 5 6 7 8 9 10 11 12 13 14 15 16 17 18 19 20 21 22 23 24 25 |
#import "Foo1.h" @implementation Foo1{ int variablePrivate; } int variableGlobal; - (int) getValueOfVariablePrivate { return variablePrivate; } - (void) setValueOfVariablePrivate : (int) newValue { variablePrivate = newValue; } - (int) getValueOfVariableGlobal{ return variableGlobal; } - (void) setValueOfVariableGlobal : (int) newValue { variableGlobal = newValue; } @end |
|
1 2 3 4 5 6 7 8 9 |
#import <Foundation/Foundation.h> @interface Foo2 : NSObject - (void) setValueOfVariablePrivate : (int) newValue; - (void) setValueOfVariableGlobal : (int) newValue; - (int) getValueOfVariablePrivate ; - (int) getValueOfVariableGlobal ; @end |
|
1 2 3 4 5 6 7 8 9 10 11 12 13 14 15 16 17 18 19 20 21 22 23 24 25 |
#import "Foo2.h" @implementation Foo2{ int variablePrivate; } extern int variableGlobal; - (int) getValueOfVariablePrivate { return variablePrivate; } - (void) setValueOfVariablePrivate : (int) newValue { variablePrivate = newValue; } - (int) getValueOfVariableGlobal{ return variableGlobal; } - (void) setValueOfVariableGlobal : (int) newValue { variableGlobal = newValue; } @end |
|
1 2 3 4 5 6 7 8 9 10 11 12 13 14 15 16 17 18 19 20 21 22 23 24 25 26 27 28 29 30 |
#import <Foundation/Foundation.h> #import "Foo1.h" #import "Foo2.h" int main(int argc, const char * argv[]) { extern int variableGlobal; @autoreleasepool { // insert code here... Foo1 *foo1 = [[Foo1 alloc] init ]; Foo2 *foo2 = [[Foo2 alloc] init ]; [foo1 setValueOfVariablePrivate: 7]; [foo2 setValueOfVariablePrivate: 8]; NSLog(@"%d\n", [foo1 getValueOfVariablePrivate]); NSLog(@"%d\n", [foo2 getValueOfVariablePrivate]); NSLog(@"%d\n", variableGlobal); [foo1 setValueOfVariableGlobal: 1]; [foo2 setValueOfVariableGlobal: 2]; NSLog(@"%d\n", [foo1 getValueOfVariableGlobal]); NSLog(@"%d\n", [foo2 getValueOfVariableGlobal]); NSLog(@"%d\n", variableGlobal); } return 0; } |
2017-03-07 11:03:54.629725 class_part1_private_and_global_variables[84984:4919429] 7

2017-03-07 11:03:54.629989 class_part1_private_and_global_variables[84984:4919429] 8

2017-03-07 11:03:54.630013 class_part1_private_and_global_variables[84984:4919429] 0

2017-03-07 11:03:54.630036 class_part1_private_and_global_variables[84984:4919429] 2

2017-03-07 11:03:54.630056 class_part1_private_and_global_variables[84984:4919429] 2

2017-03-07 11:03:54.630075 class_part1_private_and_global_variables[84984:4919429] 2

Program ended with exit code: 0
There are no constructor methods in Objective-C. Instead, an object is initialized by calling the init method immediately after it’s allocated. This explains why instantiation is always a two-step process: allocate followed by initialize.
|
1 |
Foo *foo = [[Foo alloc] init]; |
init is the default initialization method, but we can also define our own "versions". There’s nothing special about custom initialization methods as they are just normal instance methods, except the method name should always begin with init.
- Use code with a default initialization method
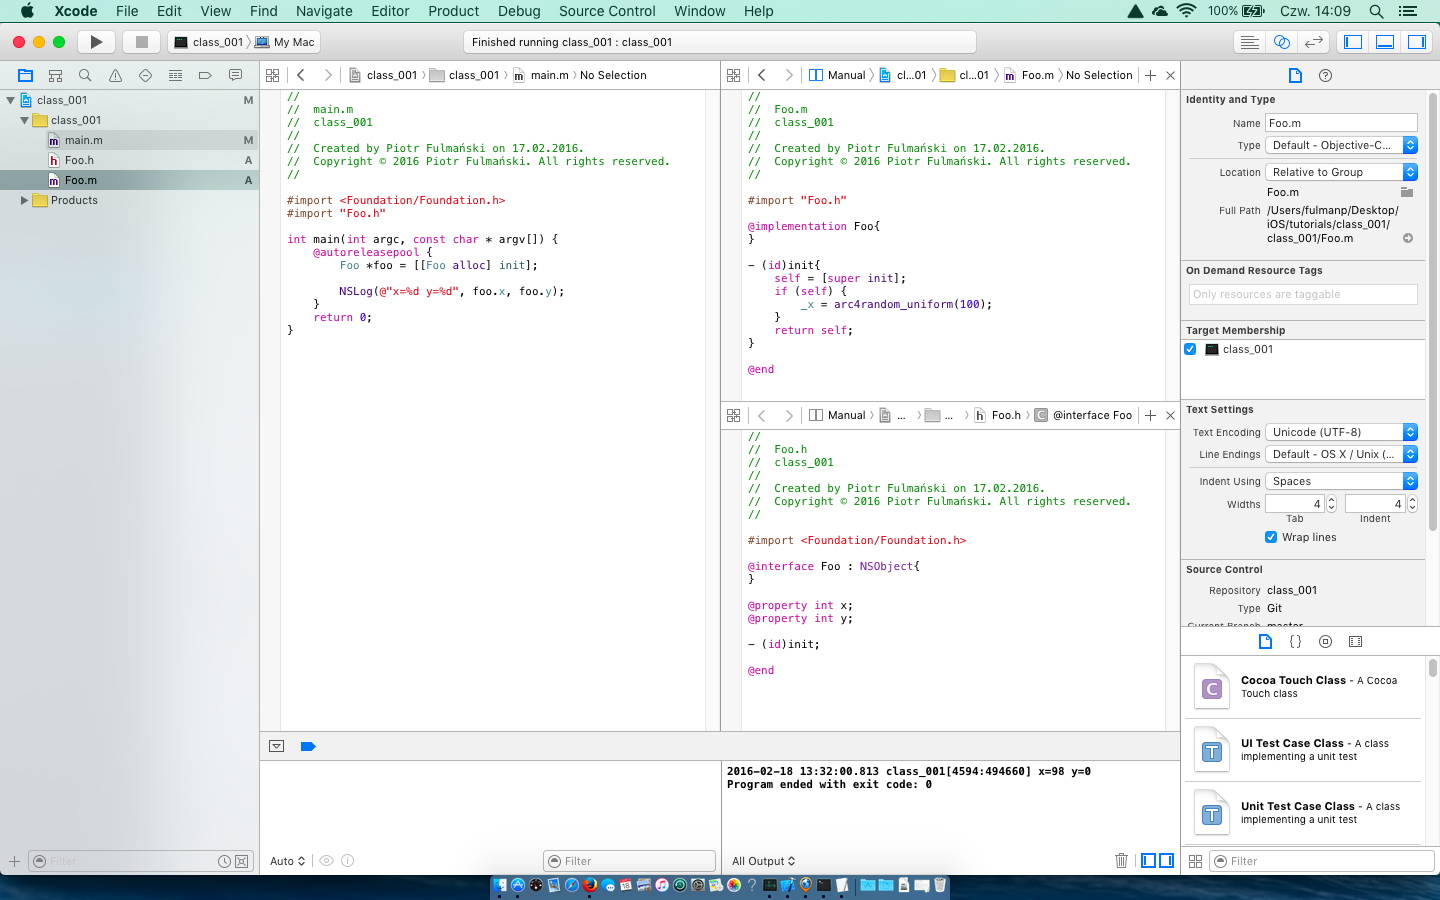
1234567891011#import <Foundation/Foundation.h>@interface Foo : NSObject{}@property int x;@property int y;- (id)init;@end
1234567891011121314#import "Foo.h"@implementation Foo{}- (id)init{self = [super init];if (self) {_x = arc4random_uniform(100);}return self;}@end
1234567891011#import <Foundation/Foundation.h>#import "Foo.h"int main(int argc, const char * argv[]) {@autoreleasepool {Foo *foo = [[Foo alloc] init];NSLog(@"x=%d y=%d", foo.x, foo.y);}return 0;}

id type used above is a generic type, something like void but it can hold any kind of object.
- Use code with our own initialization method
1234567891011#import <Foundation/Foundation.h>@interface Foo : NSObject{}@property int x;@property int y;- (id)initWithRandomXValue:(int)from toValue:(int)to;@end123456789101112131415#import "Foo.h"@implementation Foo{}- (id)initWithRandomXValue:(int)fromtoValue:(int)to{self = [super init];if (self) {_x = arc4random_uniform((to - from) + 1) + from;}return self;}@end1234567891011#import <Foundation/Foundation.h>#import "Foo.h"int main(int argc, const char * argv[]) {@autoreleasepool {Foo *foo = [[Foo alloc] initWithRandomXValue: 1000 toValue:1100];NSLog(@"x=%d y=%d", foo.x, foo.y);}return 0;}

- If you want you can even try to use
initname instead ofinitWithRandomXValue123...- (id)init:(int)from toValue:(int)to;...123456...- (id)init:(int)fromtoValue:(int)to{...}...1Foo *foo = [[Foo alloc] init: 1000 toValue:1100]; - Class-level initialization method -- see next part of this tutorial.

Sometimes we need some properties to be common for all instances of a class or need a method which belongs to the class but not to any particular instances. These are very commonly called "static" properties or methods in other programming languages.
Class method declarations look like instance methods, except they are prefixed with a plus sign instead of a minus sign.
Technically there is no such thing as a class-level variable in Objective-C, but we can "emulate" one by declaring a static variable before defining the implementation.
- Copy, paste and analyze the following code
1234567891011121314#import <Foundation/Foundation.h>@interface Foo : NSObject{}@property int x;@property int y;- (void)setRandomXValue;- (void)setRandomXValue:(int)from toValue:(int)to;+ (void)setDefaultRange;@end
1234567891011121314151617181920212223#import "Foo.h"static int _defaultFrom;static int _defaultTo;@implementation Foo{}- (void)setRandomXValue:(int)fromtoValue:(int)to{_x = arc4random_uniform((to - from) + 1) + from;}- (void)setRandomXValue{_x = arc4random_uniform((_defaultTo - _defaultFrom) + 1) + _defaultFrom;}+ (void)setDefaultRange {_defaultFrom = 2000;_defaultTo = 2200;}@end
123456789101112131415161718192021#import <Foundation/Foundation.h>#import "Foo.h"int main(int argc, const char * argv[]) {@autoreleasepool {[Foo setDefaultRange];Foo *foo1 = [[Foo alloc] init];[foo1 setRandomXValue];NSLog(@"x=%d y=%d", foo1.x, foo1.y);Foo *foo2 = [[Foo alloc] init];[foo2 setRandomXValue: 100 toValue: 200];NSLog(@"x=%d y=%d", foo2.x, foo2.y);}return 0;}
The result should be similar to presented below
2016-02-18 23:27:57.779 class_001[5134:544764] x=2024 y=0

2016-02-18 23:27:57.781 class_001[5134:544764] x=186 y=0

Program ended with exit code: 0
If we have to make some initializations before the first class usage, the
initialize method is designed for this.
- Copy, paste and analyze the following code
1234567891011#import <Foundation/Foundation.h>@interface Foo : NSObject{}@property int x;@property int y;- (id)initWithRandomXValue:(int)from toValue:(int)to;@end
12345678910111213141516171819202122232425262728293031#import "Foo.h"static int _defaultFrom;static int _defaultTo;@implementation Foo{}- (id)initWithRandomXValue:(int)fromtoValue:(int)to{self = [super init];if (self) {_x = arc4random_uniform((to - from) + 1) + from;}return self;}- (id)init {return [self initWithRandomXValue:_defaultFromtoValue:_defaultTo];}+ (void)initialize {if (self == [Foo class]) {// Makes sure this isn't executed more than once_defaultFrom = 2000;_defaultTo = 2200;}}@end
12345678910111213141516#import <Foundation/Foundation.h>#import "Foo.h"int main(int argc, const char * argv[]) {@autoreleasepool {Foo *foo1 = [[Foo alloc] init];NSLog(@"x=%d y=%d", foo1.x, foo1.y);Foo *foo2 = [[Foo alloc] initWithRandomXValue: 1000toValue: 1100];NSLog(@"x=%d y=%d", foo2.x, foo2.y);}return 0;}
The result should be similar to presented below
2016-02-18 15:05:19.941 class_001[4937:519806] x=2143 y=0

2016-02-18 15:05:19.944 class_001[4937:519806] x=1072 y=0

Program ended with exit code: 0
Create a project according to the following rules
- Write a class to cipher documents.
- You can implement any cipher algorithm -- it's up to you which one you want to implement.
- As a document we understand simple strings and files.
- For example this class should allow to
- read plain text file, cipher it and immediately save;
- read encrypted text file and return a decrypted string we can use in our program.