
In this tutorial we cover the following topics
Tab bar is very often confused with a toolbar.
- A tab bar is used for selecting one and only one option from among two or more options. The tab bar has multiple segments, exactly one of which (the selected one) is highlighted with a tint color.
- A toolbar can hold buttons and certain other controls, but those items are not mutually exclusive. For the the toolbar, normally every enabled button is highlighted.
Introduction
Now we are going to build a tab bar application with three different tabs and three different content views. Although Xcode provides a template for tab bar applications, we’re going to build our from scratch. As we will see, it’s not much extra work and it’s good practice.
- Step 1: create a new project
Create a new project- Select File | New | Project...
- Select Single View Application on the template selection sheet.
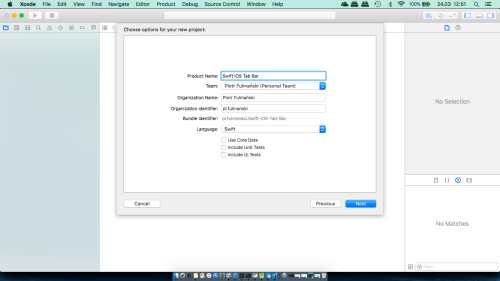
- As the product name enter
Swift iOS Tab Bar - Set the Language to Swift. Because we will not use tests in this tutorial, you can leave both test check boxes unchecked as well as make sure the check box labeled Use Core Data is also unchecked.
- Step 2: create a root view controller
In the previous part, we created a root view controller to manage the process of swapping our application’s other views. This time we will not create our own root view controller class. Instead, we are going to use Apple's class for managing tab bar viewsUITabBarController.- Select
ViewController.swiftin the Project Navigator. - In the editor area double-click the class name (
ViewController) and then right-click it. - In the menu that appears, select Refactor | Rename... and change name to
RootController.

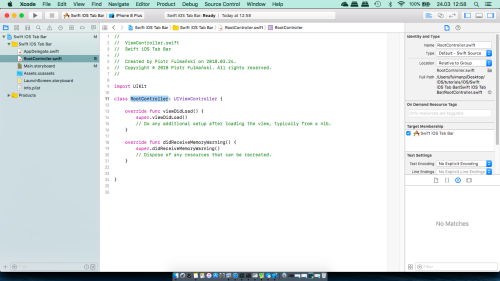
- Select
- Now our root view controller is a subclass of
UIViewController. Everything we have to do to convert it to a tab bar controller, is change its base class toUITabBarController.1234567891011121314import UIKitclass RootController: UITabBarController {override func viewDidLoad() {super.viewDidLoad()// Do any additional setup after loading the view, typically from a nib.}override func didReceiveMemoryWarning() {super.didReceiveMemoryWarning()// Dispose of any resources that can be recreated.}} - Now we have to set the tab bar controller up in the storyboard. Open
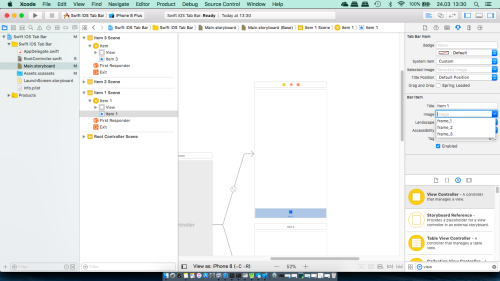
Main.storyboard. - We’re going to replace an initial view controller which cames with the view controller template. You can believe or not but we have to select in the Document Outline or the editor area our controller and simply delete it.
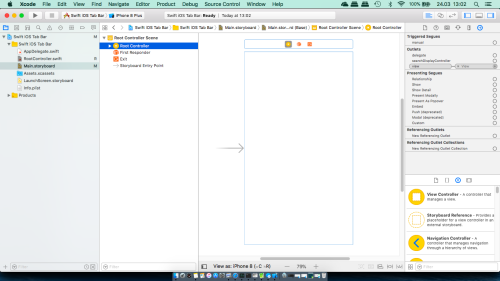
- In the Object Library locate a Tab Bar Controller and drag it over to the editing area. Notice that dragging tab bar controller results pulling out three, complete view-controller pairs at once. Two of them are connected with lines with tab bar root controller. Once we drop the tab bar controller onto the editing area, three new scenes are added to the storyboard.
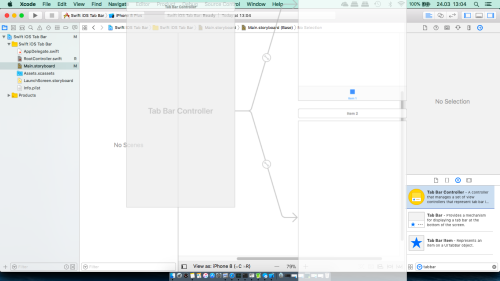

- At this moment we have three view controllers, so we have to inform iOS that the tab bar controller is the one that it should load from
Main.storyboardwhen the application starts. Select the Tab Bar Controller icon in the Document Outline and open the Attributes Inspector. In the View Controller section, check the Is Initial View Controller check box.

With the view controller still selected, switch to the Identity Inspector and change the Class toRootController.


|

|
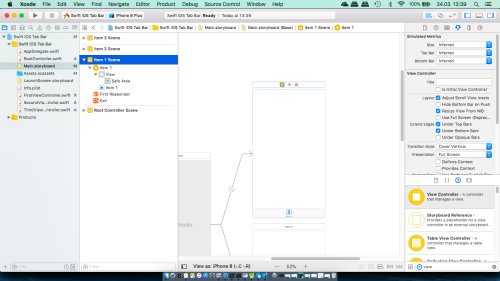
Because in our application there should be three views, we have to add one more manually. The way we’re going to do this is by simply adding one more view controller to the storyboard, and then connecting it so that the tab bar controller can activate it.
- Drag out a normal View Controller from the object library.

- Control-drag from the tab bar controller to the new view controller, release the mouse button, and select view controllers from the Relationship Segue section of the small pop-up window that appears.
- Select the view controller (the controller we have just add).
- Click the tab bar item at the bottom or in the Document Outline.
- Open the Attributes Inspector.
- Now we can see a text field for setting the Title of the Bar Item, which currently contains the text Item.
- Replace the text with
Item 3and press the Enter key.


|

|

|

|

|
Tab bars can use icons to represent each of the tabs. We have three view controllers, so we have to prepare three icons for them. The following materials can halp you with this process.
- Make a Transparent Image (PNG or GIF) Easily with Preview for Mac OS X
- Create Your Own Custom Icons in OS X 10.7.5 or Later
- How to make tab bar icons
- Please refere also to our previous tutorial about image view.
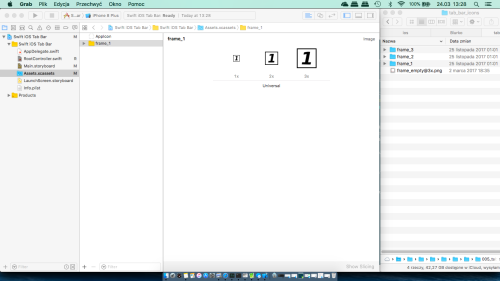
The standard icons you use should be 24 × 24 pixels and saved in .png format. The icon file should have a transparent background. An image size of 24 × 24 pixels is actually for standard displays. For Retina displays we need a double-sized image, or it will appear pixelated. For the iPhone 6 Plus, we need to provide an image that’s three times the size of the original. That is why for any image named foo.png, we should also provide an image named foo@2x.png that is doubled in size and another called foo@3x.png that is three times the size. Calling [UIImage imageNamed:@"foo"] will return the normal-sized image or the double-sized image automatically to best suit the device our app is currently running on.
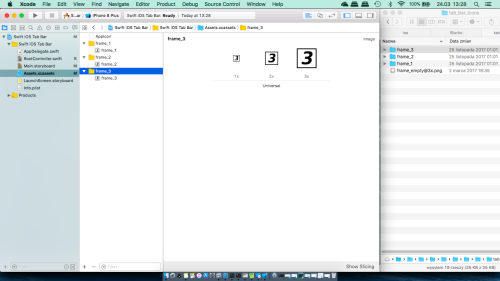
- Having above in mind, prepare correct set of icons. In my case, I use KolourPaint running on my virtual Lubuntu to prepare three icons of size 72 x 72 pixels (3*24 = 72) and then scale them down to 48 x 48 and 24 x 24. Icons for the first view are in
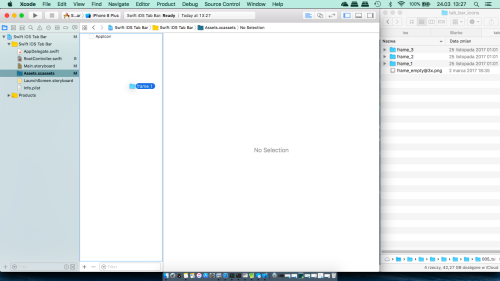
frame_1directory (Frame 1 icon), for the second inframe_2(Frame 2 icon) and the third inframe_3(Frame 3 icon). - In the Xcode Project Navigator, select Assets.xcassets.
- Next, drag each folder with our icons and drop it into the left column of the editing area, underneath AppIcon, to copy them all into the project.
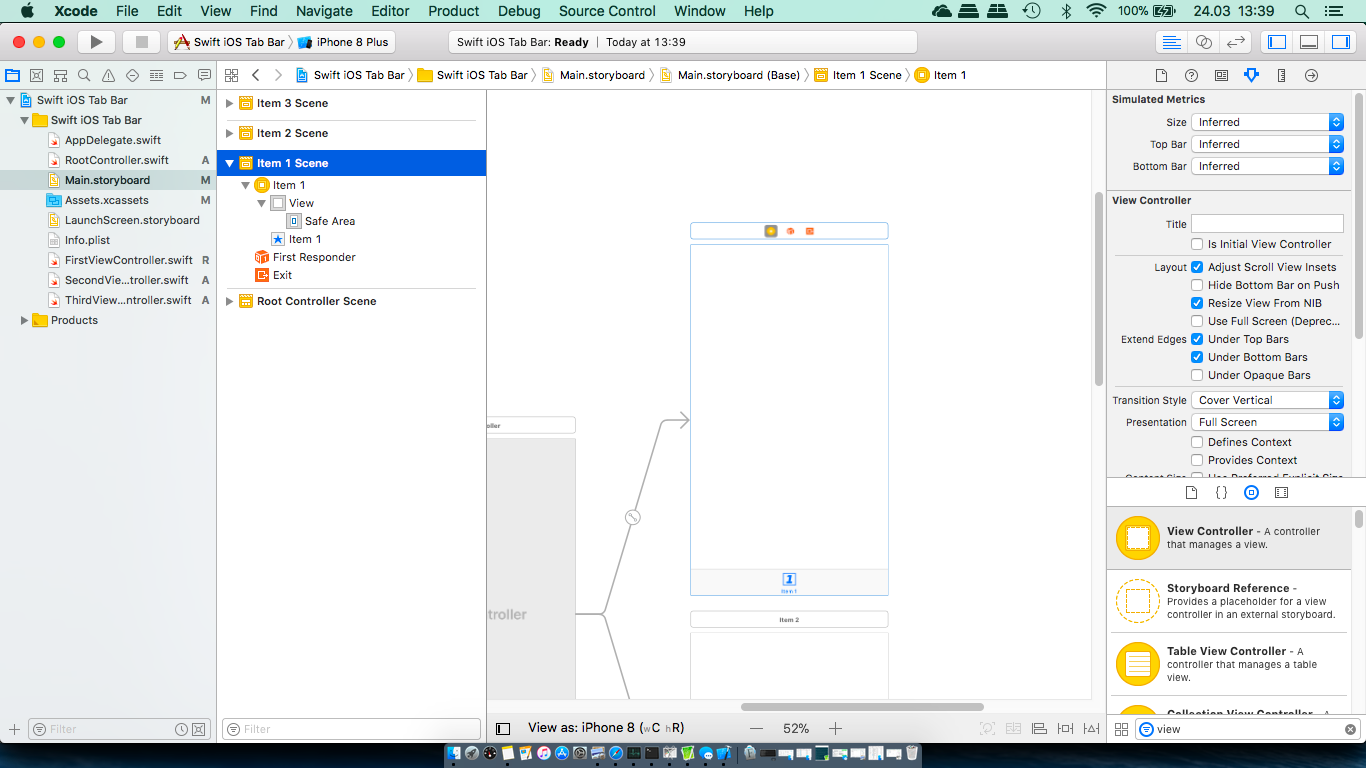
- Select
Main.storyboard. - Select the Item 1 Scene view controller.
- Click the tab bar item at the bottom or in the Document Outline.
- Open the Attributes Inspector.
- Now in the Bar Item section click the Image drop down list and select frame_1.

- Repeat the same steps to add an icons for the second and the third view controller.


Now we have to add three view controllers.
- In the Project Navigator, right-click the Swift iOS Tab Bar group and select New File....

- Choose Cocoa Touch Class from the iOS Source section in the template dialog and then press Next
- Name the new class
FirstViewController, make it a subclass ofUIViewController. Make sure that the Also create XIB file check box is not checked and as language Swift is selected. - Press Next and then press Create to save the files for the new view controller.

- Repeat above steps to create the second content view controller (named
SecondViewController) and the third content view controller (namedThirdViewController). - Select
Main.storyboard. - Select Item 1 Scene view controller.
- Single-click the yellow View Controller icon in the row of icons at the top of the this scene. Next press Alt+Command+3 to bring up the Identity Inspector. In the Custom Class section as Class select FirstViewController.


- Repeat above steps to change classes for the second and the third scene.
- In the Attributes Inspector in section View change the Background to be different for every view.

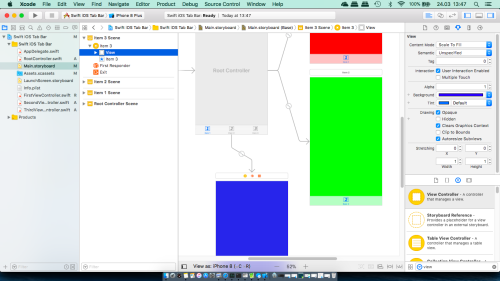


Now the application is ready to run.

|

|
|
|