
Prepared with Unity 5.4.1f1
Preliminaries
Prepare assets
- Find / prepare the player star ship image and save it as
starshipPlayer.png. More or less 100 by 100 pixels shuld be enought. My starship is modeled on X-Wing fighter (based on http://www.zteamproductions.com/sw-tcg.html) and is 86 by 95 pixels. If you have an image without transparency you can add it simply with GIMP following the steps below- Open your image in with GIMP.
- Select Layer | Transparency | Add alpha Chanel.
- From Tools | Selecton Tools select any tool you want to use to select background, for example
- Fuzzy select (Różdżka).
- By Color Select (Zaznaczanie według koloru) and next adjust Treshold.
Please refer to https://docs.gimp.org/en/gimp-tools-selection.html for details.
- Delete selected area. You should see white and gray checkerboard.
- Find / prepare the star background and save it as
backgroundStar.png(for example from https://1-background.com/stars_1.htm. - Find / prepare the laser beam and save it as
laserBeamPlayer.png(my laser beam is 5 by 30 pixels). - Find / prepare the enemy star ship and save it as
starshipEnemy.png(my laser beam is 80 by 66 pixels).
Setting up the project
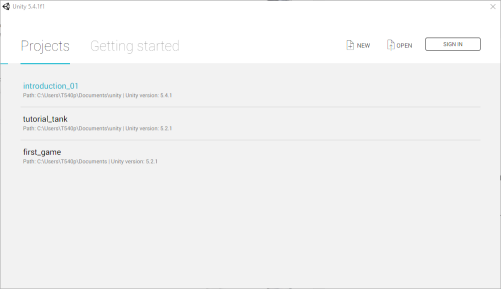
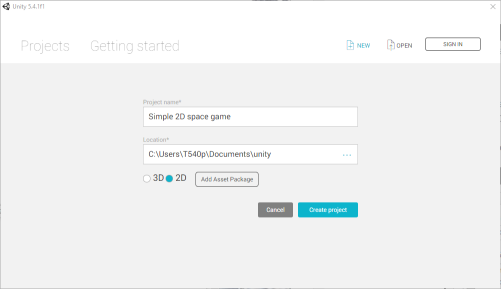
- Start Unity, select New (project). Next as its name enter
Simple 2D space game, choose a location and select 2D radion button. Confirm with pressing Create project button.
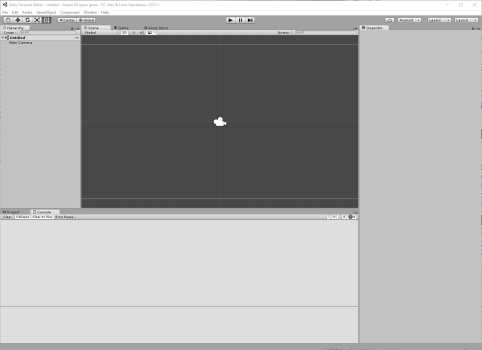
- Select Project tab at the bottom of the screen.
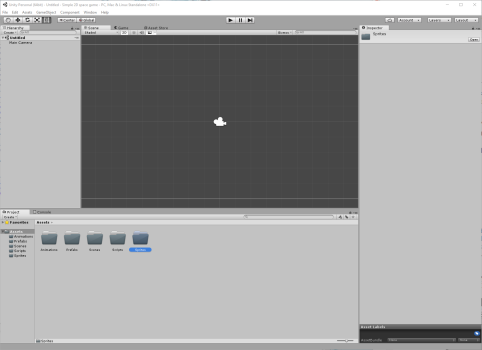
- From Create drop-down menu select Folder. Other option is select from the popup menu we get right after clicking right mouse button on Assets folder and select Create | Folder. Name this new folder
Animations. Next add other folders:Prefabs,Scenes,ScriptsandSprites.
- Select the Sprites folder and drag the
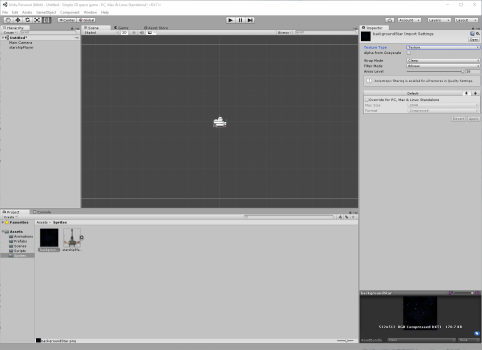
backgroundStar.pngfile into it. - Select the Sprites folder and drag the
starshipPlayer.pngfile into it. - Verify that the image is Sprite: click on it and verify from the Inspector tab that Texture Type is Sprite. If it isn't, change it to that (remember to click on the Apply button).

- Select the Sprites folder and drag the
laserBeamPlayer.pngfile into it. - Select the Sprites folder and drag the
starshipEnemy.pngfile into it.


Creating the scene
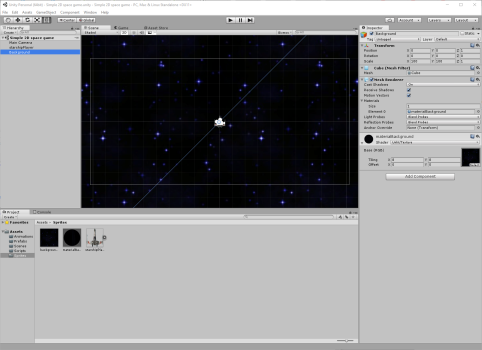
- Drag and drop the player starship
starshipPlayer.pngfrom Assets | Sprites into the Scene tab. - Set the position of the sprite to the center of the screen (set x and y Position on Inspector tab as (0, 0)).

- Now we want to add a background to our scene. There are two options:
- If the image is large enought we can set it directly as a background.
- Drag and drop it into the scene.
- Select the background object, and go to the Sprite Renderer component from the Inspector tab.
- Under Sorting Layer, select Add Sorting Layer.
- Click on the + (plus) icon and add at least two layers: one for background and another one for other objects.
- Place the objects on the appropriate layer by selecting the object and setting the Sorting Layer property for it.
- If the image is small, as in our case which is only 402 by 402 pixels, another approach can be used.
- In the Project tab select the background sprite.
- Change Texture Type in the Inspector tab to Texture.
- In the same tab change Wrap Mode to Repeat.
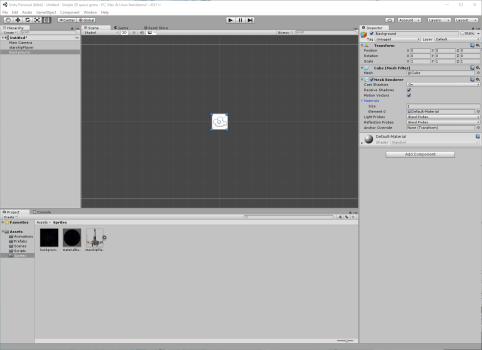
- At the first sight, next step can seems to be strange in 2D world: create a 3D cube! Do this by selecting Game Object | 3D Object | Cube from the main menu.
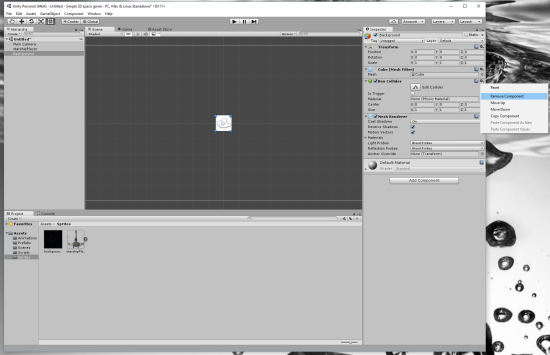
- In the Inspector tab change the cubes's name to Background.

- Remove Box Collider component by clicking on settings icon and selecting Remove Component.
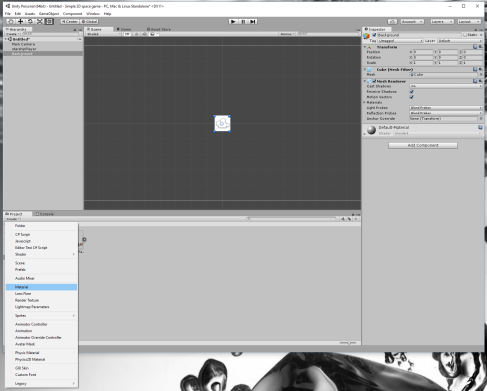
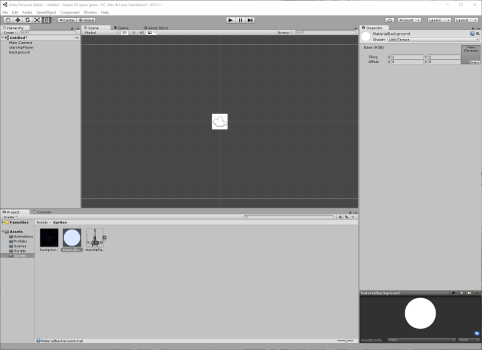
- In the Project tab, select Create | Material, and name it as materialBackground.
- In the Inspector tab change the Shader property to Unlit | Texture.
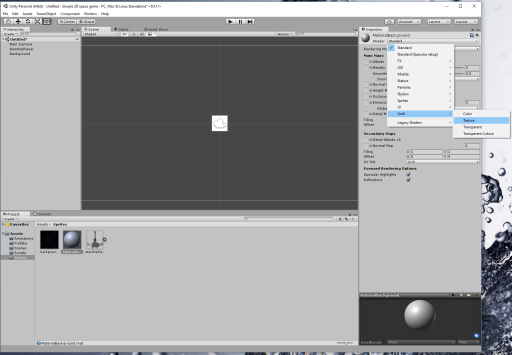
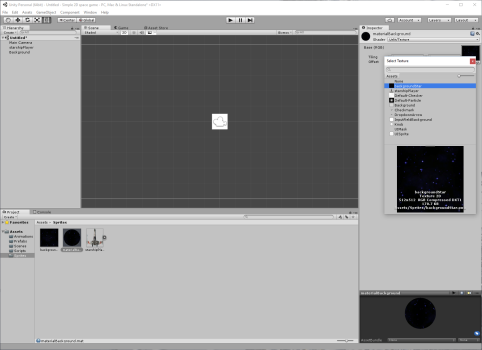
The Inspector tab should change. Click on the Texture box on the right-hand side, and select the backgroundStar texture.
- Set the Tiling property's
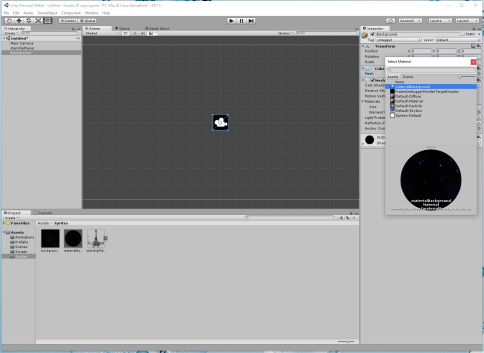
xandyto a number corresponding to the texture size (8 by 8 in case of this tutorial). In short, tiling defines how many times the texture should be repeated in thexandydimension. - In the Hierarchy tab select the Background object. Next in the Mesh Renderer component click on the arrow next to Materials labels and change Element 0 item from Default-Material to materialBackground material (click on the small circle on the right side of this field).
- In the Transform component of the Inspector tab, change the Position to
(0, 0, 1)and the Scale to(100, 100, 1).
- If the image is large enought we can set it directly as a background.


Add scripts: starship movement
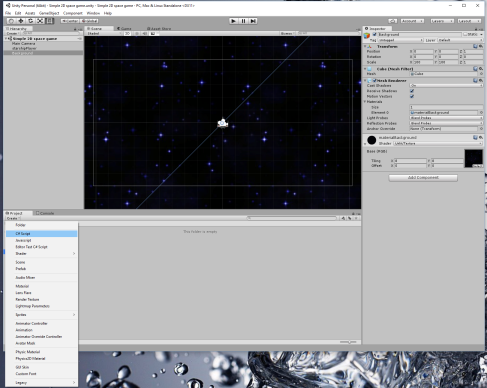
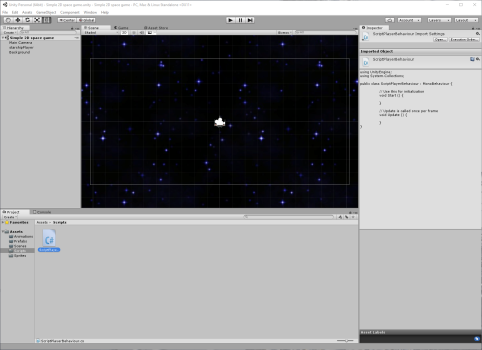
- In the Project tab, select Scripts folder, next Create | C# Script, and name it as ScriptPlayerBehaviour.
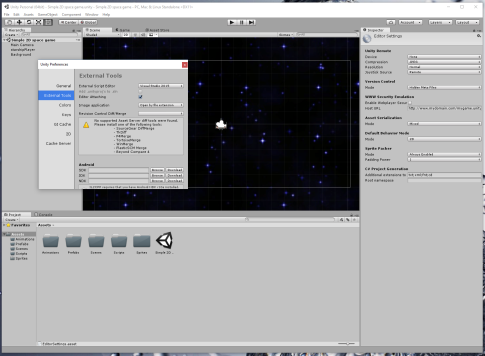
The Script part in the ScriptPlayerBehaviour name is a little bit redundant, but I have found this name more descriptive than simply PlayerBehaviour which often confused readers: PlayerBehaviour, PlayerBehaviour....? Ehm... What a PlayerBehaviour is?! An object?! A texture?! Oooo! Somebody, please help me! - If you don't want to use a Visual Studio as a scripts editor, under Edit | Preferences... menu select External Tools tab and as an External Script Editor select MonoDevelop.
- Double-click on the script and the IDE (MonoDevelop or Visual Studio) should be opened.
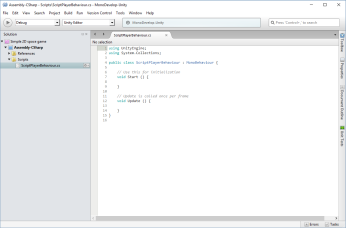
- Add the following code under the class definition
123456789101112131415// Variables for layer's movement// Default player's speed applied every time player// generate any input signal (like keyboard press)public float playerSpeedDefault = 3.0f;// The current player's speedprivate float playerSpeedCurrent = 0.0f;// Slow down over timeprivate float playerDecreaseSpeed = 0.99f;// Direction of the last move that we've madeprivate Vector3 playerLastDirection = new Vector3();// Use List to have multiple input sources for every direction possiblepublic List<KeyCode> buttonUp;public List<KeyCode> buttonDown;public List<KeyCode> buttonLeft;public List<KeyCode> buttonRight;
and replace
1using System.Collections;
by
1using System.Collections.Generic;
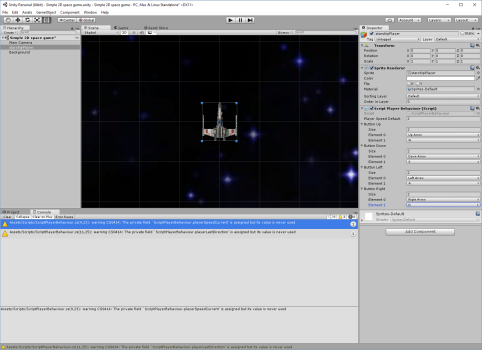
- Save the script and drag-and-drop it onto the starshipPlayer object or better onto this object's Inspector tab (any empty part of it).
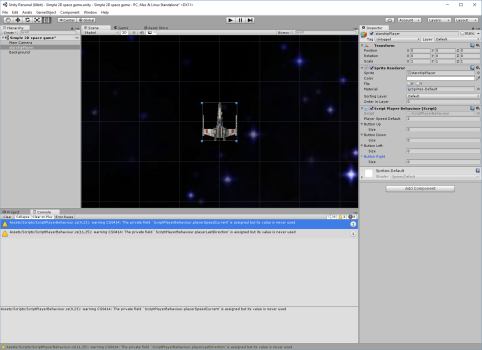
- Change the Size of each of the Button variables to 2, and fill in the Element 0 value with the appropriate arrow and Element 1 with WASD letters: W for up arrow, A for left, S for down, and D for right.
- Add the following code inside the
Updatefunction
12PlayerRotate();PlayerMove();
PlayerRotate()function is used to rotate the player's starship to look into a mouse direction whilePlayerMove()is used to move the player's starship. - Every object in a scene has a Transform. It's used to store and manipulate the position, rotation and scale of the object (https://docs.unity3d.com/ScriptReference/Transform.html). Another idea used in this part of code is Quaternion (https://docs.unity3d.com/ScriptReference/Quaternion.html). Now we are going to use them. Add the following code inside the
ScriptPlayerBehaviourclass
1234567891011// Rotate the player's starship to look into a mouse directionvoid PlayerRotate(){Vector3 mouseWorldPosition = Camera.main.ScreenToWorldPoint(Input.mousePosition);float mouseDirectionX = mouseWorldPosition.x - this.transform.position.x;float mouseDirectionY = mouseWorldPosition.y - this.transform.position.y ;float angle = Mathf.Atan2(mouseDirectionY, mouseDirectionX) * Mathf.Rad2Deg;// Quaternion.Euler returns a rotation that rotates z degrees around the z axis,// x degrees around the x axis, and y degrees around the y axis (in that order).this.transform.rotation = Quaternion.Euler(new Vector3(0, 0, angle - 90)); // -(90-angle) = angle-90} - Now it's the first time we can test our game. Comment for a while (only for this step) a line with
PlayerMove()function call and press Ctrl+P to play the game. Our starship should follow the mouse pointer. - Add the following code inside the
ScriptPlayerBehaviourclass
123456789101112131415161718192021222324// Move the player's starship according to WASD buttonsvoid PlayerMove(){Vector3 thisFrameMove = new Vector3();thisFrameMove += CheckMove(buttonUp, Vector3.up);thisFrameMove += CheckMove(buttonDown, Vector3.down);thisFrameMove += CheckMove(buttonLeft, Vector3.left);thisFrameMove += CheckMove(buttonRight, Vector3.right);thisFrameMove.Normalize ();if(thisFrameMove.magnitude > 0){playerSpeedCurrent = playerSpeedDefault;playerLastDirection = thisFrameMove;}else{playerSpeedCurrent *= playerDecreaseSpeed;}this.transform.Translate(playerLastDirection * Time.deltaTime *playerSpeedCurrent, Space.Self);}
In expression
1this.transform.Translate(playerLastDirection * Time.deltaTime * playerSpeedCurrent, Space.Self);
you can try to useSpace.Worldinstead ofSpace.Self - Add the following code inside the
ScriptPlayerBehaviourclass
1234567891011121314Vector3 CheckMove(List<KeyCode> keyCodeList, Vector3 move){foreach (KeyCode element in keyCodeList){// Input.GetKey returns true while the user holds down the key// identified by 'element'if(Input.GetKey(element)){return move;}}return Vector3.zero;} - Press Ctrl+P to play the game. As before our starship should follow the mouse pointer as well as WASD keys directions.


Add scripts: starship shooting
- In the ScriptPlayerBehaviour script add the following code at the beginning of the
ScriptPlayerBehaviourclass
123456// Variables for laser shootspublic Transform laser;public float laserDistance = .2f;public float timeBetweenFires = .2f;private float timeTillNextFire = 0.0f;public List<KeyCode> buttonFire; - In the
Update()add call toLaserFire()function, so nowUpdate()takes the following form
12345void Update () {PlayerRotate();PlayerMove();LaserFire();} - Add the following code of
LaserFire()inside theScriptPlayerBehaviourclass
12345678910111213void LaserFire(){if (timeTillNextFire <= 0) {foreach (KeyCode element in buttonFire) {if (Input.GetKey(element)) {timeTillNextFire = timeBetweenFires;MakeLaserFire();break;}}} else {timeTillNextFire -= Time.deltaTime;}} - Add the following code of
MakeLaserFire()inside theScriptPlayerBehaviourclass
12345678void MakeLaserFire(){float laserX = this.transform.position.x +Mathf.Cos((transform.localEulerAngles.z - 90) * Mathf.Deg2Rad) * (-laserDistance);float laserY = this.transform.position.y +Mathf.Sin((transform.localEulerAngles.z - 90) * Mathf.Deg2Rad) * (-laserDistance);Instantiate(laser, new Vector3(laserX, laserY, 0), this.transform.rotation);} - In starshipPlayer object's Inspector tab change the Size of Button Fire variable to 2, and fill in the Element 0 value with Mouse0 and Element 1 with Space.
- In the Project tab, select Scripts folder, next Create | C# Script, and name it as ScriptLaserBehaviour.
- Add the following code under the class definition
123public float laserSpeed = 6.0f;public float laserLifetime = 2.0f;public int laserPower = 1; - Update class' methods
Start()andUpdate()
12345678910// Use this for initializationvoid Start () {// Destroy the game object in 'laserLifetime' seconds after loading the objectDestroy(gameObject, laserLifetime);}// Update is called once per framevoid Update () {transform.Translate(Vector3.up * Time.deltaTime * laserSpeed);} - Drag and drop the laser beam
laserBeamPlayer.pngfrom Assets | Sprites into the Scene tab. - Save the script and drag-and-drop it onto the laserBeamPlayer object or better onto this object's Inspector tab (any empty part of it).
- Add a Box Collider component by selecting the laser object and then going to Component | Physics 2D | Box Collider 2D.
- Add also a colider for our star ship but in this case use a Circle Collider 2D.

- Select the Assets | Prefabs folder in the Project, and drag-and-drop the laser object (laserBeamPlayer) from the Hierarchy tab into Prefabs. The name in object hierarchy should turn blue to show that now it is a prefab.
- Delete the laser object from the scene.
- In the starshipPlayer object's Inspector tab find the ScriptPlayerBehavior component. Next drag-and-drop the laserBeamPlayer prefab into the Laser property of this component.
- Press Ctrl+P to play the game. Now we should be able to fire lasers.

Add scripts: enemy starships
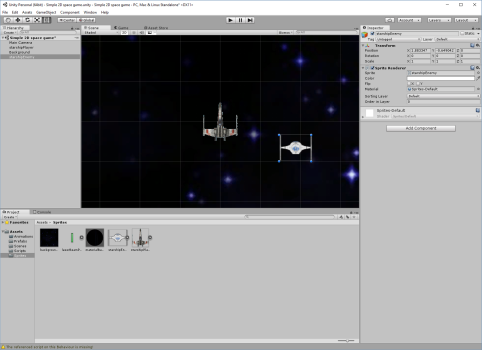
- Drag and drop the enemy starship
starshipEnemy.pngfrom Assets | Sprites into the Scene tab.
- In the Project tab, select Scripts folder, next Create | C# Script, and name it as ScriptEnemyBehaviour.
- Add the following code under the class definition
123private Transform playerTransformation;public float enemySpeed = 1.0f;public int energy = 1; - Update class' methods
Start()andUpdate()
1234567891011121314151617// Use this for initializationvoid Start () {playerTransformation = GameObject.Find("starshipPlayer").transform;}// Update is called once per framevoid Update () {Vector3 directionToPlayer = playerTransformation.position - transform.position;directionToPlayer.Normalize();float moveSpeed = enemySpeed * Time.deltaTime;transform.position = transform.position + (directionToPlayer * moveSpeed);float playerDirectionX = this.transform.position.x - playerTransformation.position.x;float playerDirectionY = this.transform.position.y - playerTransformation.position.y;float angle = Mathf.Atan2(playerDirectionY, playerDirectionX) * Mathf.Rad2Deg;this.transform.rotation = Quaternion.Euler(new Vector3(0, 0, angle - 90));} - Add the following code inside the
ScriptEnemyBehaviourclass
12345678910111213void OnCollisionEnter2D(Collision2D theCollision){if(theCollision.gameObject.name.Contains("laser")){ScriptLaserBehaviour scriptLaserBehaviour = theCollision.gameObject.GetComponent("ScriptLaserBehaviour") as ScriptLaserBehaviour;energy -= scriptLaserBehaviour.laserPower;Destroy(theCollision.gameObject);}if (energy <= 0){Destroy(this.gameObject);}} - Save the script and drag-and-drop it onto the starshipEnemy object or better onto this object's Inspector tab (any empty part of it).
- Add a Box Collider component by selecting the enemy starship object and then going to Component | Physics 2D | Box Collider 2D.
- Add a Rigidbody 2D component to our enemy by going to Component | Physics 2D | Rigidbody 2D. Change the Gravity Scale to 0 so it will not fall.
- Let's change enemy starship into prefab as we did with laser beam. Select the Assets | Prefabs folder in the Project, and drag-and-drop the enemy starship object (starshipEnemy) from the Hierarchy tab into Prefabs. The name in object hierarchy should turn blue to show that now it is a prefab.
- Delete the enemy starship object from the scene.
- Create an empty game object selecting GameObject | Create Empty. Having the object selected, in it's Inspector set its name to ControllerEnemy.
- In the Project tab, select Scripts folder, next Create | C# Script, and name it as ScriptControllerEnemy.
- Add the following code to this script
123456789101112131415161718192021222324252627282930313233343536373839404142using UnityEngine;using System.Collections;public class ScriptControllerEnemy : MonoBehaviour {private Transform playerTransformation;private float timeToCreateEnemy = 0;private int currentNumberOfEnemies = 0;public Transform enemy;public float timeBetweenEnemies = 2.0f;public int maxEnemies = 5;// Use this for initializationvoid Start () {playerTransformation = GameObject.Find("starshipPlayer").transform;}// Update is called once per framevoid Update () {timeToCreateEnemy -= Time.deltaTime;if (timeToCreateEnemy <= 0 && currentNumberOfEnemies < maxEnemies) {float randDirection = Random.Range (0, 360);float randDistance = Random.Range (5, 10);float newEnemyPositionX = playerTransformation.position.x +Mathf.Cos((randDirection) * Mathf.Deg2Rad) * randDistance;float newEnemyPositionY = playerTransformation.position.y +(Mathf.Sin((randDirection) * Mathf.Deg2Rad) * randDistance);float playerDirectionX = newEnemyPositionX - playerTransformation.position.x;float playerDirectionY = newEnemyPositionY - playerTransformation.position.y;float angle = Mathf.Atan2(playerDirectionY, playerDirectionX) * Mathf.Rad2Deg;Instantiate(enemy, new Vector3(newEnemyPositionX, newEnemyPositionY, 0), Quaternion.Euler(new Vector3(0, 0, angle - 90)));currentNumberOfEnemies++;timeToCreateEnemy = timeBetweenEnemies;}}public void EnemyWasKilled(){currentNumberOfEnemies--;}} - Save the script and drag-and-drop it onto the ConrollerEnemy's Inspector tab (any empty part of it).
- Next, drag-and-drop the enemy prefab (starshipEnemy) into the Enemy variable in the ScriptControllerEnemy component on Inspector tab of the ConrollerEnemy.
- In ScriptEnemyBehaviour script update a function
OnCollisionEnter2Dto the following form
123456789101112131415void OnCollisionEnter2D(Collision2D theCollision){if(theCollision.gameObject.name.Contains("laser")){ScriptLaserBehaviour scriptLaserBehaviour = theCollision.gameObject.GetComponent("ScriptLaserBehaviour") as ScriptLaserBehaviour;energy -= scriptLaserBehaviour.laserPower;Destroy(theCollision.gameObject);}if (energy <= 0){ScriptControllerEnemy scriptControllerEnemy = GameObject.Find("ControllerEnemy").GetComponent("ScriptControllerEnemy") as ScriptControllerEnemy;scriptControllerEnemy.EnemyWasKilled();Destroy(this.gameObject);}} - Press Ctrl+P to play the game. Now we should be able to fight with limited number of enemies.

Tasks:
- There should be two lasers from player's wings starship.
- Add eneymy lasers.
- Decrease player's energy after collision with enemies or laser hit; when energy equal to 0 - destroy it.
- Rmove code duplication. For example in
ScriptPlayerBehaviorthere is
123float mouseDirectionX = mouseWorldPosition.x - this.transform.position.x;float mouseDirectionY = mouseWorldPosition.y - this.transform.position.y ;float angle = Mathf.Atan2(mouseDirectionY, mouseDirectionX) * Mathf.Rad2Deg;
while inScriptControllerEnemy
123float playerDirectionX = newEnemyPositionX - playerTransformation.position.x;float playerDirectionY = newEnemyPositionY - playerTransformation.position.y;float angle = Mathf.Atan2(playerDirectionY, playerDirectionX) * Mathf.Rad2Deg;