Prepared and tested with Xcode 10.2.1 and Swift 5 (2019-05-03)
In this tutorial we cover the following topics
General information
In this tutorial you can find some most frequently needed information about
segues. Some of them are presented also in my other tutorials, for example in Multiview application (Swift). Here I try to collect all of them and extract so we can focus only on segues themselves but not other details not directly related with segues.
Project
- Step 1: create a new project
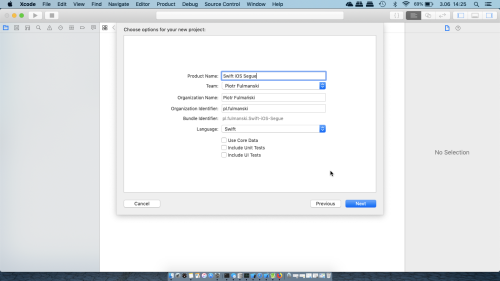
Create a new project- Select File | New | Project...
- Select Single View Application on the template selection sheet.
- As the product name enter
Swift iOS Segue - Set the Language to Swift. Because we will not use tests in this tutorial, you can leave both test check boxes unchecked as well as make sure the check box labeled Use Core Data is also unchecked.

- Step 2: add all UI components
Create a new project- In the Project navigator select
Main.storyboardfile.
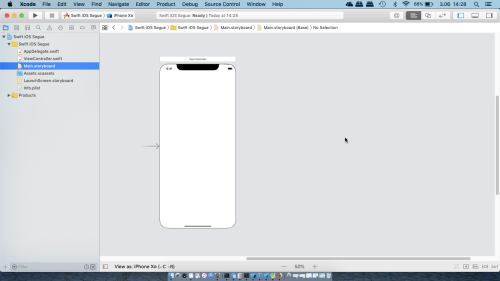
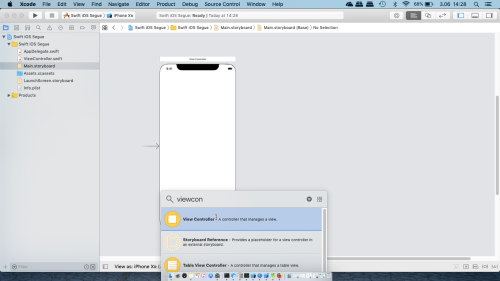
- Press
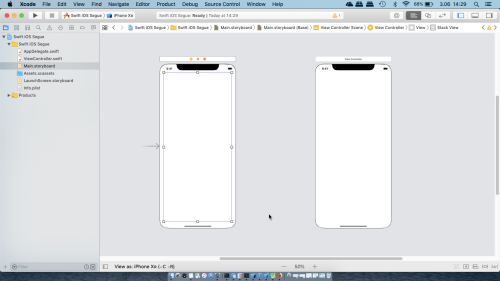
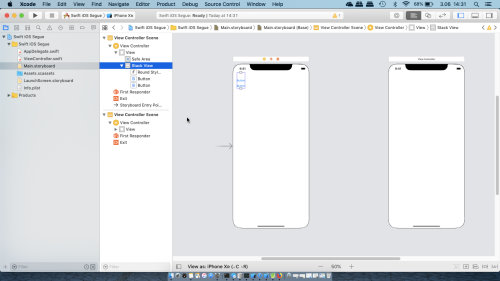
Command + Shift + Lto open library with UI components and drag a secondView Controllerand drop it in the editing area next to the existing one

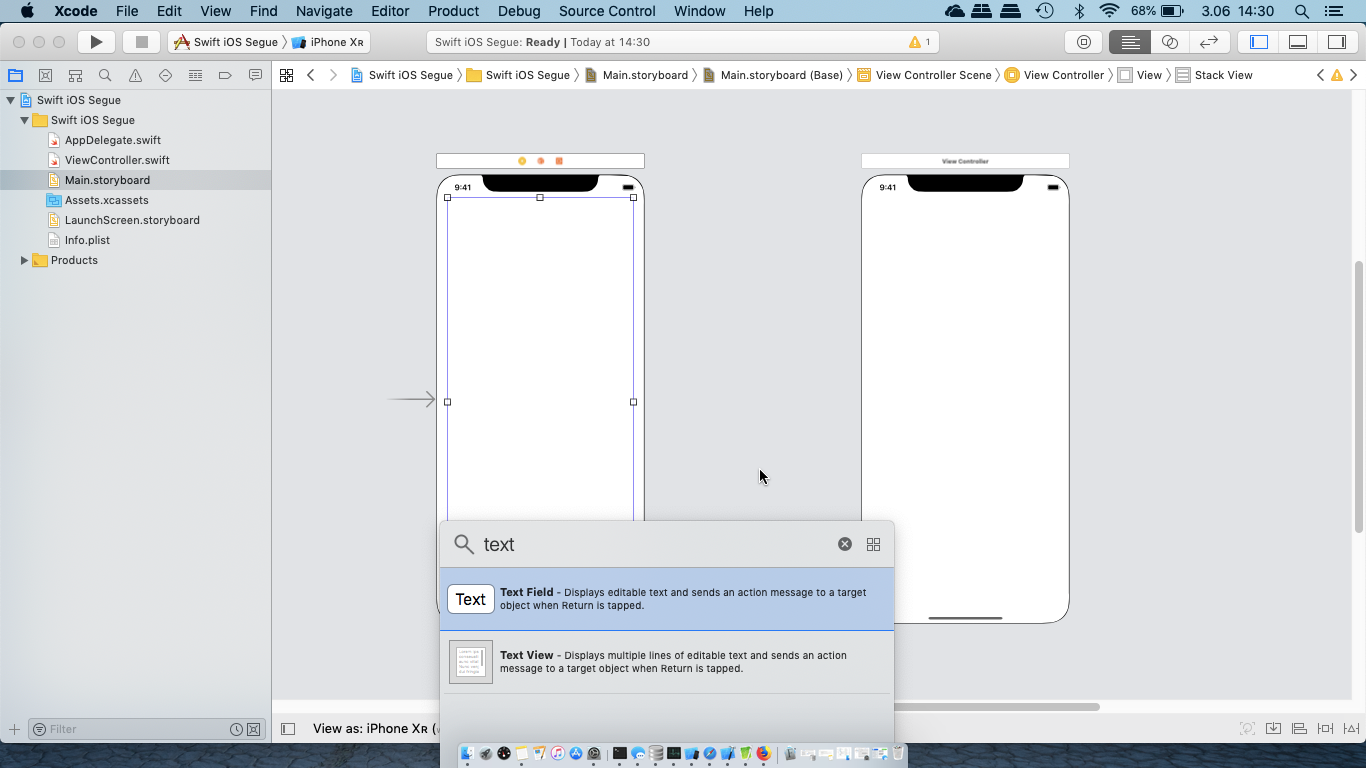
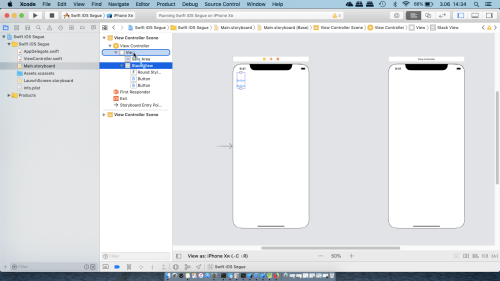
- Select from the library a
Vertical Stack Viewcomponent and drag it to the firstView Controller
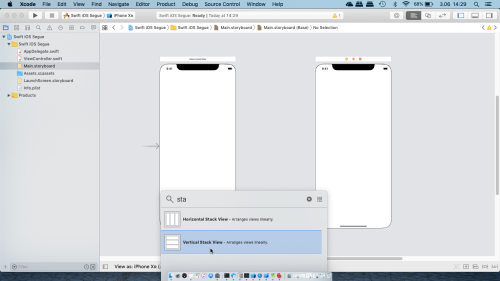
- Select from the library one
Text Fieldand twoButtons components and drag all of them to theVertical Stack Viewwe have just added in previous step


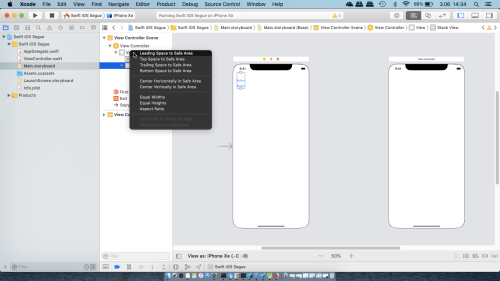
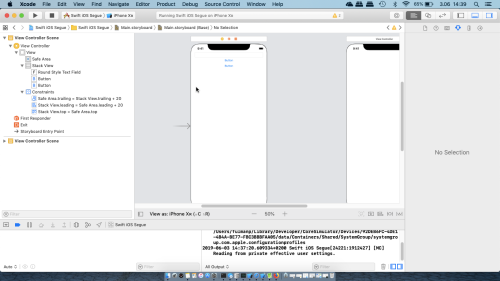
- Set all the necessary constraints:
Leading Space,Top SpaceandTrailing Space
- In the Project navigator select
- Step 3: create segue
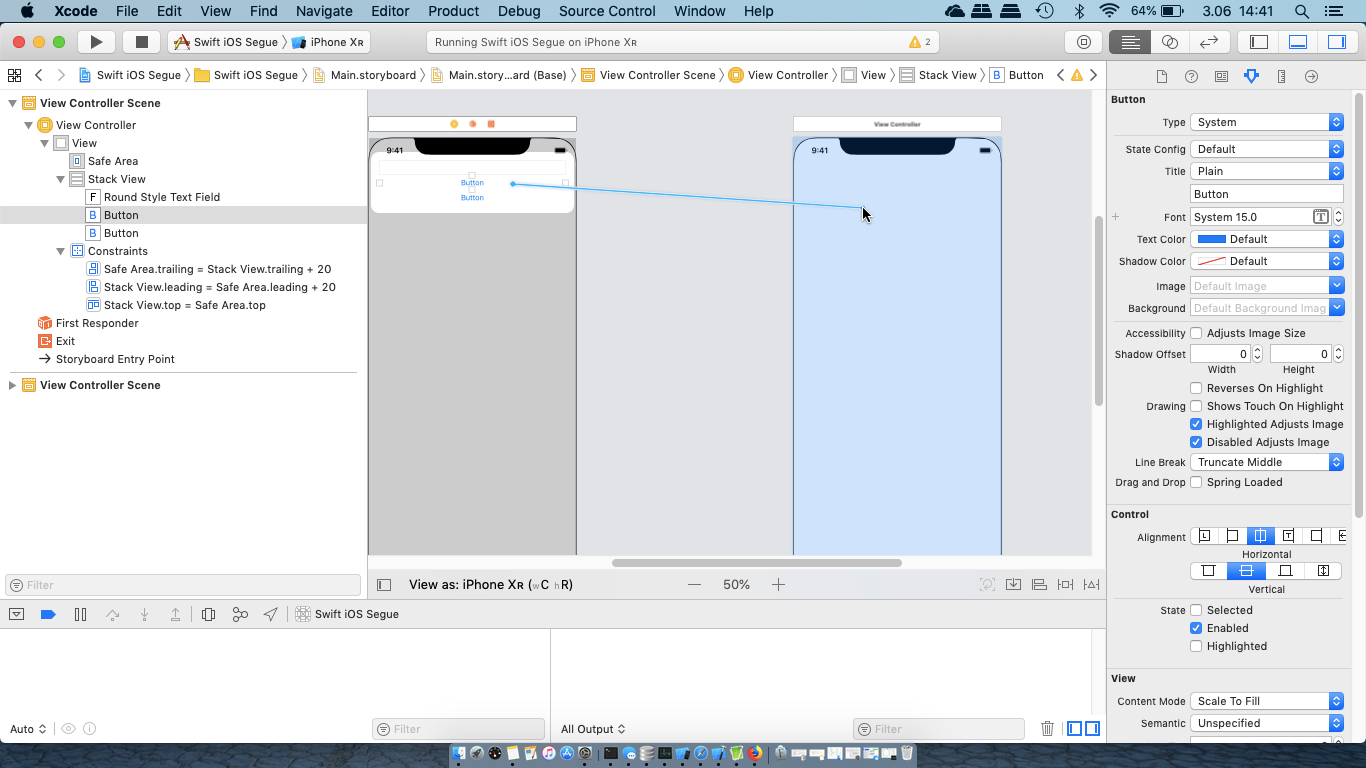
- To Create segue between view controllers in the same storyboard file,
Control-click an appropriate element in the first view controller (in our case this is a first button), drag to the target view controller and selectShowfrom popup menu.

- To Create segue between view controllers in the same storyboard file,
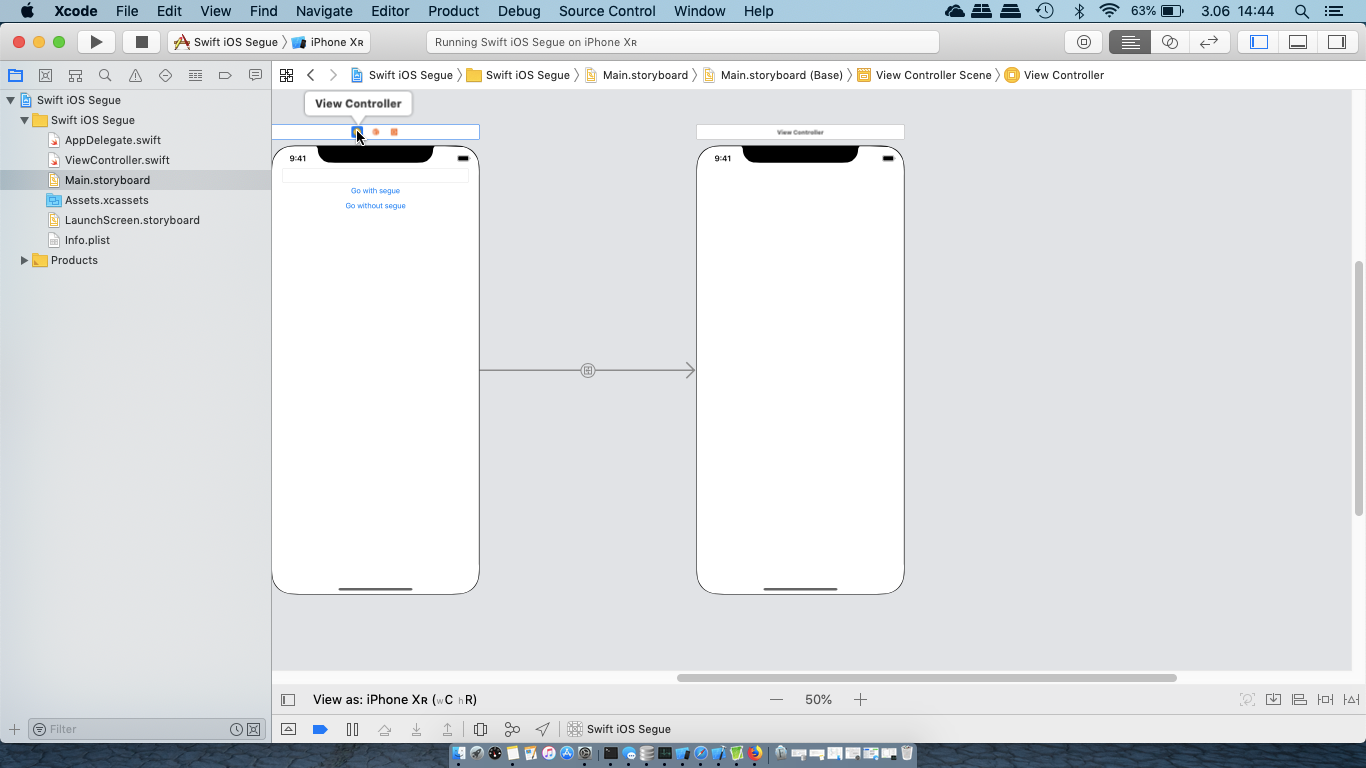
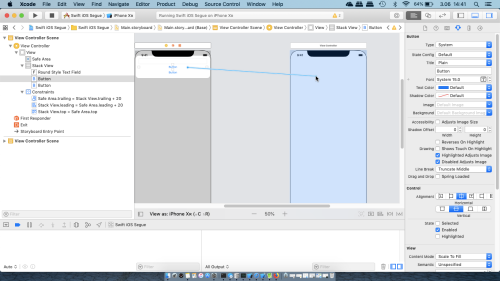
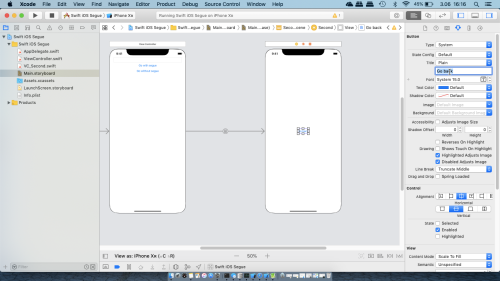
- Step 4: rename buttons and set name for segue
- In
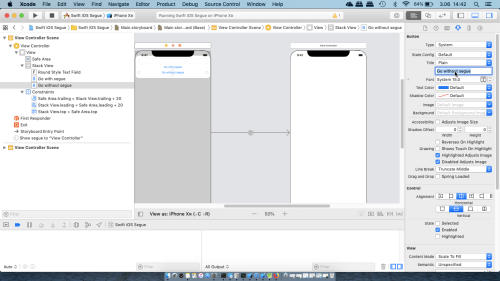
Attributes inspectortab change name for a first button toGo with segue
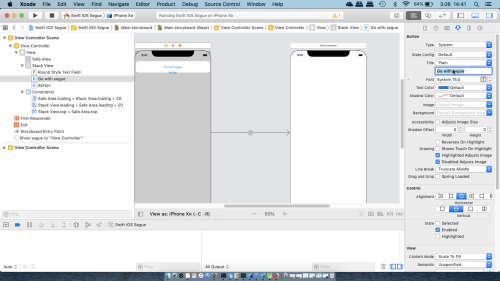
and for a second button toGo without segue
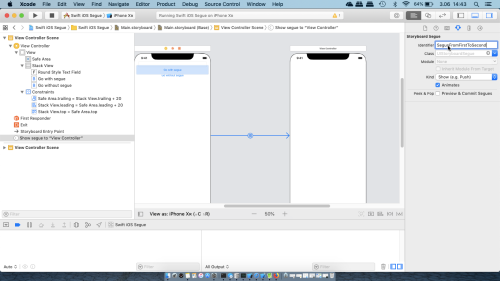
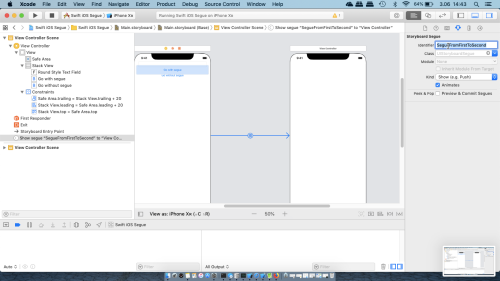
Clik on the segue (arrow connecting controllers) and set its
IdentifiertoSegueFromFirstToSecond
- In
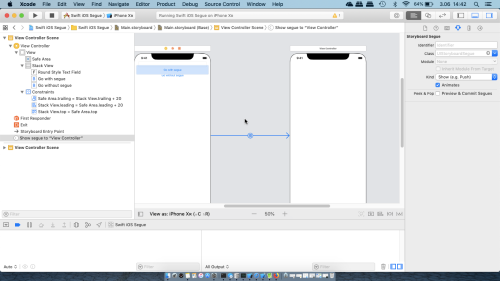
- Step 5: segue code in
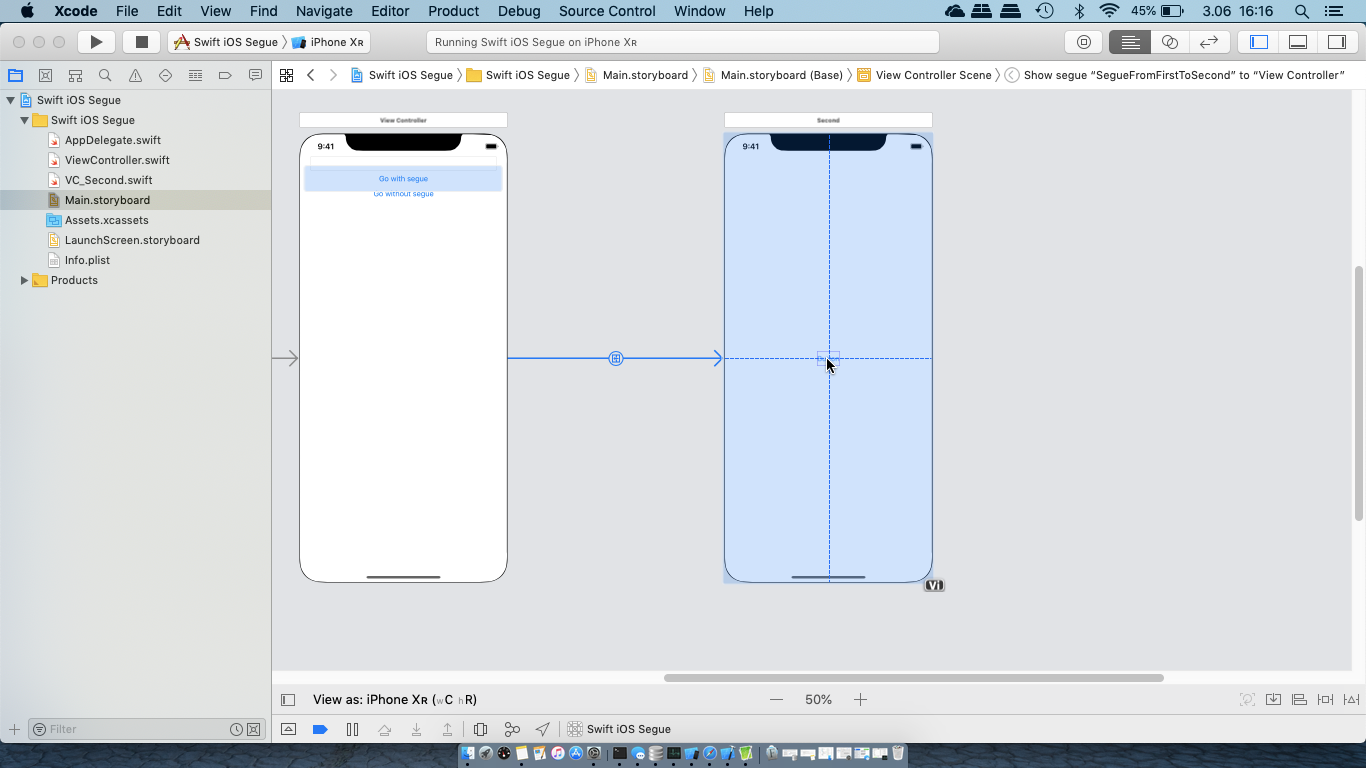
ViewControllercontroller- Select a first view controller either by clicking yellow circle on the top of
View Controller(this is showned on the image below)
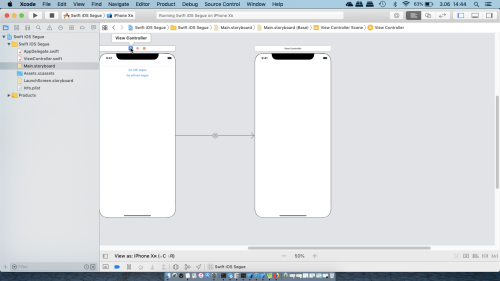
or by selecting thisView Controllerin theDocument Outline(hidden in the image above). - Clik on the
Show the Assistant editor
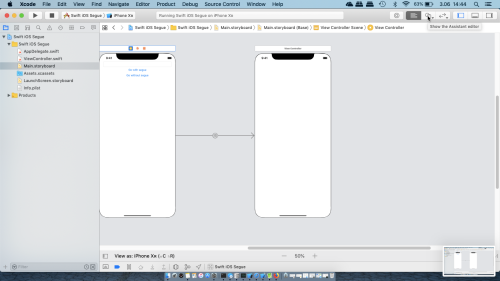
to display this controller class' source code located inViewController.swiftfile

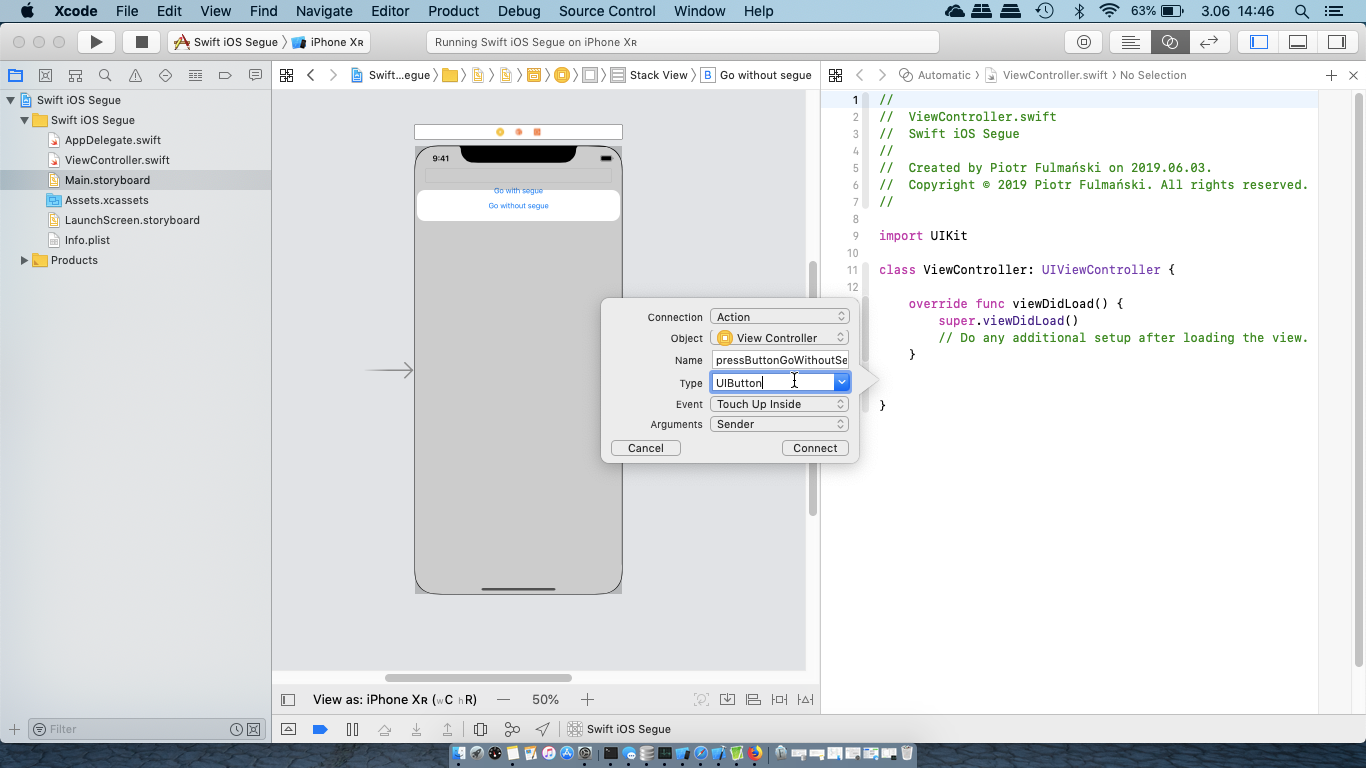
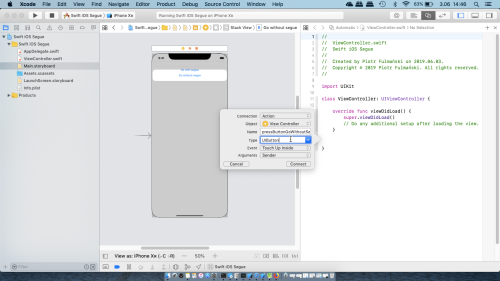
- Create an action method connected to
Go without seguebutton.Control-click, drag from this button toViewControllerclass and name itpressButtonGoWithoutSegue

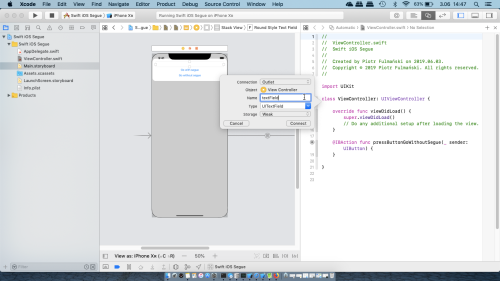
- Create an
textFieldoutlet for a text field.Control-click and drag from a text field toViewControllerclass

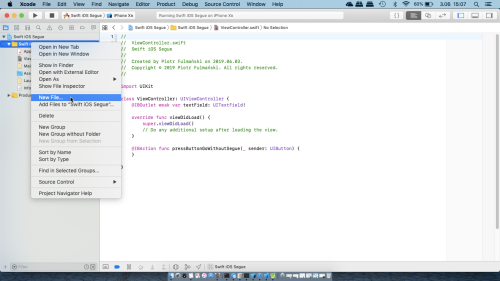
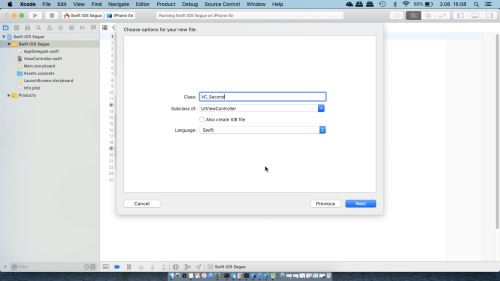
- In the Project Navigator, right-click the Swift iOS Segue group and select New File....
- Choose Cocoa Touch Class from the iOS / Source section in the template dialog and then press Next
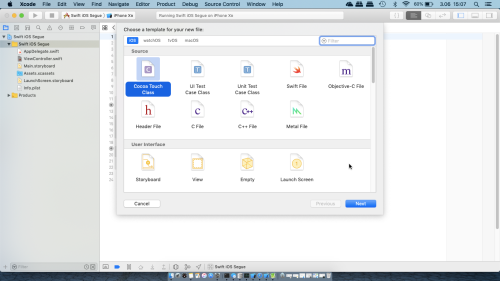
- Name the new class
VC_Second, make it a subclass ofUIViewController. Make sure that the Also create XIB file check box is not checked.
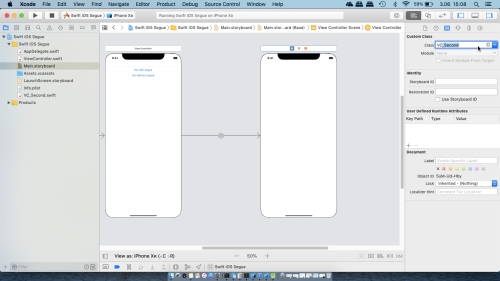
- Select a second view controller either by clicking yellow circle on the top of
View Controlleror by selecting thisView Controllerin theDocument Outline. In theCustom Classsection ofIdentity inspectortab on the right, changeClassproprty toVC_Second
- Add (or modify) the following code in the
VC_Second.swift1234567891011import UIKitclass VC_Second: UIViewController {var textData = ""override func viewDidLoad() {super.viewDidLoad()print("VC_Second:viewDidLoad:textData=\(textData)")}} - Add (or modify) the following code in the
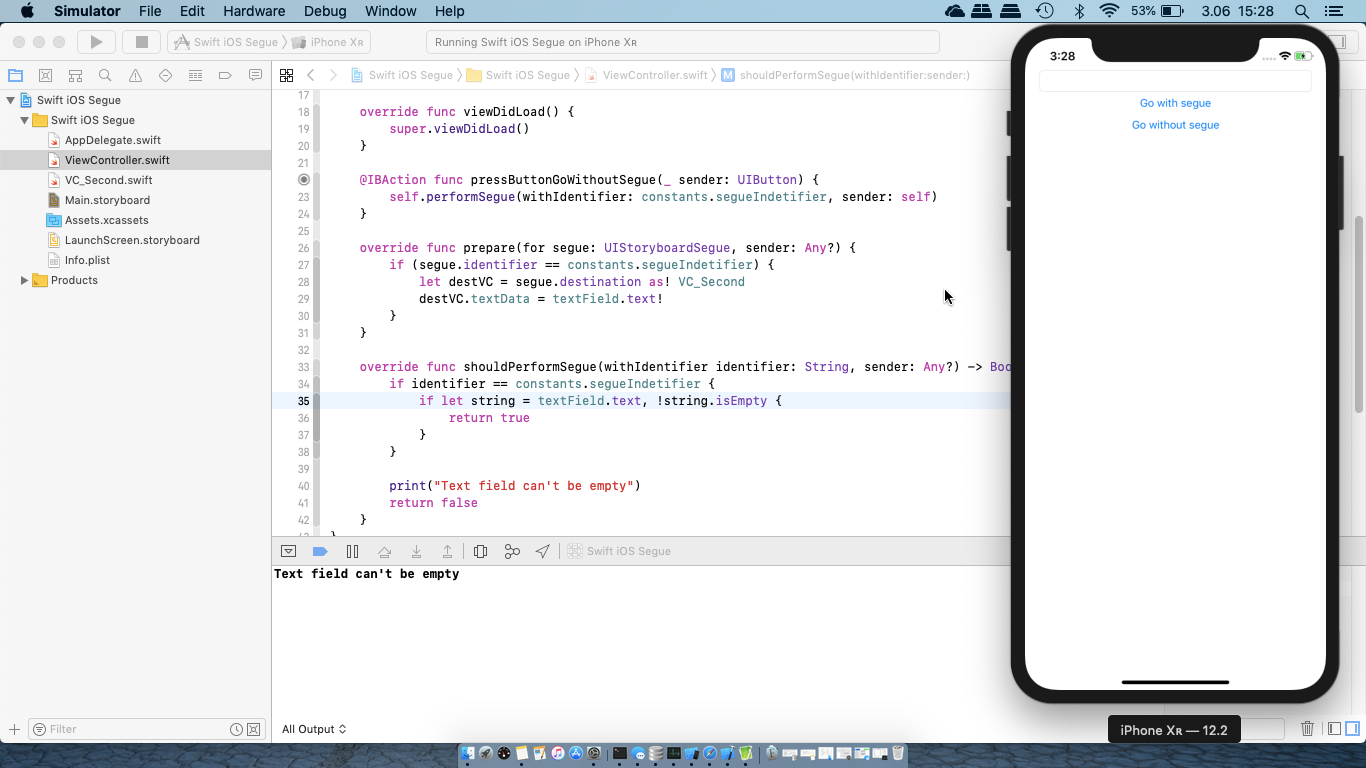
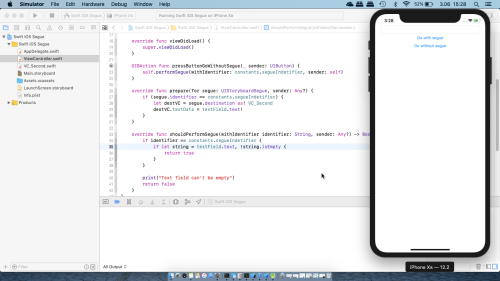
ViewController.swift1234567891011121314151617181920212223242526272829303132333435import UIKitclass ViewController: UIViewController {struct constants {static var segueIndetifier = "SegueFromFirstToSecond"}@IBOutlet weak var textField: UITextField!override func viewDidLoad() {super.viewDidLoad()}@IBAction func pressButtonGoWithoutSegue(_ sender: UIButton) {self.performSegue(withIdentifier: constants.segueIndetifier, sender: self)}override func prepare(for segue: UIStoryboardSegue, sender: Any?) {if (segue.identifier == constants.segueIndetifier) {let destVC = segue.destination as! VC_SeconddestVC.textData = textField.text!}}override func shouldPerformSegue(withIdentifier identifier: String, sender: Any?) -> Bool {if identifier == constants.segueIndetifier {if let string = textField.text, !string.isEmpty {return true}}print("Text field can't be empty")return false}} - Run emulator, leave a text field empty
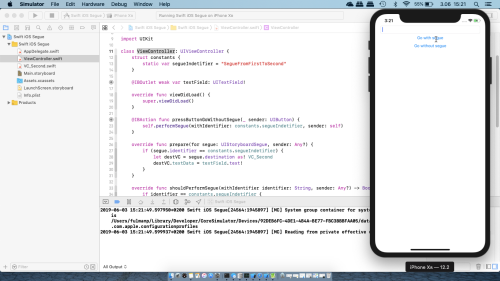
and press theGo with seguebutton
The message1Text field can't be emptyshould be displayed.
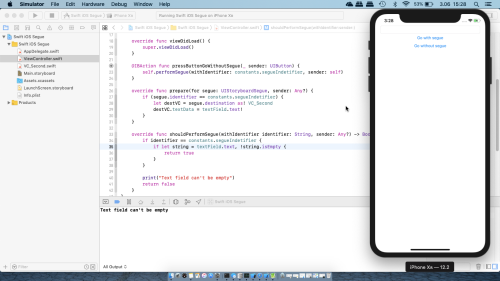
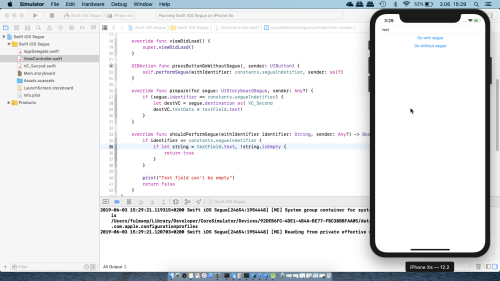
- Again leave a text field empty
but this time press theGo without seguebutton
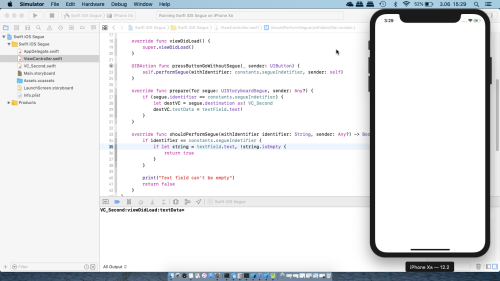
This time the message1VC_Second:viewDidLoad:textData=should be displayed and the second view should be presented.
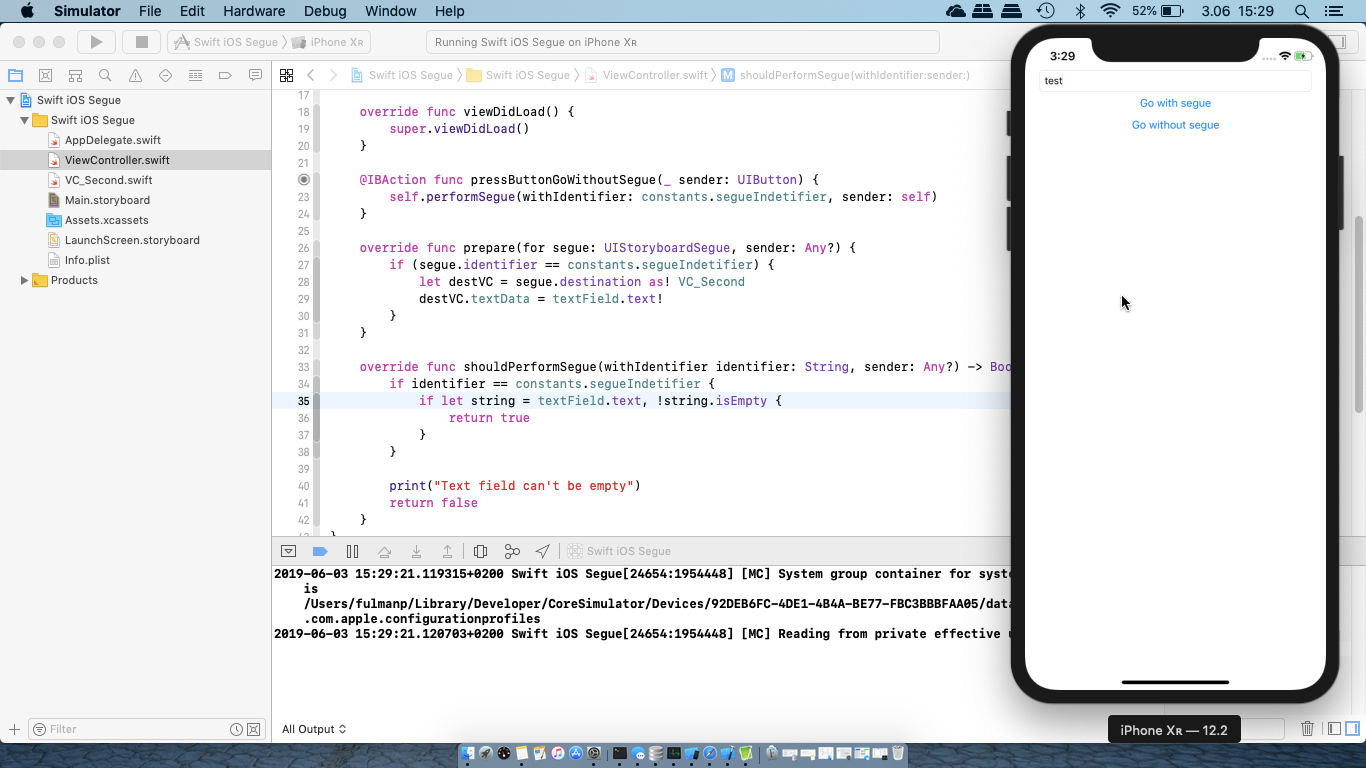
- Fill a text field with
testtext
and press theGo with seguebutton
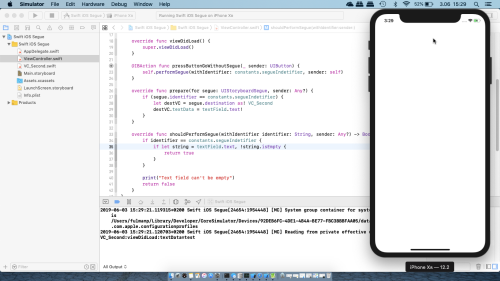
The message1VC_Second:viewDidLoad:textData=testshould be displayed and the second view should be presented.
You may notice that calling
performSeguewithIdentifierdoesn't callshouldperformseguewithIdentifier. This behaviour is perfectly natural, for the following reasons:shouldPerformSegueWithIdentifieris used to make sure that a segue that has been set up in storyboard should be triggered, so it only gets called in the case of storyboard segue and gives you the chance to not actually perform the segue.- When you call
performSegueWithIdentifieryourself,shouldPerformSegueWithIdentifieris not called because it can be assumed that you know what you are doing. There would be no point in callingperformSegueWithIdentifierbut then return afalsefromshouldPerformSegueWithIdentifier.
- Select a first view controller either by clicking yellow circle on the top of
- Step 6: create an unwind segue
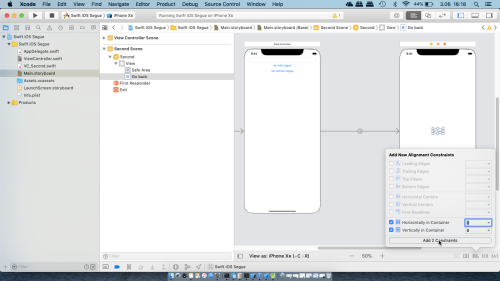
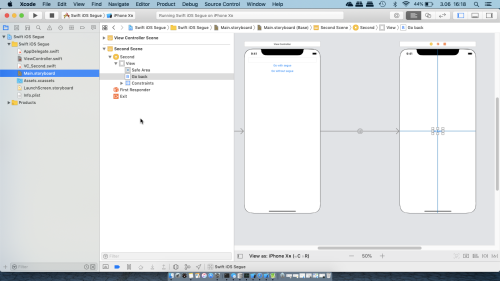
- To the second view controller add a button, place it in the middle of a view and name it
Go back

- In the view controller you are trying to go back to,
ViewControllerin our case, add this code:
123456class ViewController: UIViewController {[...]@IBAction func myUnwindAction(_ segue: UIStoryboardSegue){}} - In the storyboard, go to the view you’re trying to unwind from,
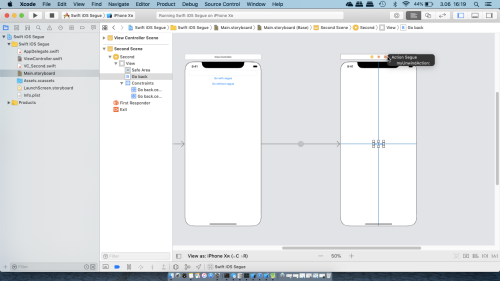
VC_Secondin our case,Control-click theGo backbutton and drag it to theExiticon located on top.

- From the popup menu, select the unwind segue action you just created in
ViewController(myUnwindActionin our case)

- If you want to
trigger unwind manually, drag theview controlleryellow circle icon located on top of the view controller on the left to theExiticon (also located on top but on the right). In this case you have to add also code similar to this
123@IBAction func someAction(_ sender: UIButton) {performSegue(withIdentifier: "unwindIdentifier", sender: self)}
wheresomeActionis a name of an action (in this case trigerred by a button press), andunwindIdentifieris an identifier of an unwind segue (remember to add this identifier toIdentifierproperty ofStoryboard Unwind Seguesection inAttributes inspector. - Now you can test if
Go backbutton works (it should).
- To the second view controller add a button, place it in the middle of a view and name it