
In this part we cover the following topics
This instalation was done on MacBook Air (11-inch, Early 2015), 1,6GHz Intel Core i5, 8GB RAM.
- Step 1: install virtualization software
We can us for exampleIn my case it was:
VMware Fusion 10.1.1and VirtualBox 5.2.26 - Step 2: download operating system iso
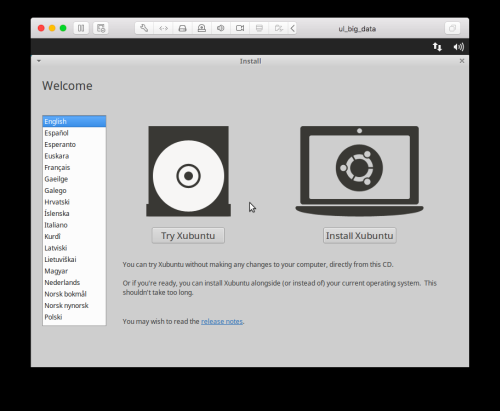
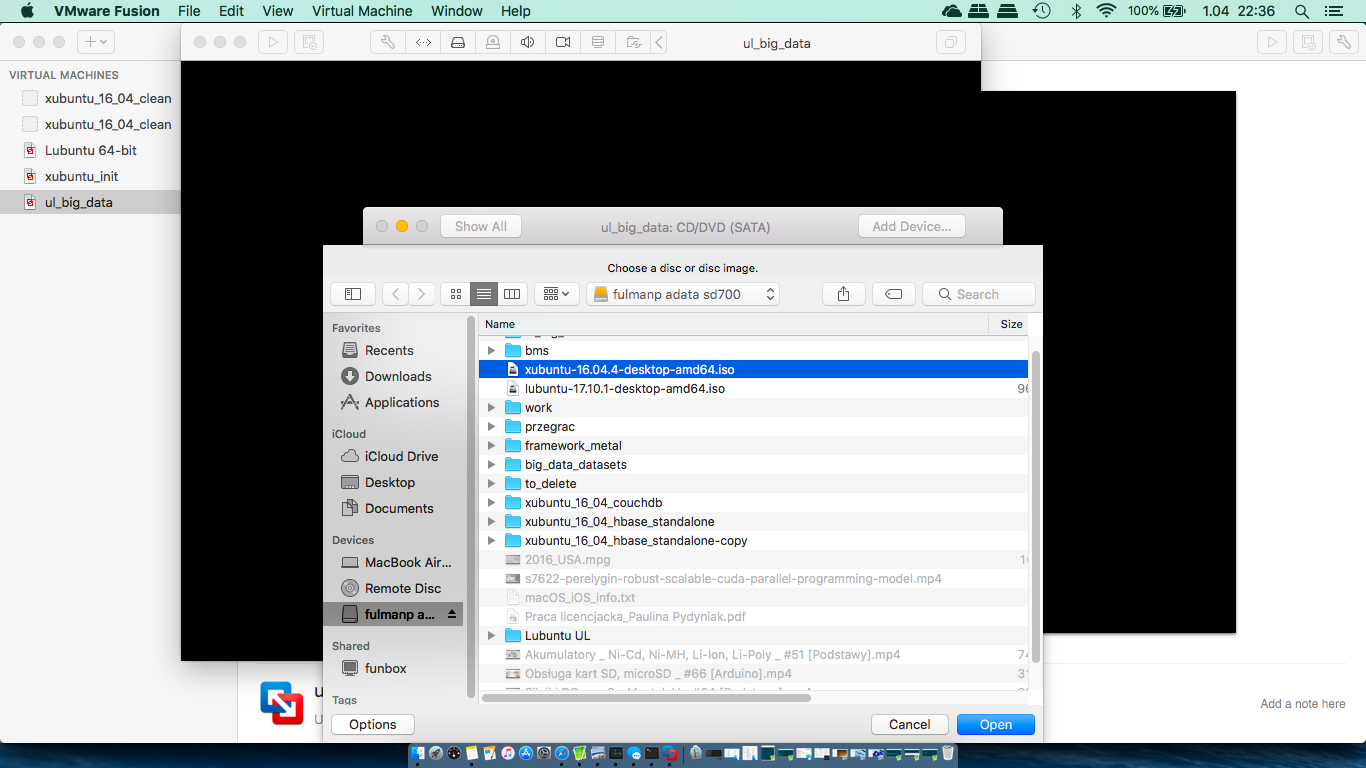
This instalation based on Xubuntu. Xubuntu is an easy to use distribution, based on Ubuntu, using Xfce as the graphical desktop, with a focus on integration, usability and performance, with a particular focus on low memory footprint.Download Xubuntu In my case it was:
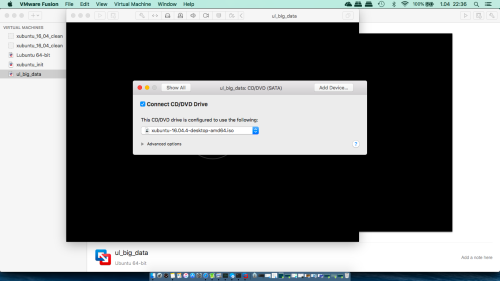
xubuntu-16.04.4-desktop-amd64.iso(2018-03-08) for VMWare andxubuntu-18.04.1-desktop-amd64.iso(2019-03-04) for VirtualBox.If you prefere, you can use other Linux distribution.
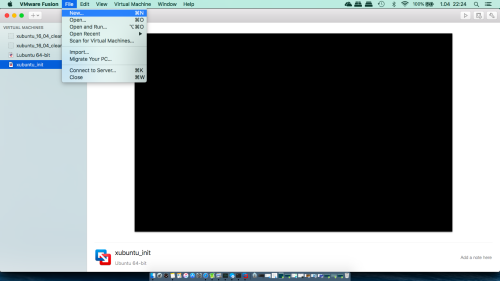
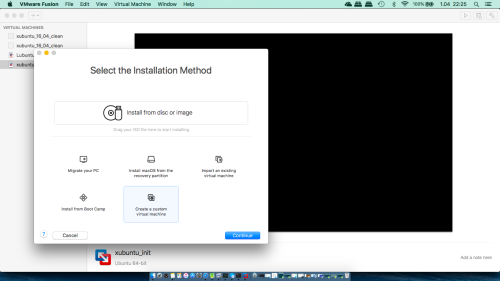
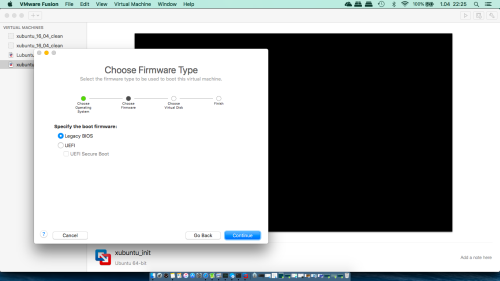
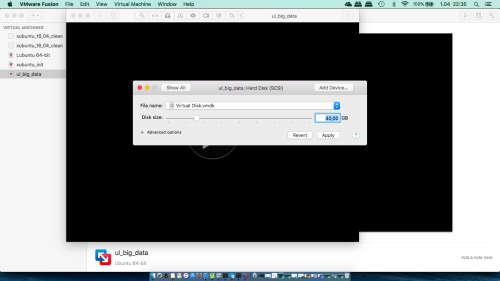
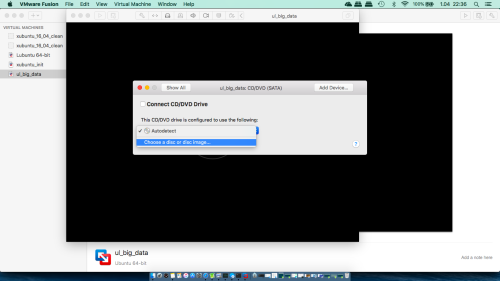
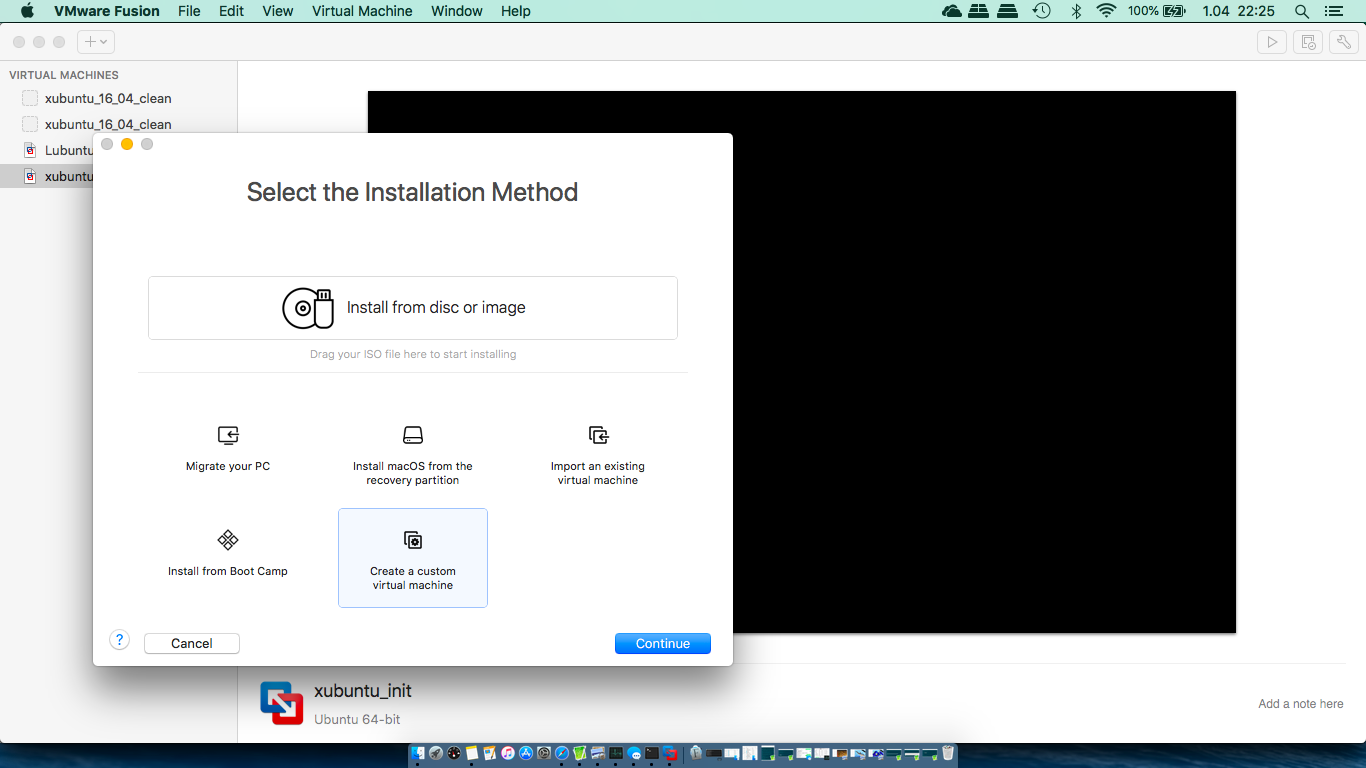
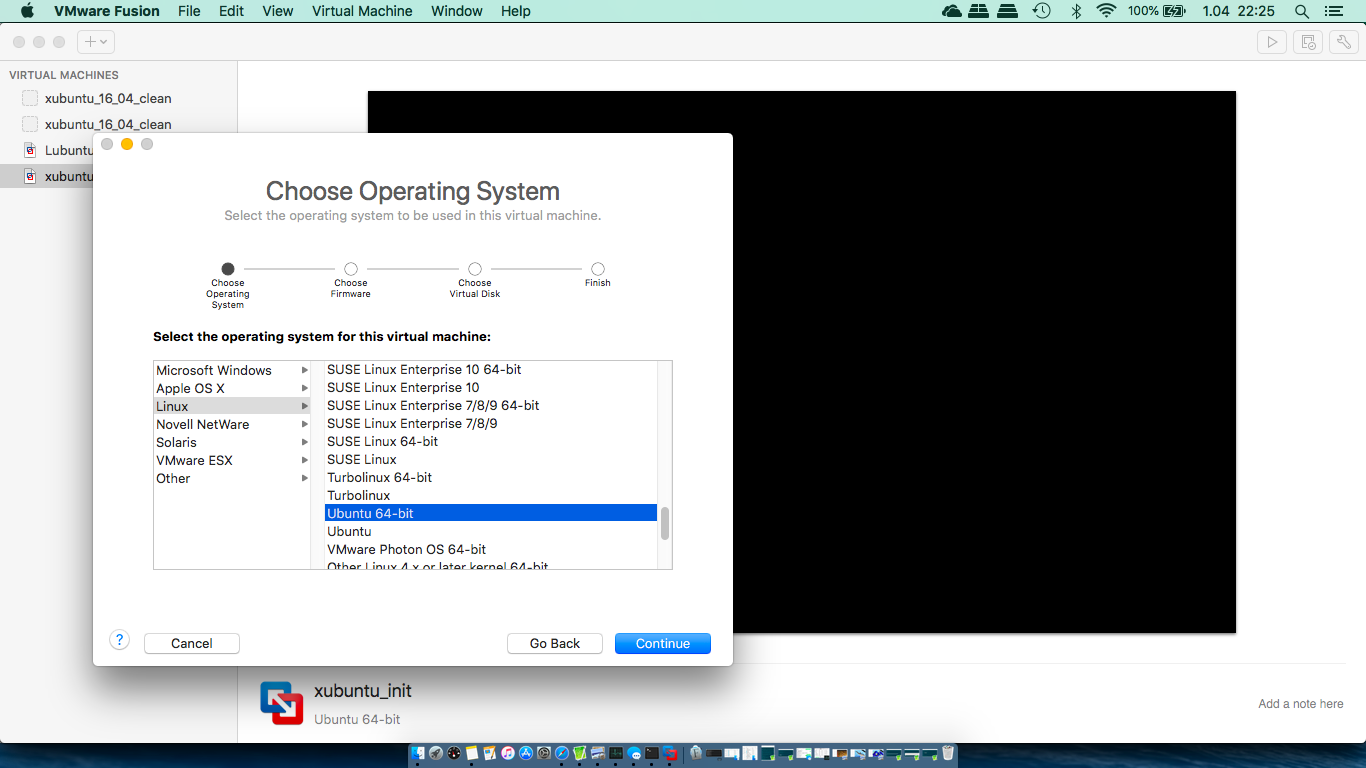
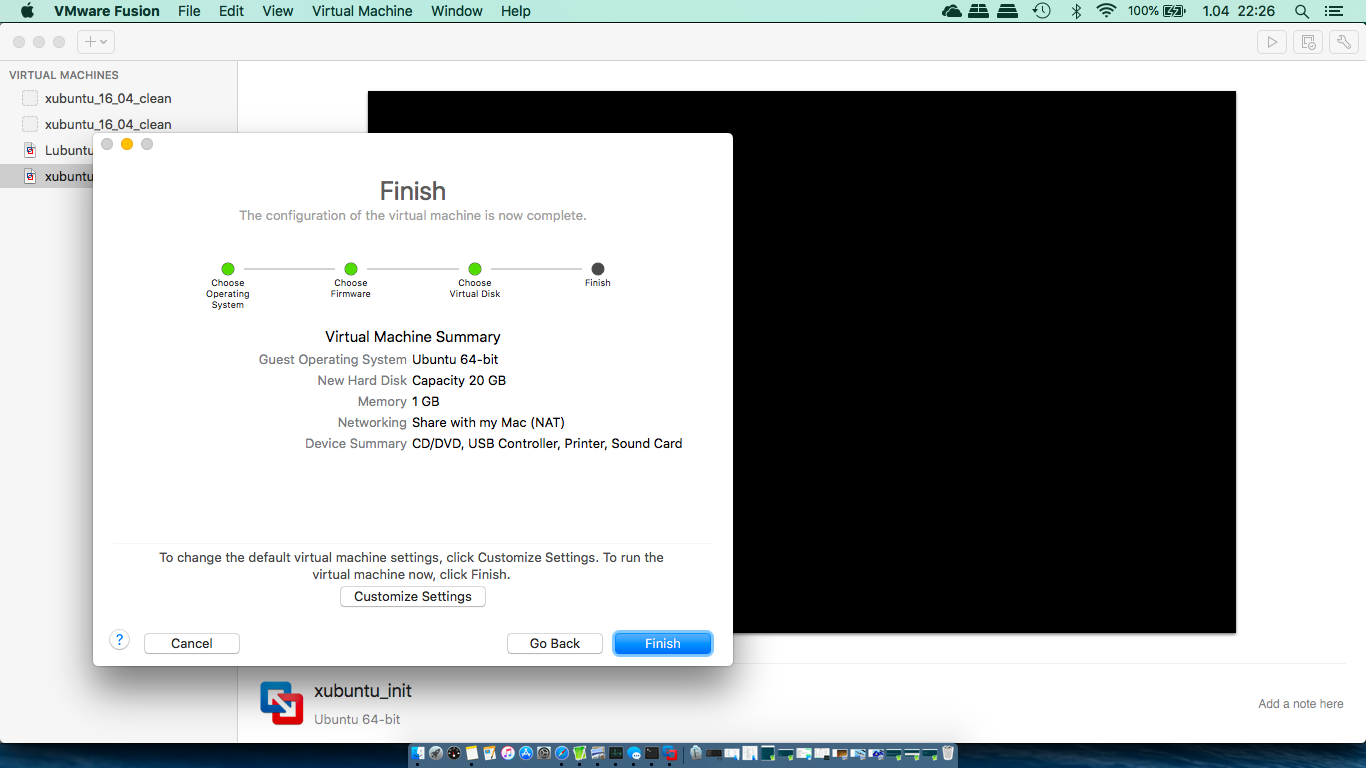
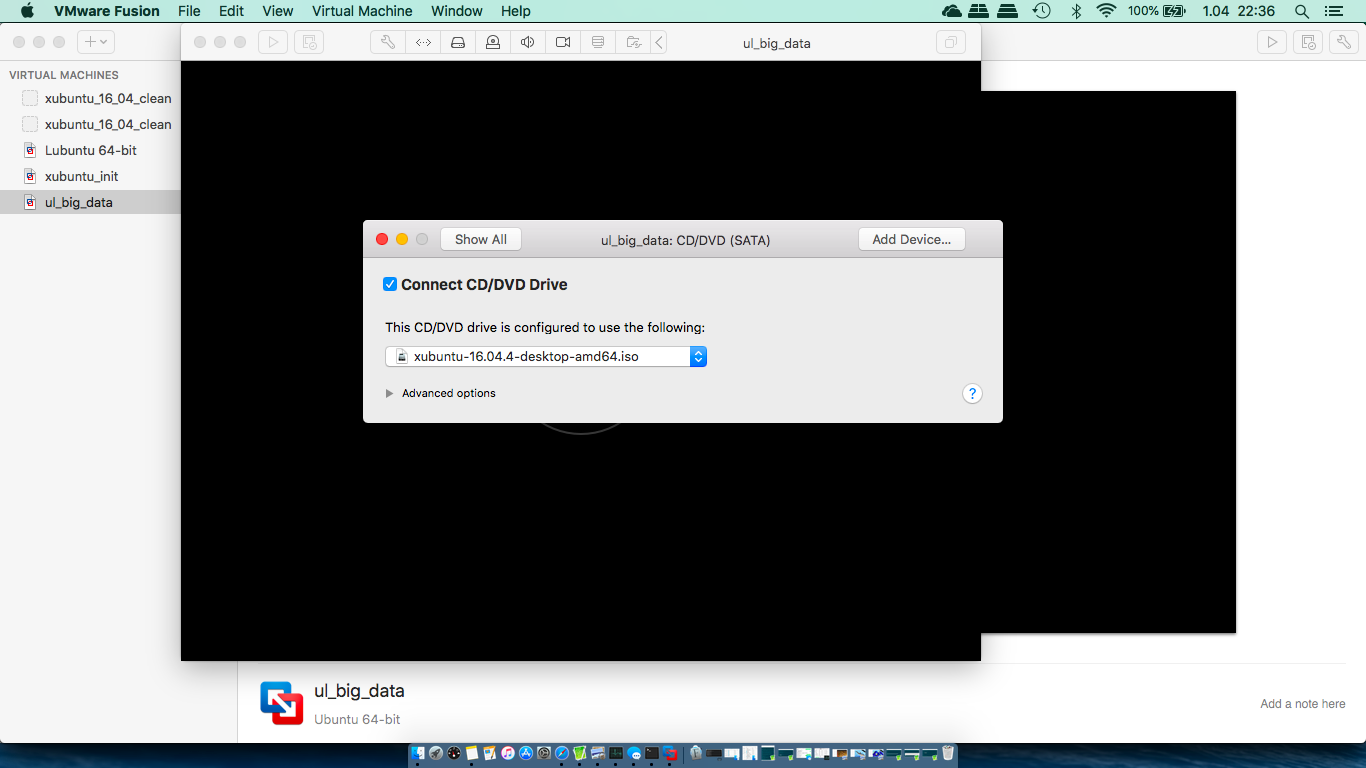
- Step 3: install virtual machine (VMWare)
Alternative version of this step: Step 3: install virtual machine (VirtualBox)
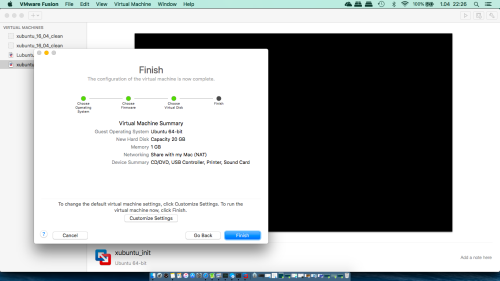
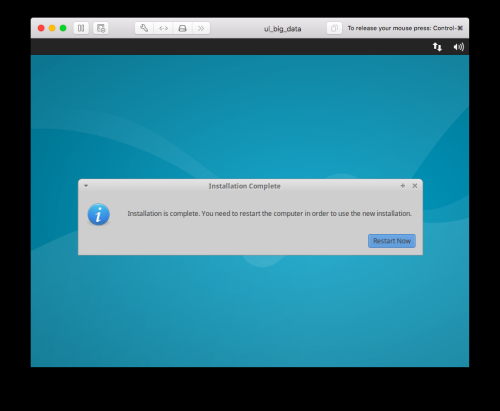
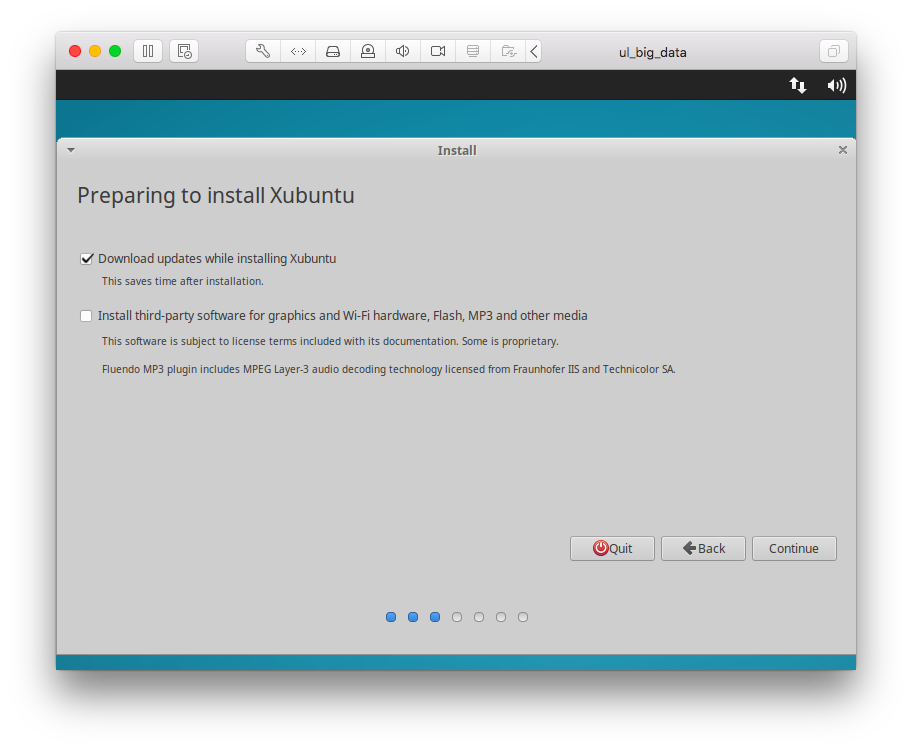
This step took 10 minutes.


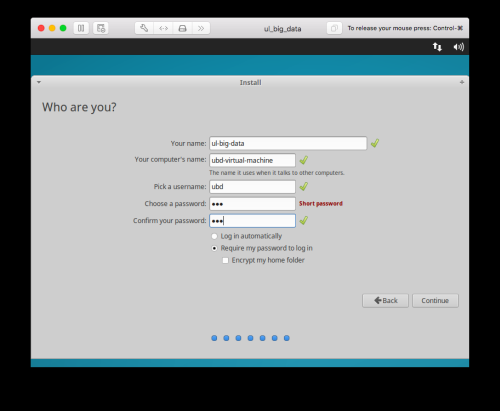
Finall data to remember- Full user name: ul-big-data
- Computer name: ubd-virtual-machine
- User login: ubd
- User password: ubd
- Step 4: install open vm tools and a very basic set of supporting software (VMWare)
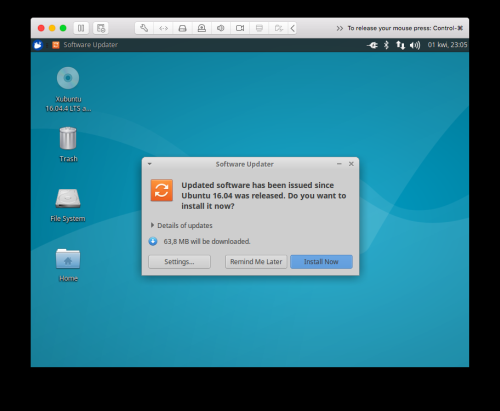
Alternative version of this step: Step 4: install open vm tools and a very basic set of supporting software (VirtualBox)- If you see update window, install all updates
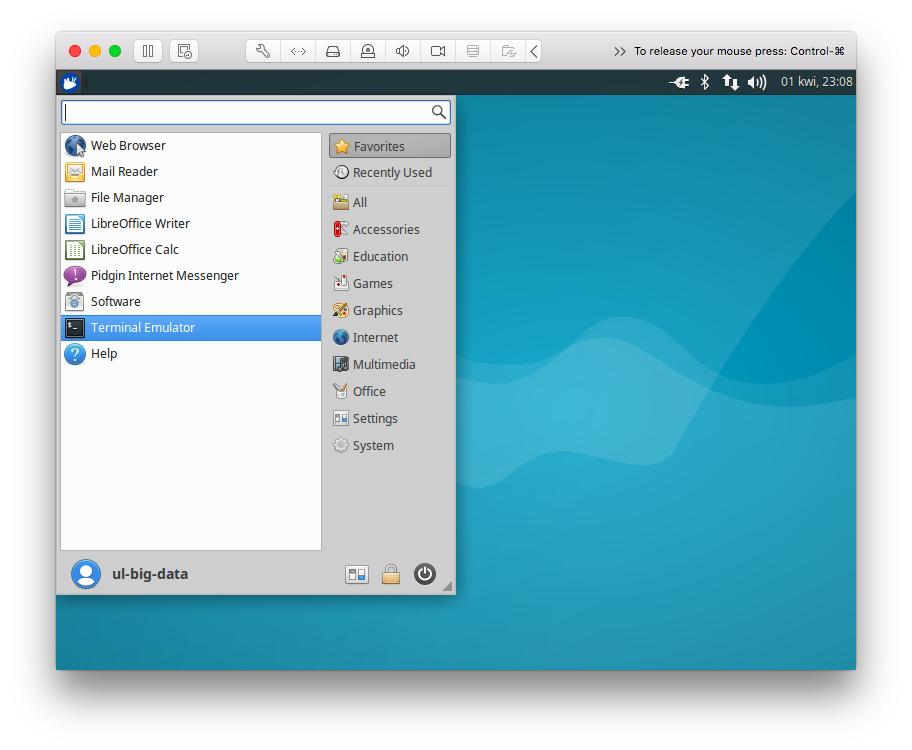
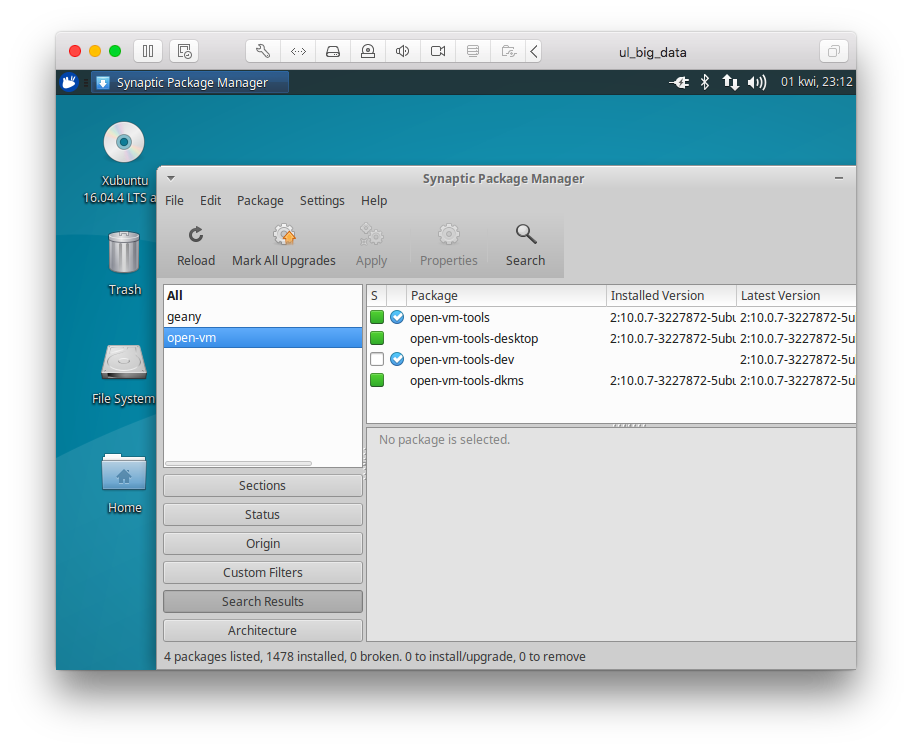
- I like to use Synaptic to manage packages. Run terminal
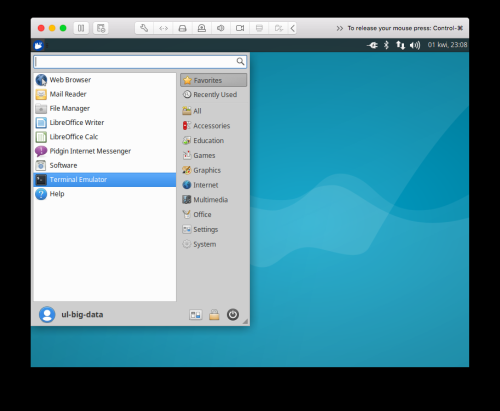
and type in it- sudo apt-get update
- sudo apt-get upgrade
- sudo apt-get install synaptic
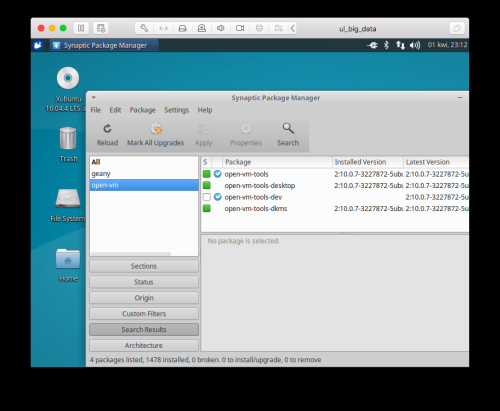
- Use Snaptic to install open vm tools and open vm desktop (open-vm-tools, open-vm-tools-desktop)
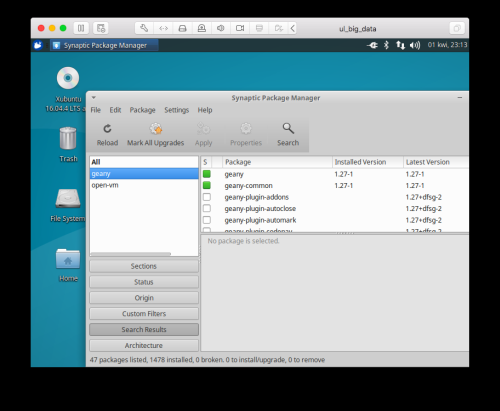
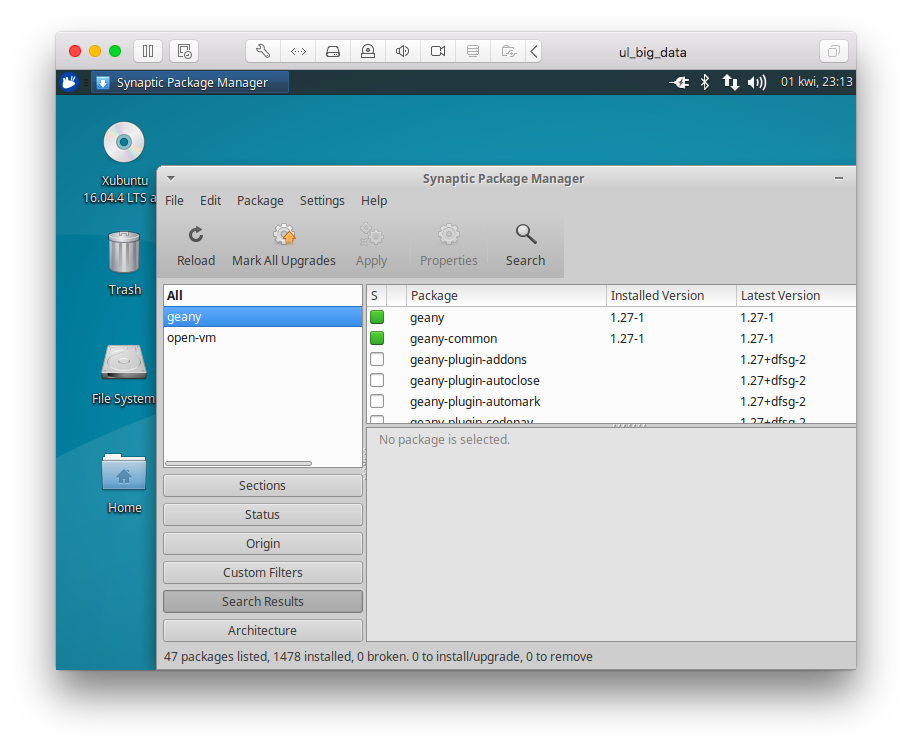
- Use Snaptic to install Geany which is lightweight GUI text editor
- Logout. When logged in again you should be able to resize your virtual screen to any size you want.
Finall disc usage: 5,94 GiB (2,28GiB compressed).
- If you see update window, install all updates
- Step 5: install supporting software (optional)


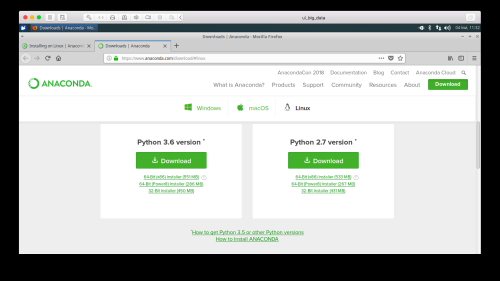
- Step 1: install Anaconda
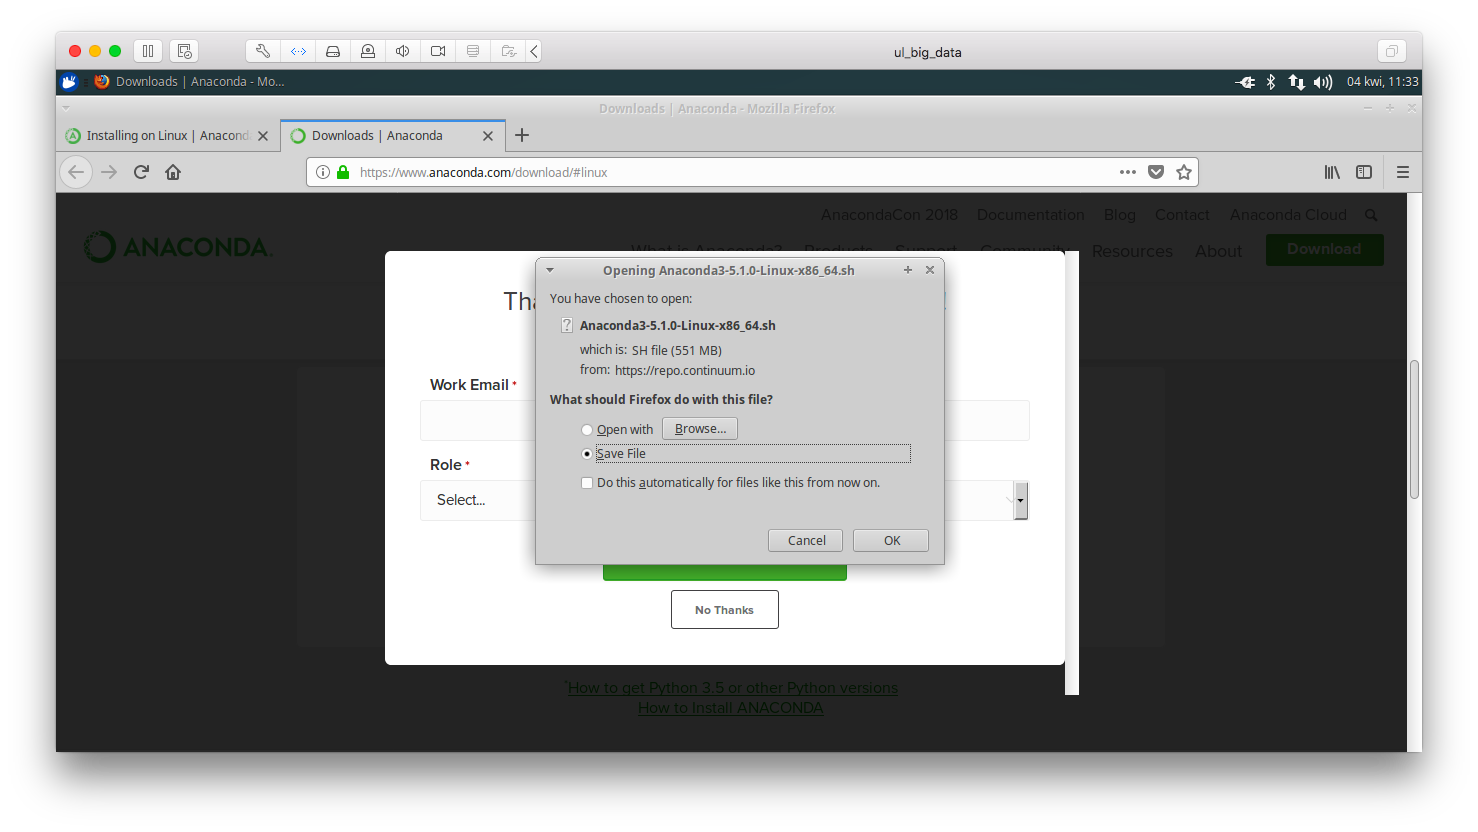
To install Anaconda you can follow Installing on Linux guide
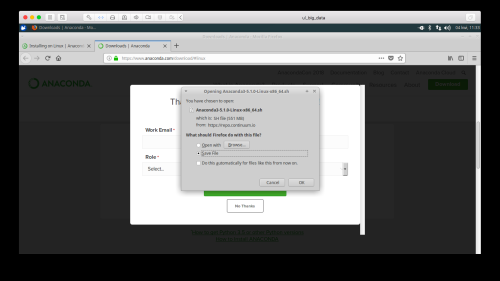 1234567891011121314151617181920212223242526272829303132333435363738394041424344454647484950515253545556575859606162636465ubd@ubd-virtual-machine:~$ bash ~/Downloads/Anaconda3-5.1.0-Linux-x86_64.shWelcome to Anaconda3 5.1.0In order to continue the installation process, please review the licenseagreement.Please, press ENTER to continue>>>===================================Anaconda End User License Agreement===================================Copyright 2015, Anaconda, Inc.All rights reserved under the 3-clause BSD License:[...]Do you accept the license terms? [yes|no][no] >>> yesAnaconda3 will now be installed into this location:/home/ubd/anaconda3- Press ENTER to confirm the location- Press CTRL-C to abort the installation- Or specify a different location below[/home/ubd/anaconda3] >>>PREFIX=/home/ubd/anaconda3installing: python-3.6.4-hc3d631a_1 ...Python 3.6.4 :: Anaconda, Inc.installing: ca-certificates-2017.08.26-h1d4fec5_0 ...installing: conda-env-2.6.0-h36134e3_1 ...[...]installing: jupyter-1.0.0-py36_4 ...installing: anaconda-5.1.0-py36_2 ...installing: conda-4.4.10-py36_0 ...installing: conda-build-3.4.1-py36_0 ...installation finished.Do you wish the installer to prepend the Anaconda3 install locationto PATH in your /home/ubd/.bashrc ? [yes|no][no] >>> yesYou may wish to edit your .bashrc to prepend the Anaconda3 install location to PATH:export PATH=/home/ubd/anaconda3/bin:$PATHThank you for installing Anaconda3!===========================================================================Anaconda is partnered with Microsoft! Microsoft VSCode is a streamlinedcode editor with support for development operations like debugging, taskrunning and version control.To install Visual Studio Code, you will need:- Administrator Privileges- Internet connectivityVisual Studio Code License: https://code.visualstudio.com/licenseDo you wish to proceed with the installation of Microsoft VSCode? [yes|no]>>> noubd@ubd-virtual-machine:~$
Close and open your terminal window for the installation to take effect.
When we start working with Anaconda, at some point, depending on the sequence of commands we execute, we will see the message similar to the following12345678910111213141516171819202122232425262728ubd@ubd-virtual-machine:~/anaconda3/bin$ conda activate test_envconda: command not foundubd@ubd-virtual-machine:~/anaconda3/bin$ ./conda activate test_envCommandNotFoundError: Your shell has not been properly configured to use 'conda activate'.If your shell is Bash or a Bourne variant, enable conda for the current user with$ echo ". /home/ubd/anaconda3/etc/profile.d/conda.sh" >> ~/.bashrcor, for all users, enable conda with$ sudo ln -s /home/ubd/anaconda3/etc/profile.d/conda.sh /etc/profile.d/conda.shThe options above will permanently enable the 'conda' command, but they do NOTput conda's base (root) environment on PATH. To do so, run$ conda activatein your terminal, or to put the base environment on PATH permanently, run$ echo "conda activate" >> ~/.bashrcPrevious to conda 4.4, the recommended way to activate conda was to modify PATH inyour ~/.bashrc file. You should manually remove the line that looks likeexport PATH="/home/ubd/anaconda3/bin:$PATH"^^^ The above line should NO LONGER be in your ~/.bashrc file! ^^^In such a case simply do what is given in this message
1ubd@ubd-virtual-machine:~/anaconda3/bin$ echo ". /home/ubd/anaconda3/etc/profile.d/conda.sh" >> ~/.bashrcthen logout from teminal
1ubd@ubd-virtual-machine:~/anaconda3/bin$ exitand login back. This should fix the issue.
- Step 2: working with virtual environment
- To check virtual environments we have installed
1234ubd@ubd-virtual-machine:~/anaconda3/bin$ conda info --envs# conda environments:#base * /home/ubd/anaconda3
- To check installed python versions
123456ubd@ubd-virtual-machine:~/anaconda3/bin$ conda search pythonLoading channels: doneName Version Build Channelpython 1.0.1 0 defaults[...]python 3.6.5 hc3d631a_0 defaults
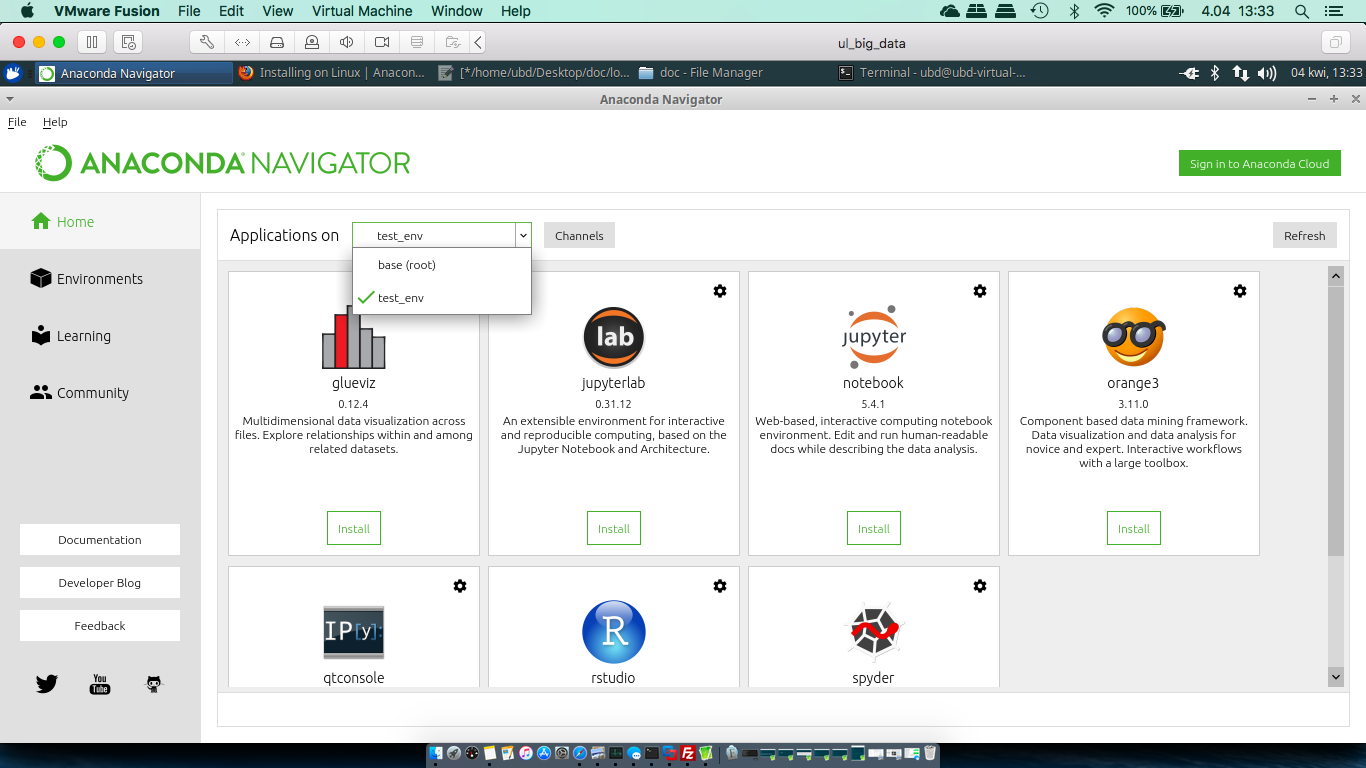
- To create new environment
1234567891011121314151617181920@ubd-virtual-machine:~/anaconda3/bin$ conda create --name test_envSolving environment: done## Package Plan ##environment location: /home/ubd/anaconda3/envs/test_envProceed ([y]/n)?Preparing transaction: doneVerifying transaction: doneExecuting transaction: done## To activate this environment, use:# > source activate test_env## To deactivate an active environment, use:# > source deactivate#
- To activate/deactivate/delete environment
In short, we need the following commands12345ubd@ubd-virtual-machine:~/anaconda3/bin$ conda activate test_env(test_env) ubd@ubd-virtual-machine:~/anaconda3/bin$ conda deactivateubd@ubd-virtual-machine:~/anaconda3/bin$ conda info --envsubd@ubd-virtual-machine:~/anaconda3/bin$ conda remove --name test_env --allubd@ubd-virtual-machine:~/anaconda3/bin$ conda create --name test_env python=3.6Bellow is a detiled log
123456789101112131415161718192021222324252627282930313233343536373839404142434445464748495051525354555657585960616263646566676869707172737475767778798081828384858687888990919293949596979899100101102103104105106107108109ubd@ubd-virtual-machine:~/anaconda3/bin$ conda activate test_env(test_env) ubd@ubd-virtual-machine:~/anaconda3/bin$ python --versionPython 2.7.12(test_env) ubd@ubd-virtual-machine:~/anaconda3/bin$ conda deactivateubd@ubd-virtual-machine:~/anaconda3/bin$ conda info --envs# conda environments:#base * /home/ubd/anaconda3test_env /home/ubd/anaconda3/envs/test_envubd@ubd-virtual-machine:~/anaconda3/bin$ conda remove --name test_env --allRemove all packages in environment /home/ubd/anaconda3/envs/test_env:## Package Plan ##environment location: /home/ubd/anaconda3/envs/test_envProceed ([y]/n)?ubd@ubd-virtual-machine:~/anaconda3/bin$ conda info --envs# conda environments:#base * /home/ubd/anaconda3ubd@ubd-virtual-machine:~/anaconda3/bin$ ./conda info --envsubd@ubd-virtual-machine:~/anaconda3/bin$ ./conda create --name test_env python=3.6Solving environment: done## Package Plan ##environment location: /home/ubd/anaconda3/envs/test_envadded / updated specs:- python=3.6The following packages will be downloaded:package | build---------------------------|-----------------ca-certificates-2018.03.07 | 0 124 KBwheel-0.31.0 | py36_0 62 KBlibstdcxx-ng-7.2.0 | hdf63c60_3 2.5 MBpip-9.0.3 | py36_0 2.3 MBpython-3.6.5 | hc3d631a_0 29.4 MBlibgcc-ng-7.2.0 | hdf63c60_3 6.1 MBopenssl-1.0.2o | h20670df_0 3.4 MBsetuptools-39.0.1 | py36_0 549 KB------------------------------------------------------------Total: 44.5 MBThe following NEW packages will be INSTALLED:ca-certificates: 2018.03.07-0certifi: 2018.1.18-py36_0libedit: 3.1-heed3624_0libffi: 3.2.1-hd88cf55_4libgcc-ng: 7.2.0-hdf63c60_3libstdcxx-ng: 7.2.0-hdf63c60_3ncurses: 6.0-h9df7e31_2openssl: 1.0.2o-h20670df_0pip: 9.0.3-py36_0python: 3.6.5-hc3d631a_0readline: 7.0-ha6073c6_4setuptools: 39.0.1-py36_0sqlite: 3.22.0-h1bed415_0tk: 8.6.7-hc745277_3wheel: 0.31.0-py36_0xz: 5.2.3-h55aa19d_2zlib: 1.2.11-ha838bed_2Proceed ([y]/n)?Downloading and Extracting Packagesca-certificates 2018.03.07: ########################################################################################## | 100%wheel 0.31.0: ######################################################################################################## | 100%libstdcxx-ng 7.2.0: ################################################################################################## | 100%pip 9.0.3: ########################################################################################################### | 100%python 3.6.5: ######################################################################################################## | 100%libgcc-ng 7.2.0: ##################################################################################################### | 100%openssl 1.0.2o: ###################################################################################################### | 100%setuptools 39.0.1: ################################################################################################### | 100%Preparing transaction: doneVerifying transaction: doneExecuting transaction: done## To activate this environment, use## $ conda activate test_env## To deactivate an active environment, use## $ conda deactivateubd@ubd-virtual-machine:~/anaconda3/bin$ ./conda info --envs# conda environments:#base * /home/ubd/anaconda3test_env /home/ubd/anaconda3/envs/test_envubd@ubd-virtual-machine:~/anaconda3/bin$ conda activate test_env(test_env) ubd@ubd-virtual-machine:~/anaconda3/bin$ python --versionPython 3.6.5 :: Anaconda, Inc.(test_env) ubd@ubd-virtual-machine:~/anaconda3/bin$ conda deactivateubd@ubd-virtual-machine:~/anaconda3/bin$
- To check virtual environments we have installed
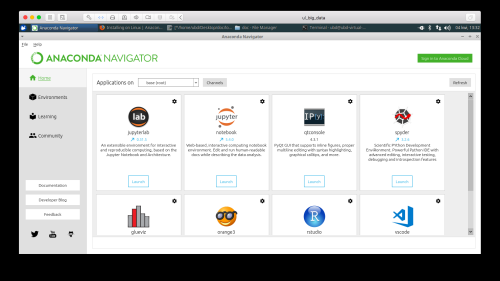
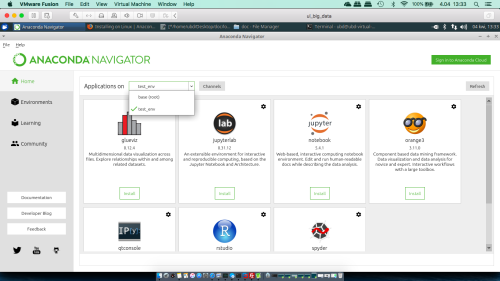
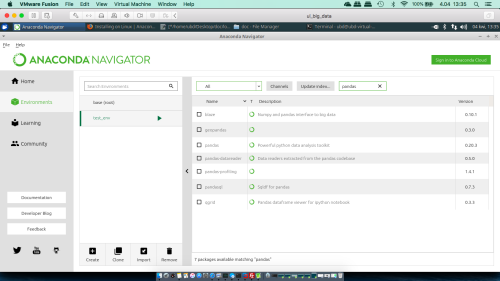
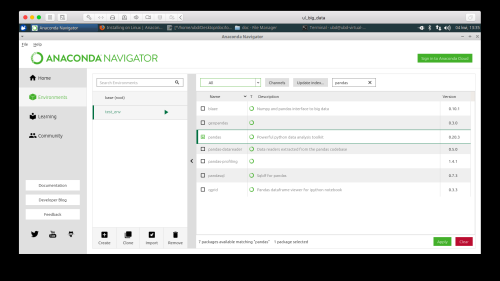
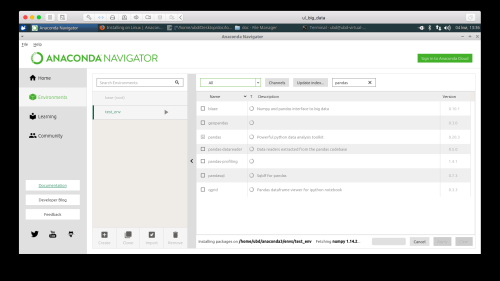
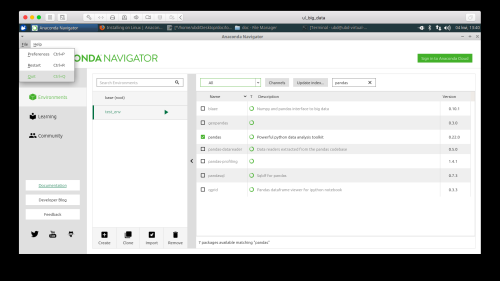
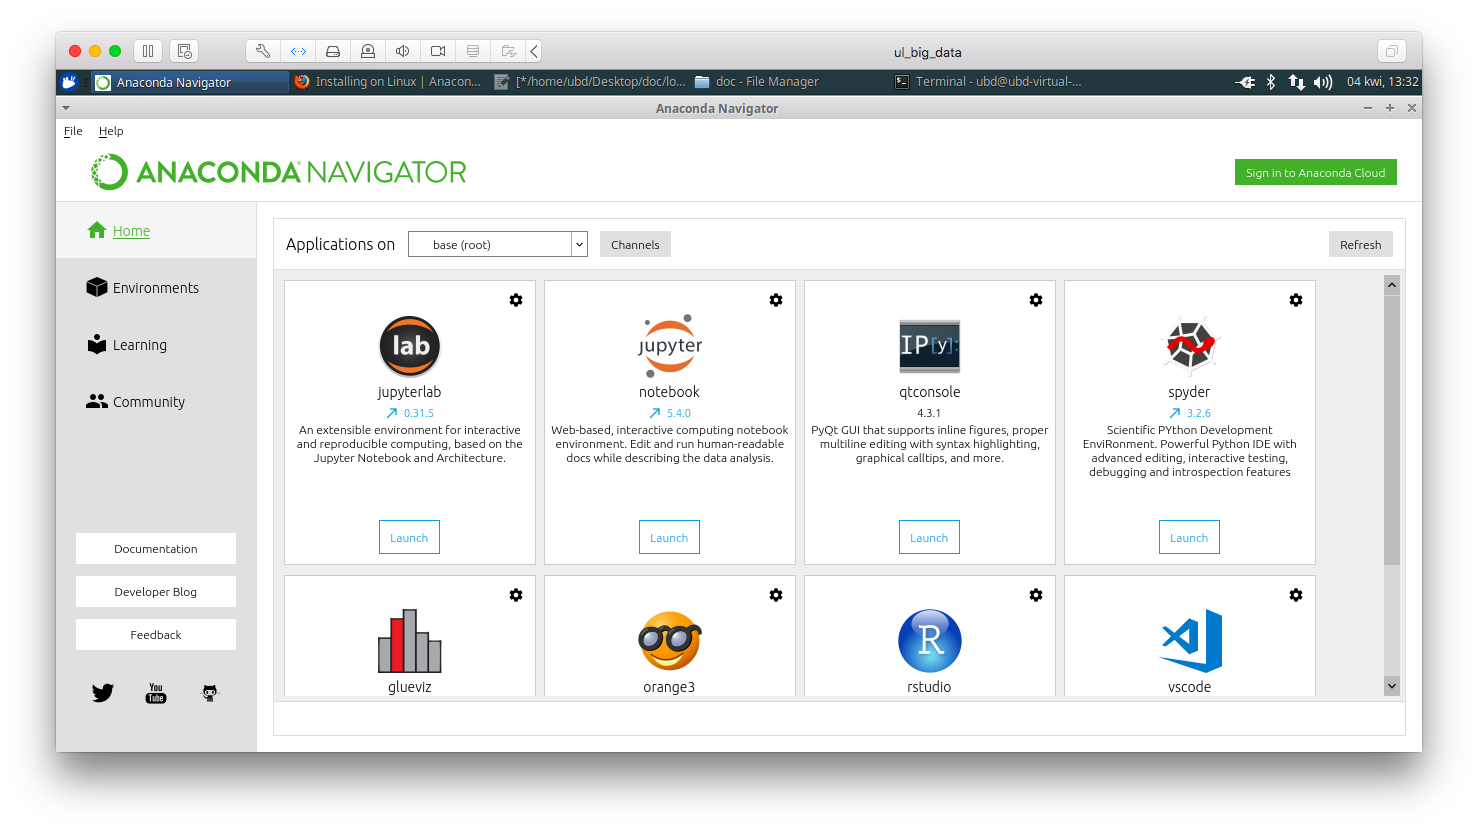
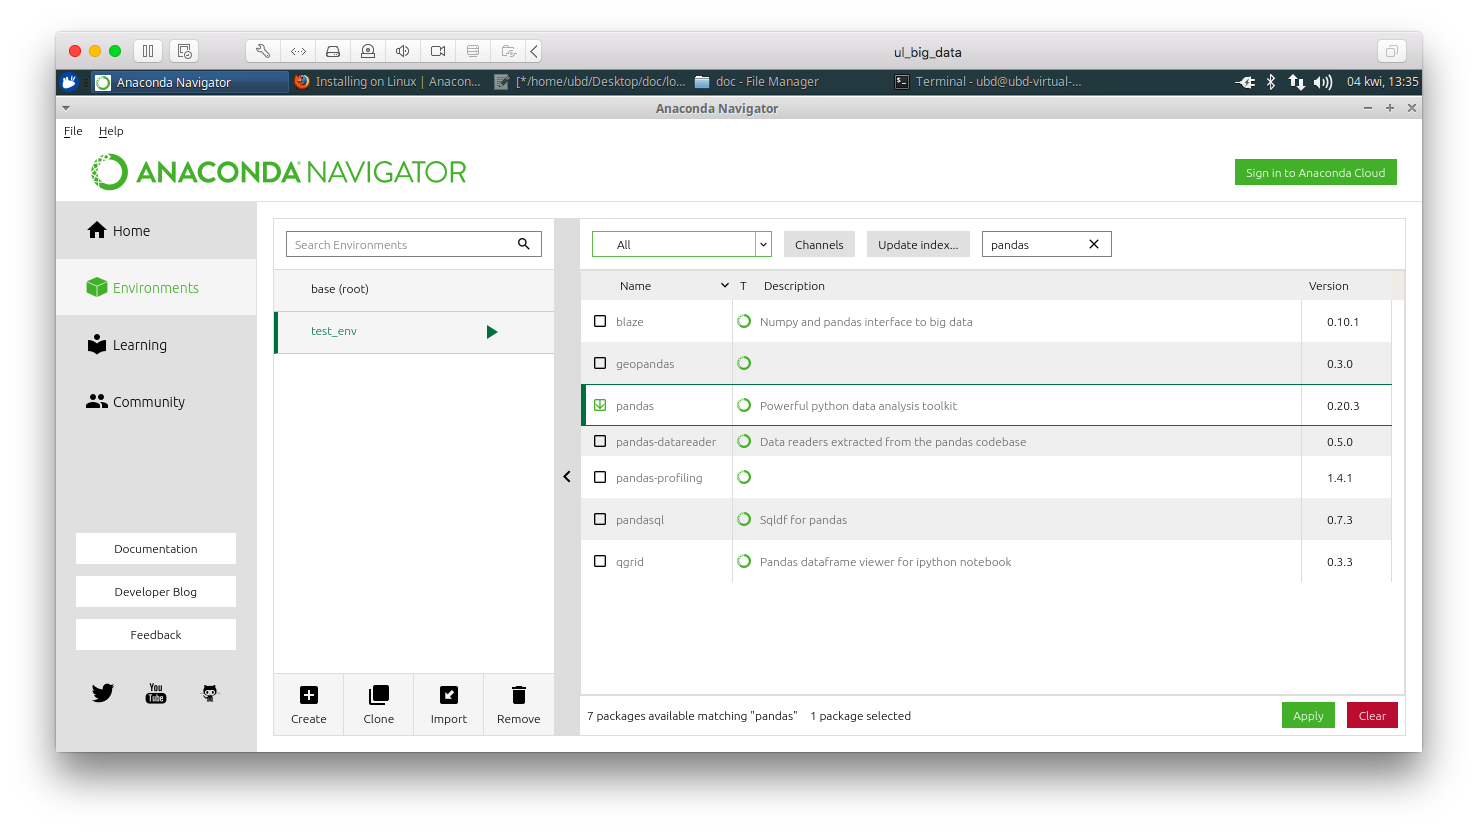
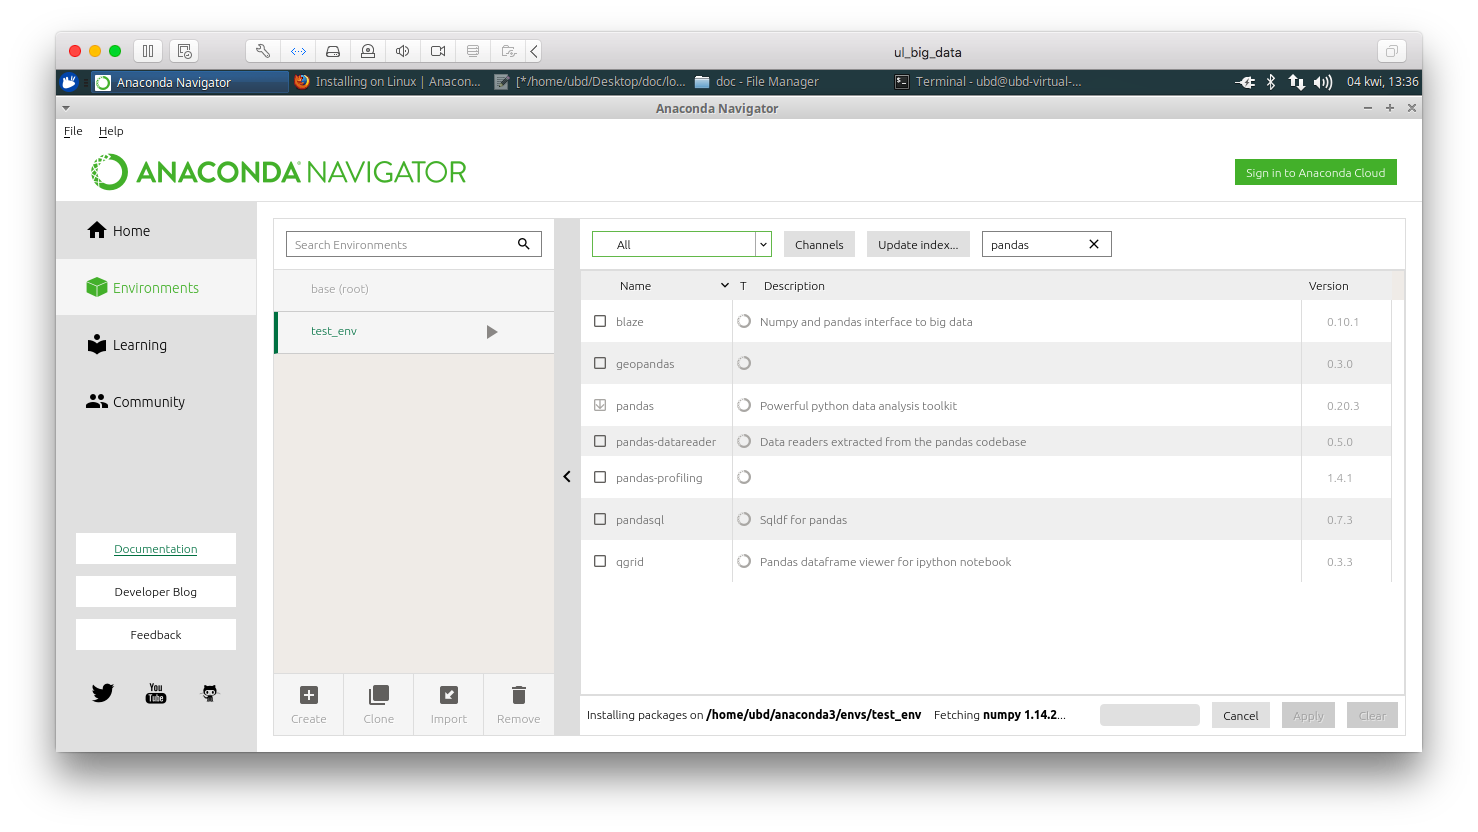
- Step 3: install Pandas with Anaconda navigator
123456789101112131415ubd@ubd-virtual-machine:~/anaconda3/bin$ ./anaconda-navigator## Please activate the conda root enviroment properly before running the# `anaconda-navigator` command.## To activate the environment please open a terminal and run:## source /home/ubd/anaconda3/bin/activate root## For more information please see the documentation at:## https://docs.anaconda.com/anaconda/navigator/#ubd@ubd-virtual-machine:~/anaconda3/bin$ source activate root(base) ubd@ubd-virtual-machine:~/anaconda3/bin$ anaconda-navigator
- Step 4: write simple Python script to test Pandas
- Create a
~/Desktop/code/testdirectory
123456(base) ubd@ubd-virtual-machine:~/anaconda3/bin$ conda activate test_env(test_env) ubd@ubd-virtual-machine:~/anaconda3/bin$ cd ~/Desktop/(test_env) ubd@ubd-virtual-machine:~/Desktop$ mkdir code(test_env) ubd@ubd-virtual-machine:~/Desktop$ cd code(test_env) ubd@ubd-virtual-machine:~/Desktop/code$ mkdir test(test_env) ubd@ubd-virtual-machine:~/Desktop/code$ cd test/ - Create
data.csvfile located in~/Desktop/code/testdirectory1(test_env) ubd@ubd-virtual-machine:~/Desktop/code/test$ touch data.csvPut the following Python code in it:
1234A,B,C,D1.2,2.3,3.4,4.55.6,6.7,7.8,8.99.10,10.11,11.12,12.13 - Create
pandas_test.pyscript file located in~/Desktop/code/testdirectory1(test_env) ubd@ubd-virtual-machine:~/Desktop/code/test$ touch pandas_test.pyPut the following Python code in it
NOTE: The first line in the following source code points to Python we will use and is system/user dependent - it is highly probable that you should use different path according to your settings!:12345678910111213141516171819202122232425#!/home/ubd/anaconda3/envs/test_env/bin/pythonimport pandas as pdprint("=========")print("Start")print("=========")data = pd.read_csv("data.csv")print(data.head())data_cut = data.loc[:,["B", "D"]]data_cut.to_csv('processed.csv')print("\n")print("Some stat info")print(data_cut.mean())print("\n")print(data_cut.min())print("\n")print(data_cut.max())print("=========")print("Done")print("=========") - Test script in terminal
12345678910111213141516171819202122232425262728(test_env) ubd@ubd-virtual-machine:~/Desktop/code/test$ chmod 755 pandas_test.py(test_env) ubd@ubd-virtual-machine:~/Desktop/code/test$ ./pandas_test.py=========Start=========A B C D0 1.2 2.30 3.40 4.501 5.6 6.70 7.80 8.902 9.1 10.11 11.12 12.13Some stat infoB 6.37D 8.51dtype: float64B 2.3D 4.5dtype: float64B 10.11D 12.13dtype: float64=========Done=========
- Create a
- Step 5: use Django to have a web interface
If you need more information about Django, you can start with Writing your first Django app- Install Django with command line
1234567891011121314151617181920212223242526272829303132333435363738(test_env) ubd@ubd-virtual-machine:~/Desktop/code/test$ conda search djangoLoading channels: done# Name Version Build Channeldjango 1.6.5 py26_0 pkgs/freedjango 1.6.5 py27_0 pkgs/free[...]django 2.0.2 py35hd476221_0 pkgs/maindjango 2.0.2 py36hd476221_0 pkgs/main(test_env) ubd@ubd-virtual-machine:~/Desktop/code/test$ conda install django=2.0Solving environment: done## Package Plan ##environment location: /home/ubd/anaconda3/envs/test_envadded / updated specs:- django=2.0The following packages will be downloaded:package | build---------------------------|-----------------django-2.0.2 | py36hd476221_0 4.7 MBThe following NEW packages will be INSTALLED:django: 2.0.2-py36hd476221_0Proceed ([y]/n)?Downloading and Extracting Packagesdjango 2.0.2: ######################################################################################################## | 100%Preparing transaction: doneVerifying transaction: doneExecuting transaction: done - Create a Django project
12345(test_env) ubd@ubd-virtual-machine:~/Desktop/code/test$ cd ~(test_env) ubd@ubd-virtual-machine:~$ cd Desktop/(test_env) ubd@ubd-virtual-machine:~/Desktop$ mkdir django(test_env) ubd@ubd-virtual-machine:~/Desktop$ cd django/(test_env) ubd@ubd-virtual-machine:~/Desktop/django$ django-admin startproject testdjango
A project directory should laid out like this
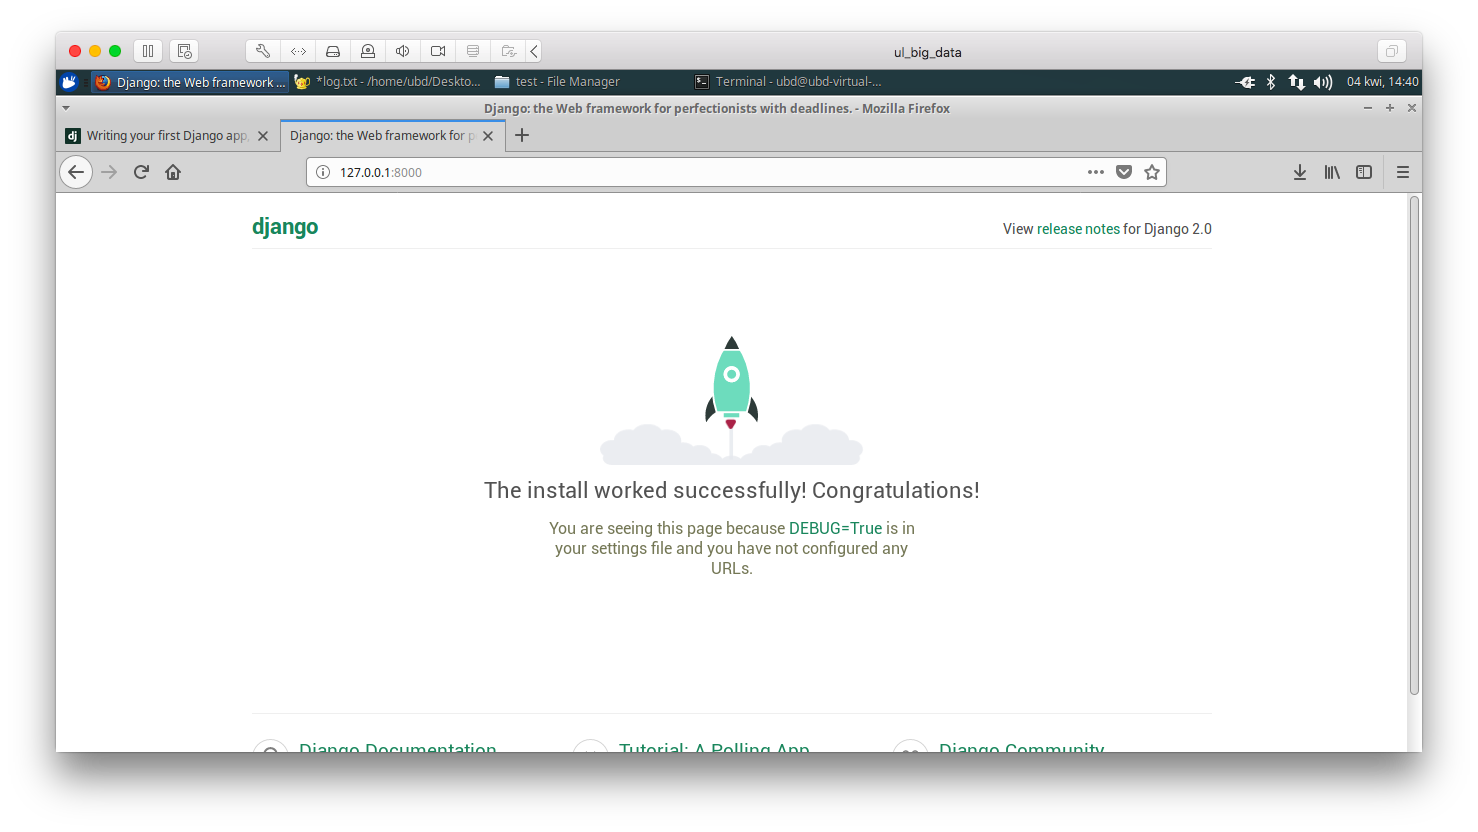
1234567testdjango/manage.pytestdjango/__init__.pysettings.pyurls.pywsgi.py - Run Django developper's server
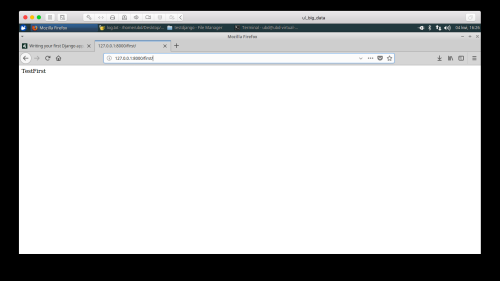
123456789101112131415(test_env) ubd@ubd-virtual-machine:~/Desktop/django$ cd testdjango/(test_env) ubd@ubd-virtual-machine:~/Desktop/django/testdjango$ python manage.py runserverPerforming system checks...System check identified no issues (0 silenced).You have 14 unapplied migration(s). Your project may not work properly until you apply the migrations for app(s): admin, auth, contenttypes, sessions.Run 'python manage.py migrate' to apply them.April 04, 2018 - 12:38:36Django version 2.0.2, using settings 'testdjango.settings'Starting development server at http://127.0.0.1:8000/Quit the server with CONTROL-C.Go to webbrowser and type <code>http://127.0.0.1:8000/</code> url

- Add Django application to existing Django project
Open a new terminal tab and type
123ubd@ubd-virtual-machine:~/Desktop/django/testdjango$ conda activate test_env(test_env) ubd@ubd-virtual-machine:~/Desktop/django/testdjango$(test_env) ubd@ubd-virtual-machine:~/Desktop/django/testdjango$ python manage.py startapp testfirst - Edit
views.pyfile
Open the file/home/ubd/Desktop/django/testdjango/testfirst/views.pyand put the following Python code in it:
1234from django.http import HttpResponsedef index(request):return HttpResponse("TestFirst") - Create
urls.pyfile intestfirstapplication
In~/Desktop/django/testdjango/testfirstdirectory create a file calledurls.py
12(test_env) ubd@ubd-virtual-machine:~/Desktop/django/testdjango$ cd testfirst/(test_env) ubd@ubd-virtual-machine:~/Desktop/django/testdjango/testfirst$ touch urls.py
Put the following Python code in it:
1234567from django.urls import pathfrom . import viewsurlpatterns = [path('', views.index, name='index'),] - Add/edit to project's
urls.pyfile a code
Add to~/Desktop/django/testdjango/testdjango/urls.pythe following code:
1234567from django.contrib import adminfrom django.urls import include, pathurlpatterns = [path('first/', include('testfirst.urls')),path('admin/', admin.site.urls),] - Test application
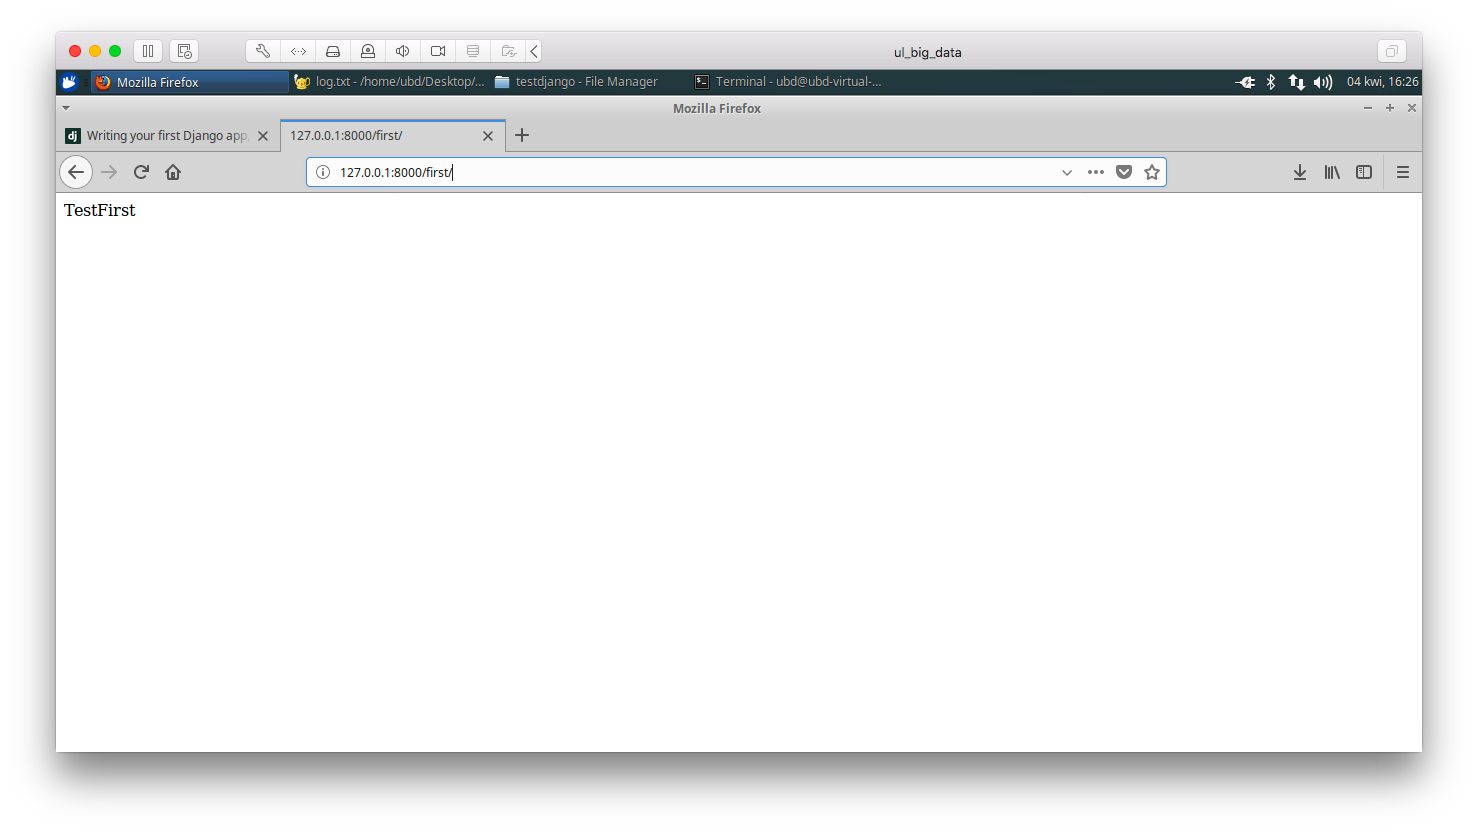
Go to webbrowser and typehttp://127.0.0.1:8000/first/url
- Add/modify
~/Desktop/django/testdjango/testfirst/urls.pyfile
12345678from django.urls import pathfrom . import viewsurlpatterns = [path('', views.index, name='index'),path('job', views.job, name='job'),] - Create a new view
Add/edit to~/Desktop/django/testdjango/testfirst/views.pya new code
123456789101112131415161718192021222324252627282930313233343536373839from django.http import HttpResponsefrom io import StringIOimport pandas as pddef index(request):return HttpResponse("TestFirst")def job(request):ls = [] #listOfStringsbuf = StringIO()ls.append("<pre>")buf.write("=========\n")buf.write("Start\n")buf.write("=========\n")data = pd.read_csv("~/Desktop/code/test/data.csv")data.head().to_string(buf)data_cut = data.loc[:,["B", "D"]]data_cut.to_csv('processed.csv')buf.write("\n\n")buf.write("Some stat info\n")data_cut.mean().to_string(buf)buf.write("\n\n")data_cut.min().to_string(buf)buf.write("\n\n")data_cut.max().to_string(buf)buf.write("\n\n")buf.write("=========\n")buf.write("Done\n")buf.write("=========\n")ls.append(buf.getvalue())ls.append("</pre>")return HttpResponse(''.join(ls)) - Test application
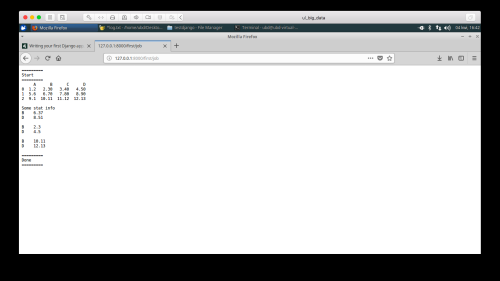
Go to webbrowser and typehttp://127.0.0.1:8000/first/joburl
- Install Django with command line


At this point we
- have virtual machine with Xubuntu installed and configured;
- have Anaconda to manage Python packages installed;
- know how to activate/deactivate Python virtual environment;
- know how to write Python scripts and execute them from command line;
- know how to write Python scripts and execute them from web browser.