In this tutorial we cover the following topics
- General information
- Simple multiview application
Our goal in this tutorials seems to be very easy: we want to write an application where
- we will have one "root" (or main) screen;
- we will have two child screens switchable from root screen;
- on every child screen we will have also a button to switch back the root screen.
That's it. It is just enough to be complicated.
Of course we could achieve the same functionality by writing a one-screen application, but we’re taking this more complex approach to demonstrate the mechanics of a multiscreen - being more precisely: multiview application. Behind the scene there are actually three screens represented by three view controllers interacting in this simple application. One that controls the first view (screen), second that controls the second view (screen), and a third special controller that swaps the other two in and out when we press a button.
Most multiview applications use the same basic pattern. The place where all the views and view controllers for the application are collected and can be designed with drag and drop is known as storyboard. Usually a storyboard with an instance of a controller class that is responsible for managing other views is created. Because this controller manage which view is currently being shown to the user, so we call this controller the root controller. This root controller is often an instance of UINavigationController or UITabBarController, because both offers natural approach to views switching.
All of this (controllers, views) can be completed also directly from a code without any graphical designers like storyboard help. In this tutorial we will show how to
- create views in storyboard and manage them directly from a code,
- create and manage views in storyboard.
- Step 1: create a new project
Create a new project as we did it many times before, so- Select File | New | Project...
- Select Single View Application on the template selection sheet.
- As the product name enter Swift iOS Multiview
- Set the Language to Swift and make sure the check box labeled Use Core Data is unchecked. Because we will not use tests in this tutorial, you can leave both test check boxes unchecked.

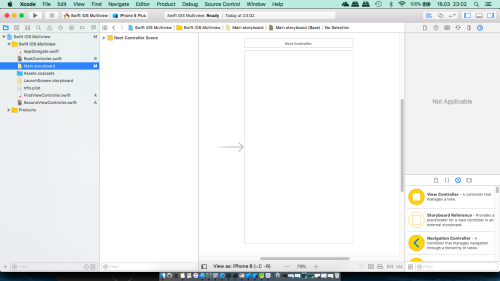
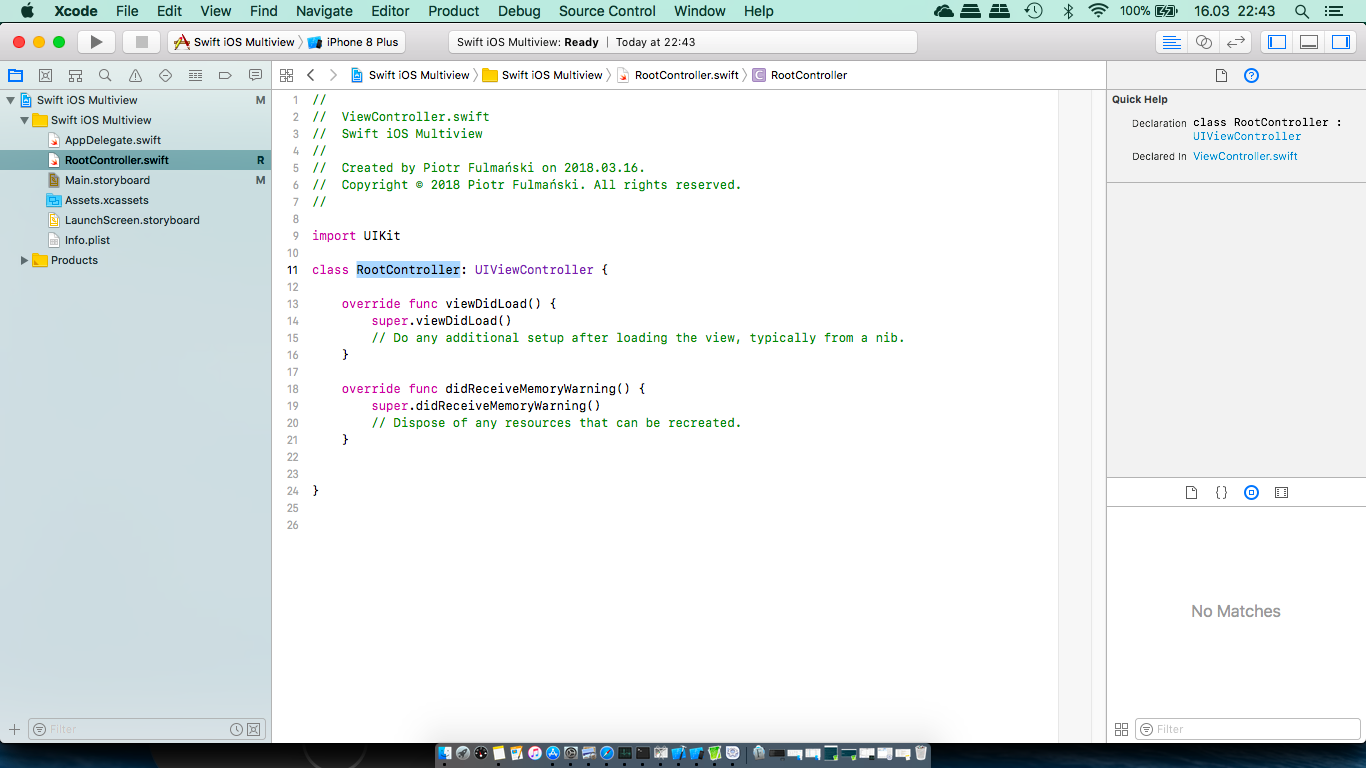
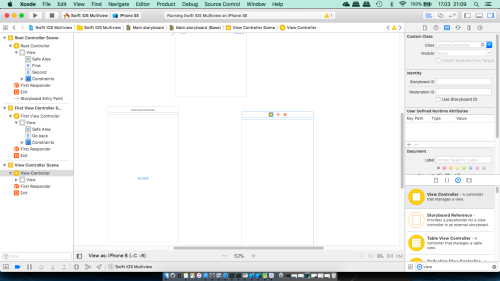
- Step 2: create a root controller
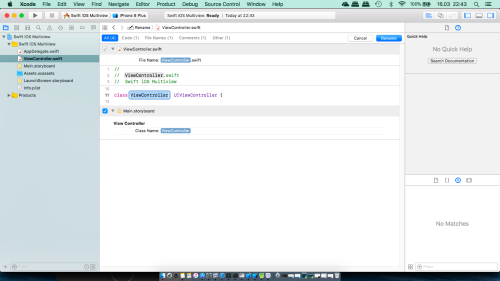
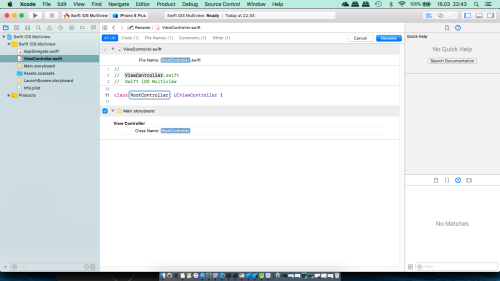
It's not necessary but to make the role of the main view controller clear, we will rename it with a more appropriate name:RootControlleris perfect.- Select
ViewController.swiftin the Project Navigator. - In the editor area double-click the class name (
ViewController) and then right-click it. - In the menu that appears, select Refactor | Rename... and change name to
RootController.

- Select
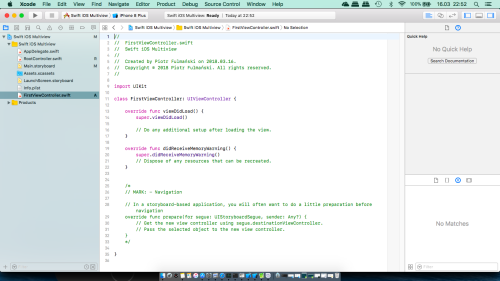
- Step 3: add the content view controllers
- In the Project Navigator, right-click the Swift iOS Multiview group and select New File....
- Choose Cocoa Touch Class from the iOS / Source section in the template dialog and then press Next
- Name the new class
FirstViewController, make it a subclass ofUIViewController. Because we are going to add this controller to the storyboard later manually, so make sure that the Also create XIB file check box is not checked.

- Press Next and then press Create to save the files for the new view controller
- Repeat above steps to create the second content view controller (named
SecondViewController.

- Step 4: modify root controller
Add (or modify) the following code to theRootController.swift1234567891011import UIKitclass RootController: UIViewController {var firstViewController: FirstViewController?... [Some existing code] ...@IBAction func switchViews(_ sender: UIButton){}} - Step 5: add buttons to RootController and set correct constraints
- In the Project Navigator, select
Main.storyboard.
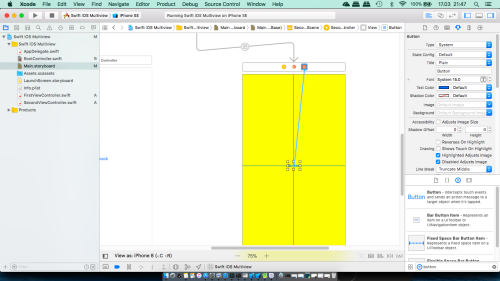
- Now, let’s add a two buttons to the view.
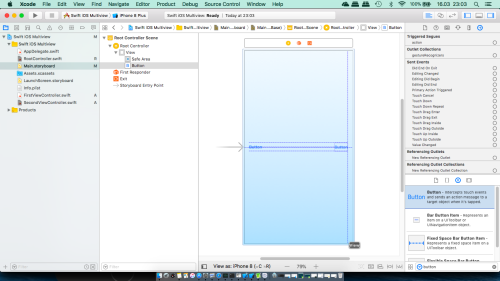
- Double clik on the left button and change its labels as First; change the right button's label to Second
- In Attributes inspector, View section, set tag for the First button as 1
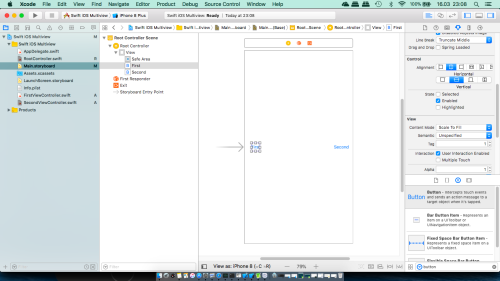
- Set correct constraints

- Link the First button to our action method in RootController.


- In the Project Navigator, select
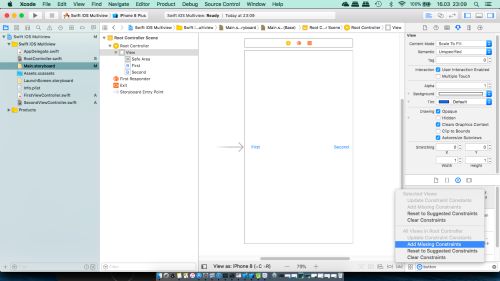
- Step 6: fix the layout
Because there are still 2 layout problems, leading and trailing constraints are missing, we have to fix them. We will do as we did it in First application (Swift): Step 9: fix the layout, continued- Select the First button on the storyboard.
- Hold down the Control key and in Document Outline drag the mouse from the First button to the Second button.
- Release the mouse and a gray pop-up with constraints will appear.
- Select Horizontal Spacing.
- Next, in the Document Outline select the constraint you have just add.
- In the Attributes Inspector, as Relation select Less Than or Equal.
- Now the problem should be fixed


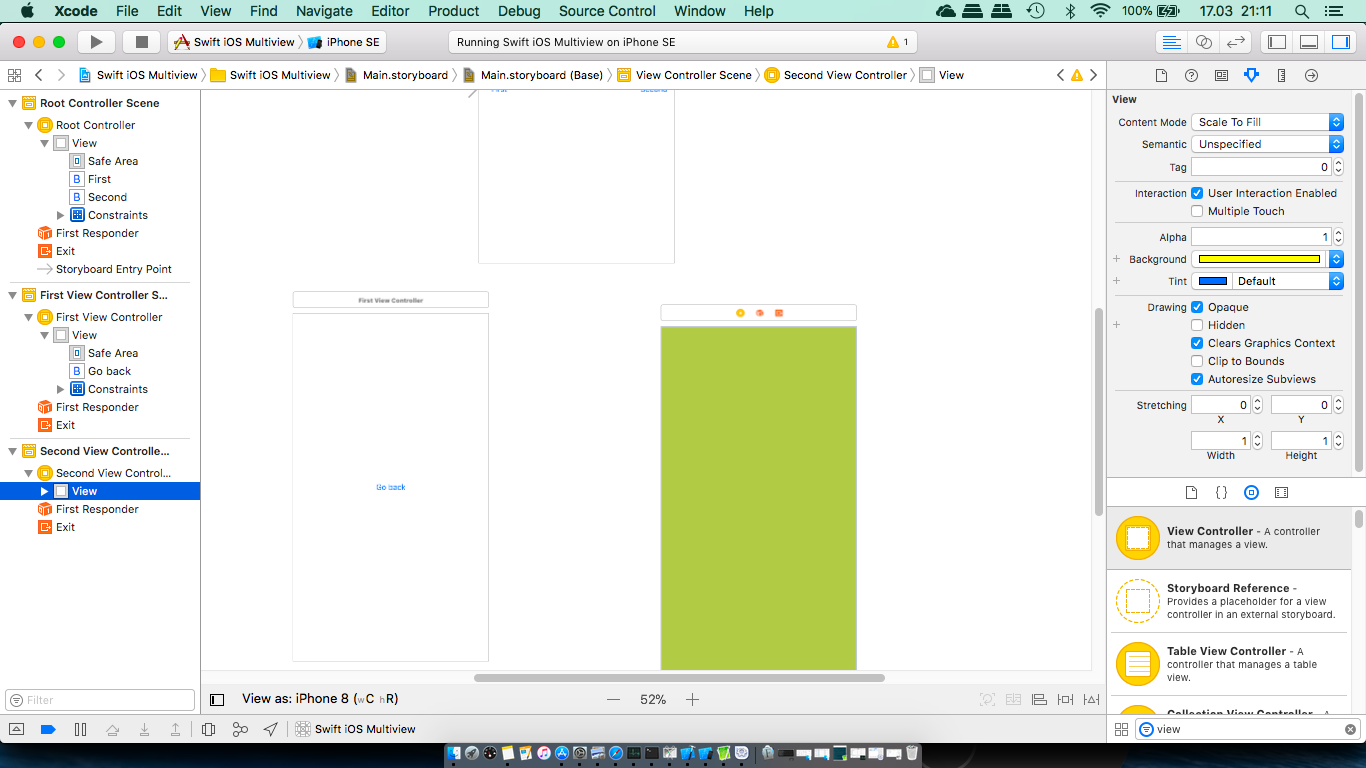
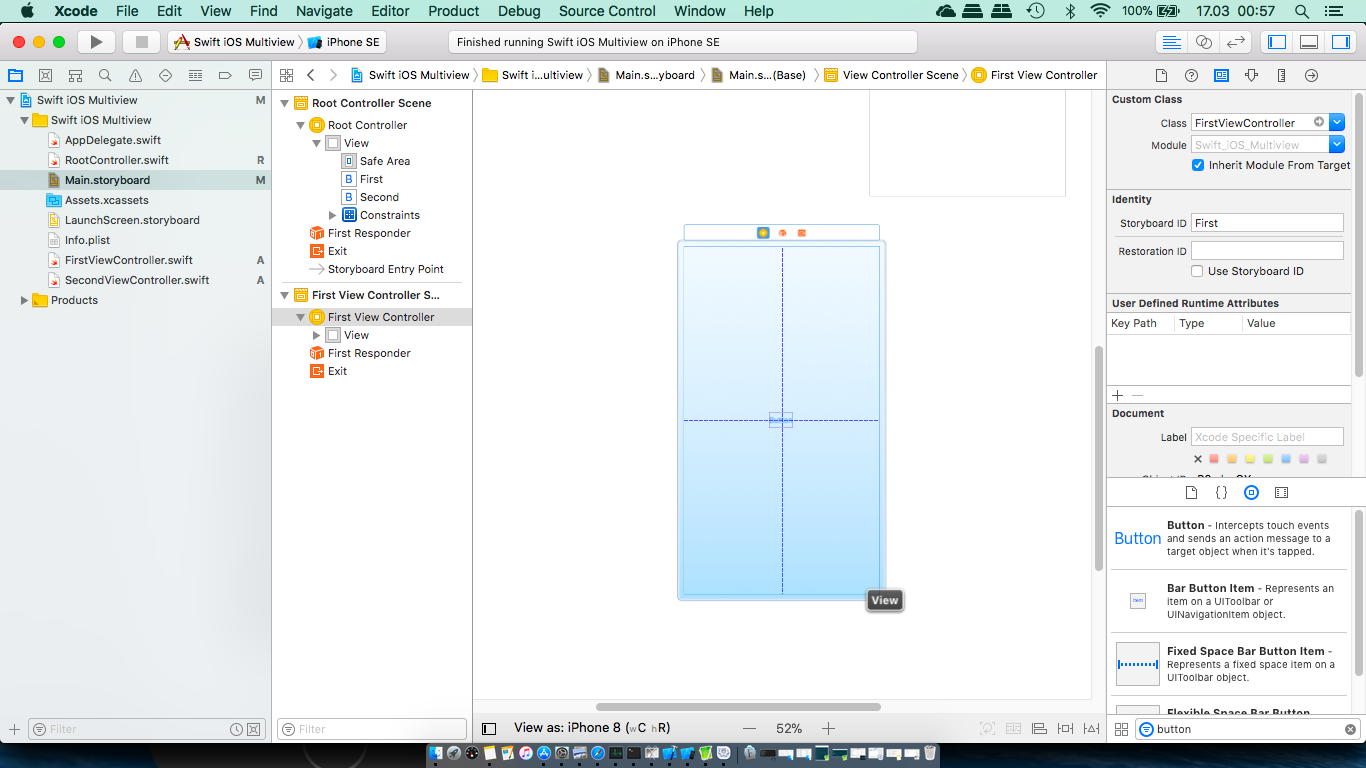
- Step 7: add a new scene to storyboard
- Select
Main.storyboardto open it in Interface Builder, so we can add a new scene for FirstViewController. - From the object library, drag out another View Controller and drop it in the editing area next to the existing one. At this point our storyboard has two scenes, each of which can be loaded dynamically and independently while the application is running.
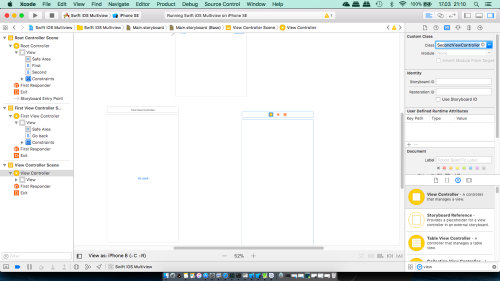
- Single-click the yellow View Controller icon in the row of icons at the top of the new scene or select it in the Document Outline. Next press Alt+Command+3 or celect corect icon to bring up the Identity Inspector. In the Custom Class section as Class select FirstViewController.


- In the Identity Inspector fill the Storyboard ID field with
Firstvalue. We need this identifier for our new view controller to be able to find it inside the storyboard. - In the middle of First View Controler's view add Go back button.
- Create action method connected to Go back button


- Add the following code to
FirstViewController.swiftfile
12345@IBAction func buttonPressGoBack(_ sender: UIButton) {willMove(toParentViewController: nil)view.removeFromSuperview()removeFromParentViewController()}

- Select
- Step 8: the RootController view code
Before any action you can read this article.
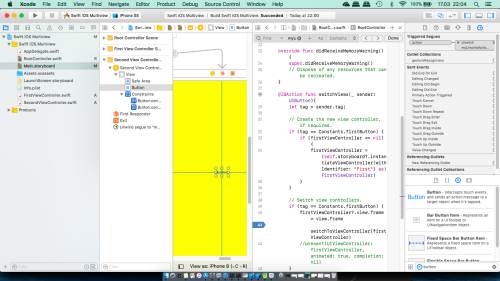
Add (or modify) the following code in theRootController.swift
123456789101112131415161718192021222324252627282930313233343536import UIKitstruct Constants {static let firstButton = 1}class RootController: UIViewController {... [Some existing code] ...@IBAction func switchViews(_ sender: UIButton){let tag = sender.tag;// Create the new view controller, if required.if (tag == Constants.firstButton) {if (firstViewController == nil) {firstViewController = (self.storyboard?.instantiateViewController(withIdentifier: "First") as! FirstViewController)}}// Switch view controllers.if (tag == Constants.firstButton) {firstViewController?.view.frame = view.frameswitchToViewController(firstViewController)//present(UIViewController: firstViewController, animated: true, completion: nil)}}func switchToViewController(_ toVC: UIViewController?) {if (toVC != nil) {addChildViewController((toVC)!)view.addSubview((toVC?.view)!)toVC?.didMove(toParentViewController: self)}}} - Step 9: run and test what has been done so far


- Step 10: working with segues: create segue
We are going to work with segues, so let's explain what does this term mean.
Segue as a noun means an uninterrupted transition from one piece of music or film scene to another.
Segue as a verb means (in music and film) a move without interruption from one song, melody, or scene to another (for example allowing one song to segue into the next).
We can repeat above step to add scene for SecondViewController with Storyboard ID value equal toSecond. Instead of this let's show how segues can be used for switching view controllers. For more details please refer toLet's start
- Select
Main.storyboardto open it in Interface Builder, so we can add a new scene for SecondViewController. - From the object library, drag out another View Controller and drop it in the editing area next to the existing ones. If you want, instead of editing arrea you can put this View Controller in Document Outline
- Single-click the yellow View Controller icon in the row of icons at the top of the new scene. Next press Alt+Command+3 to bring up the Identity Inspector. In the Custom Class section as Class select SecondViewController
- Select View item under Second View Controller Scene in Document Outline and change background property in Attributes inspector to the color you like

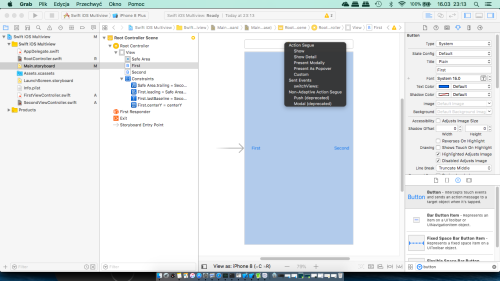
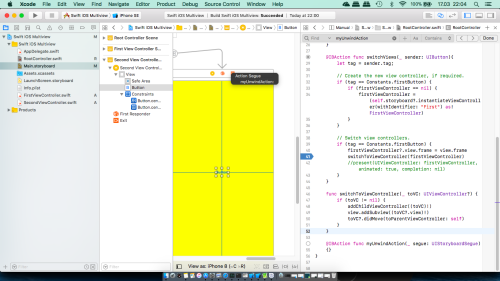
- Create segue. To do this between view controllers in the same storyboard file, Control-click an appropriate element in the first view controller (in our case this is a Second button), drag to the target view controller and select Show from popup menu.

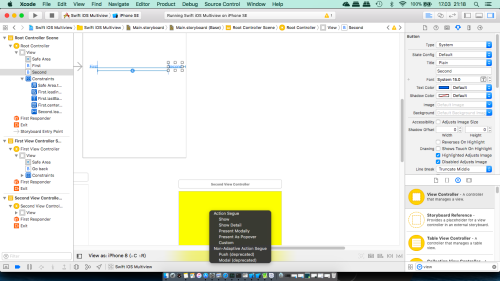
The same can be done in Document outline

You shoud see graphical representation of the segue you have just created.
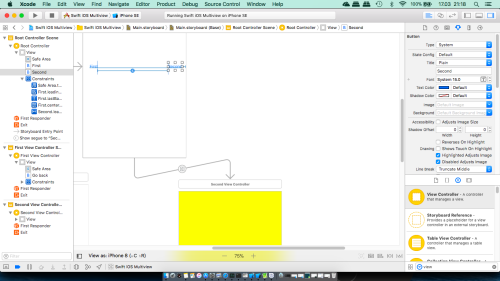
The starting point of a segue must be a view or object with a defined action, such as a control, bar button item, or gesture recognizer. You can also create segues from cell-based views such as tables and collection views. - In the middle of Second View Controler's view add Go back button and set all necessary constraints.
- Select
- Step 11: working with segues: create an unwind segue
The mechanism for navigation in Storyboard-based applications is the segue. Using segues, we can travel ahead to the next screen, which is extremely common. We can also travel backward in the screen navigation stack by programming a special kind of segue called an unwind segue.- Choose the view controller that should appear onscreen at the end of an unwind segue (RootController).
- Define an unwind action method on the view controller you have chosen.
12@IBAction func myUnwindAction(_ segue: UIStoryboardSegue){}
You must define an unwind action method in one of your view controllers before trying to create the corresponding unwind segue in Interface Builder. The presence of that method is required and tells Interface Builder that there is a valid target for the unwind segue. Use the implementation of your unwind action method to perform any tasks that are specific to your app. You can also use the unwind action to update the current view controller before the unwind segue finishes. - Navigate to the view controller that initiates the unwind action (SecondViewController).
- Control-click the button (or other object) that should initiate the unwind segue. This element should be in the view controller you want to dismiss.
- Drag to the Exit object at the top of the view controller scene.
and select your unwind action method from the relationship panel.
You can verify what you did in button's Connections inspector
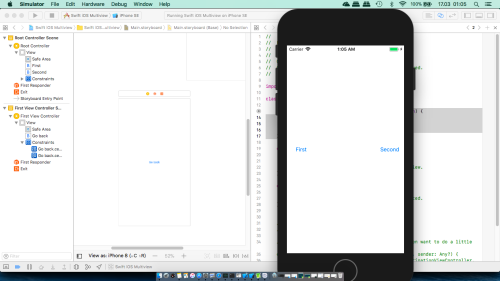
- Step 12: run and test
Run and test the application. We may notice that while transition from Root to Second and back (transition with segue) is nice, transition from Root to First and back is kind of abrupt. No we will fix it. - Step 13: animating the transition
Add (or modify) the following code to theRootController.swift1234567891011121314151617@IBAction func switchViews(_ sender: UIButton){... [Some existing code] ...// Create the new view controller, if required.... [Some existing code] ...// Switch view controllers.UIView.beginAnimations("Switch animation from Root to First", context: nil)UIView.setAnimationDuration(0.5)UIView.setAnimationCurve(.easeInOut)if (tag == Constants.firstButton) {UIView.setAnimationTransition(.flipFromRight, for: view, cache: true)firstViewController?.view.frame = view.frame;switchToViewController(firstViewController);}UIView.commitAnimations();}where
UIView.beginAnimations("Switch animation from Root to First", context: nil)
To tell iOS that we want a change animated, we need to declare an animation block and specify how long the animation should take. Animation blocks are declared by using the UIView class methodbeginAnimations:context:. The first paramtere is an animation block title. This title comes into play only if we take more direct advantage of Core Animation, the framework behind this animation. The second parameter allows us to specify an object whose pointer we would like to associated with this animation block.UIView.setAnimationDuration(0.5)
Set the duration of the animation.UIView.setAnimationCurve(.easeInOut)
Set the animation curve, which determines the timing of the animation. The default, which is a linear curve, causes the animation to happen at a constant speed. The option we set here, as many other people do because this gives the animation a more natural, less mechanical appearance, isUIViewAnimationCurve.easeInOut. An ease-in ease-out curve causes the animation to begin slowly, accelerate through the middle of its duration, and then slow again before completing. This is the default curve for most animations. Other options are- easeIn An ease-in curve causes the animation to begin slowly, and then speed up as it progresses.
- easeOut An ease-out curve causes the animation to begin quickly, and then slow down as it completes.
- linear A linear animation curve causes an animation to occur evenly over its duration.
UIView.setAnimationTransition(.flipFromRight, for: self.view, cache: true)
Specify the transition we want to use. We can select one of the following- none The option for indicating that no transition is specified.
- flipFromLeft A transition that flips a view around a vertical axis from left to right. The left side of the view moves towards the front and right side towards the back.
- flipFromRight A transition that flips a view around a vertical axis from right to left. The right side of the view moves towards the front and left side towards the back.
- curlUp A transition that curls a view up from the bottom.
- curlDown A transition that curls a view down from the top.
UIView.commitAnimations();
Finish specifying the changes to be animated. Everything between the start of the animation block and the call tocommitAnimationswill be animated together.
- Step 14: animating the transition (from First to Root)
Add (or modify) the following code to theFirstViewController.swift
I have no idea, why the code below doesn't work. Any suggestion how to fix it are welcome.
123456789101112@IBAction func buttonPressGoBack(_ sender: UIButton) {UIView.beginAnimations("Switch animation from First to Root", context: nil)UIView.setAnimationDuration(0.5)UIView.setAnimationCurve(.easeInOut)UIView.setAnimationTransition(.flipFromLeft, for: view, cache: true)willMove(toParentViewController: nil)view.removeFromSuperview()removeFromParentViewController()UIView.commitAnimations();}